Let The Healing Begin!
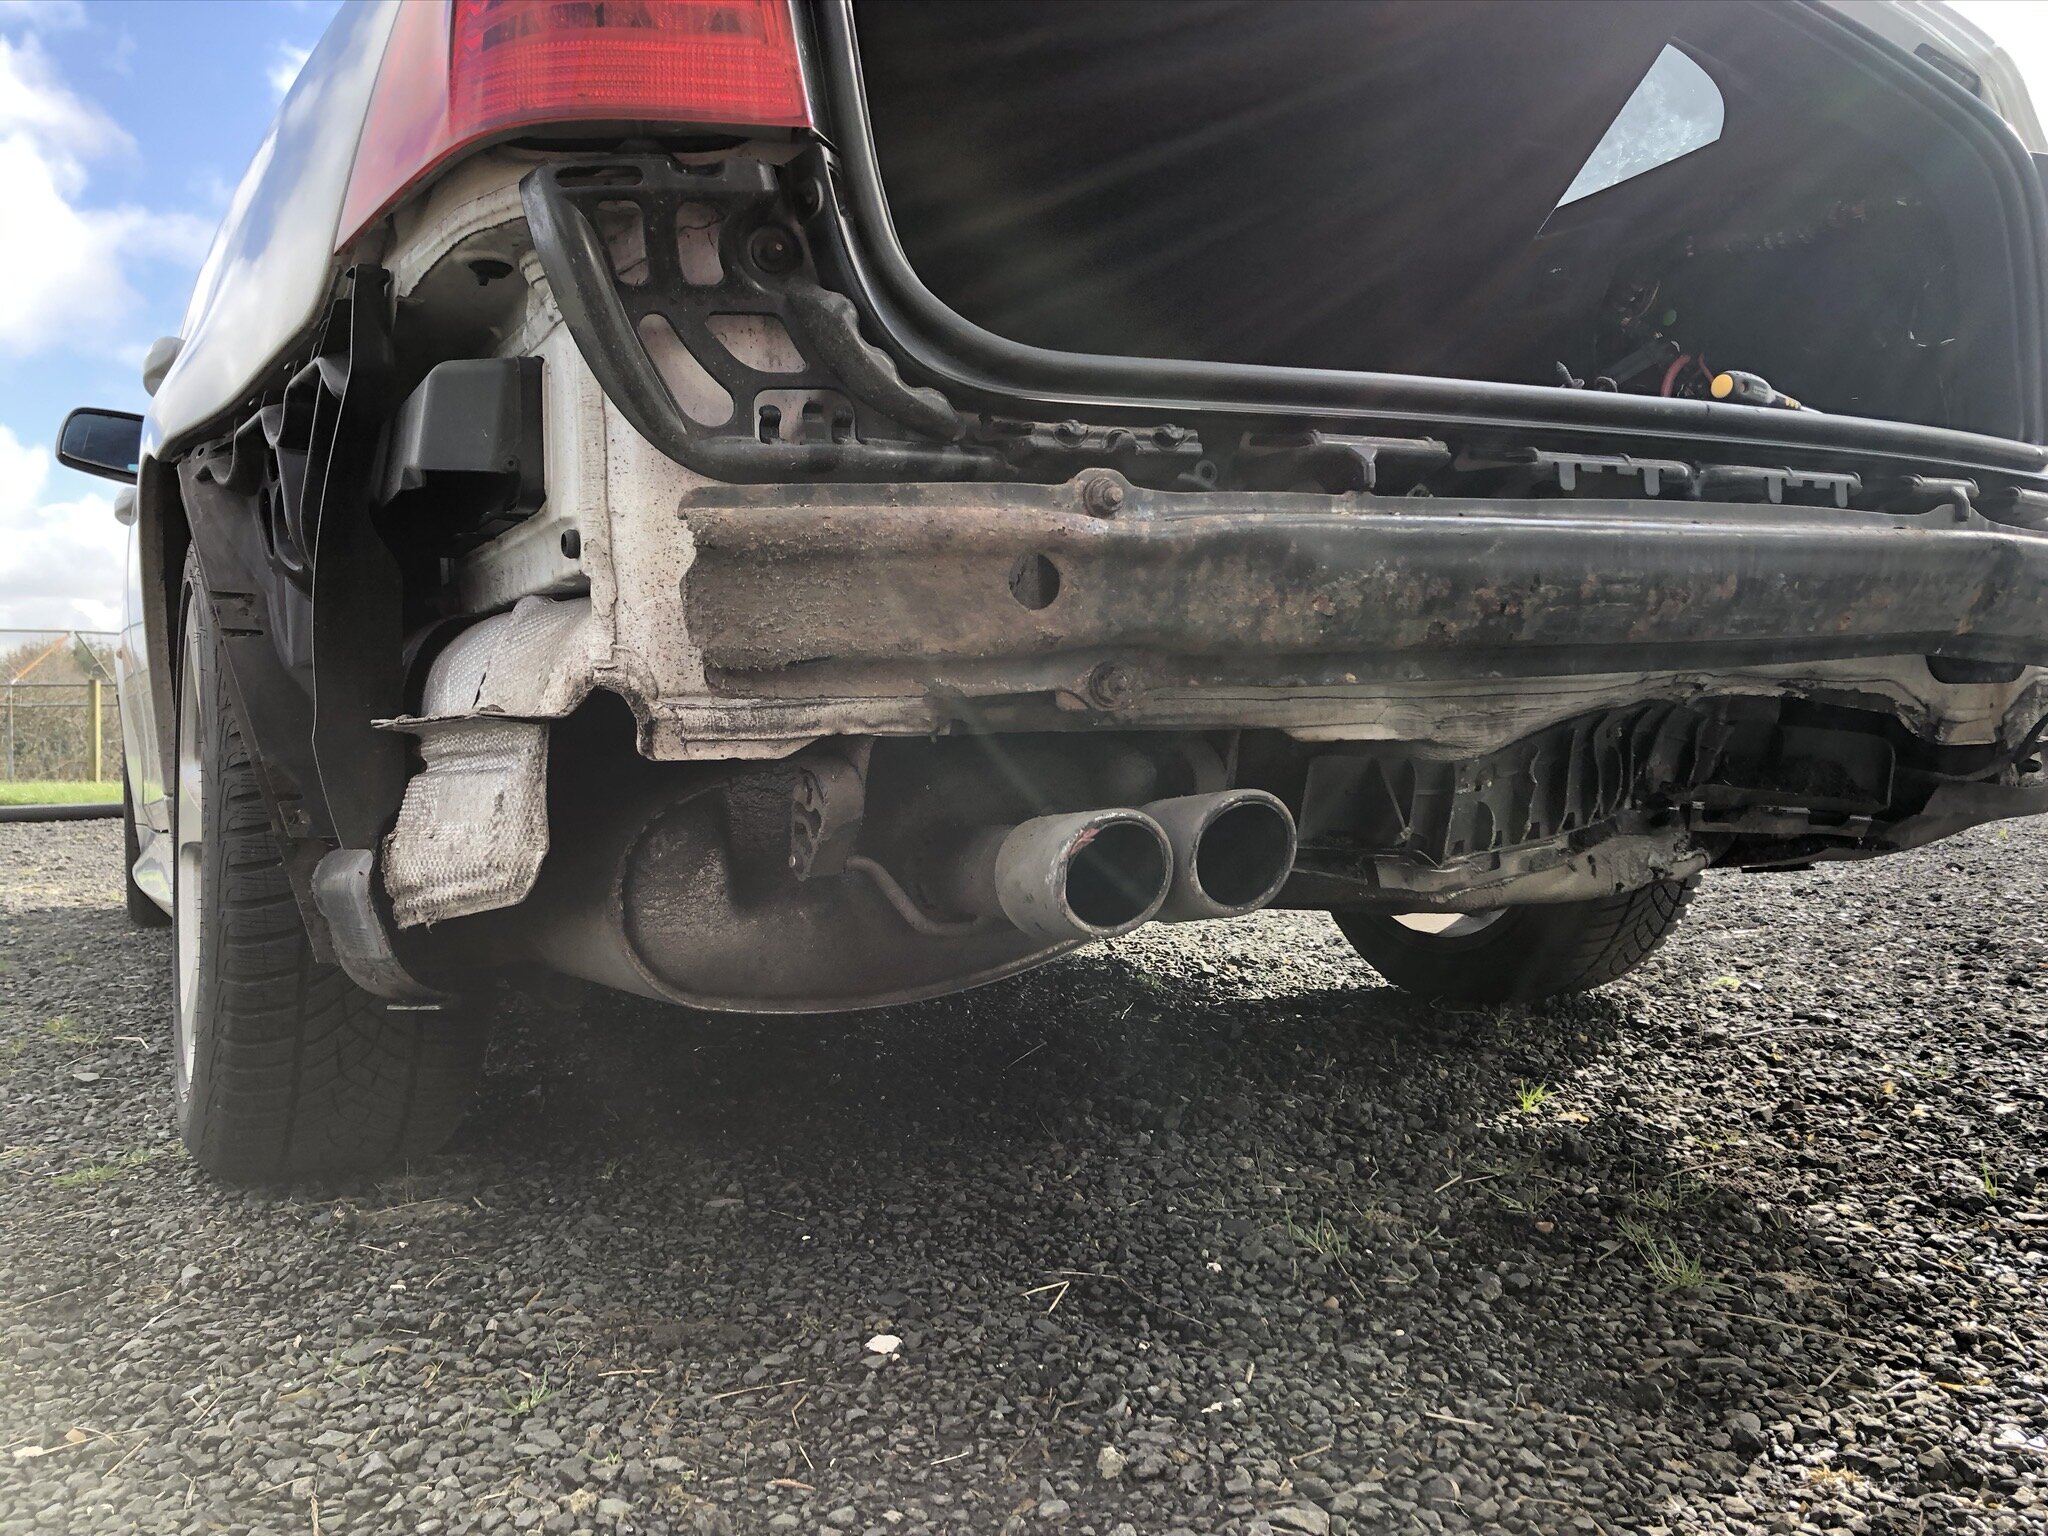
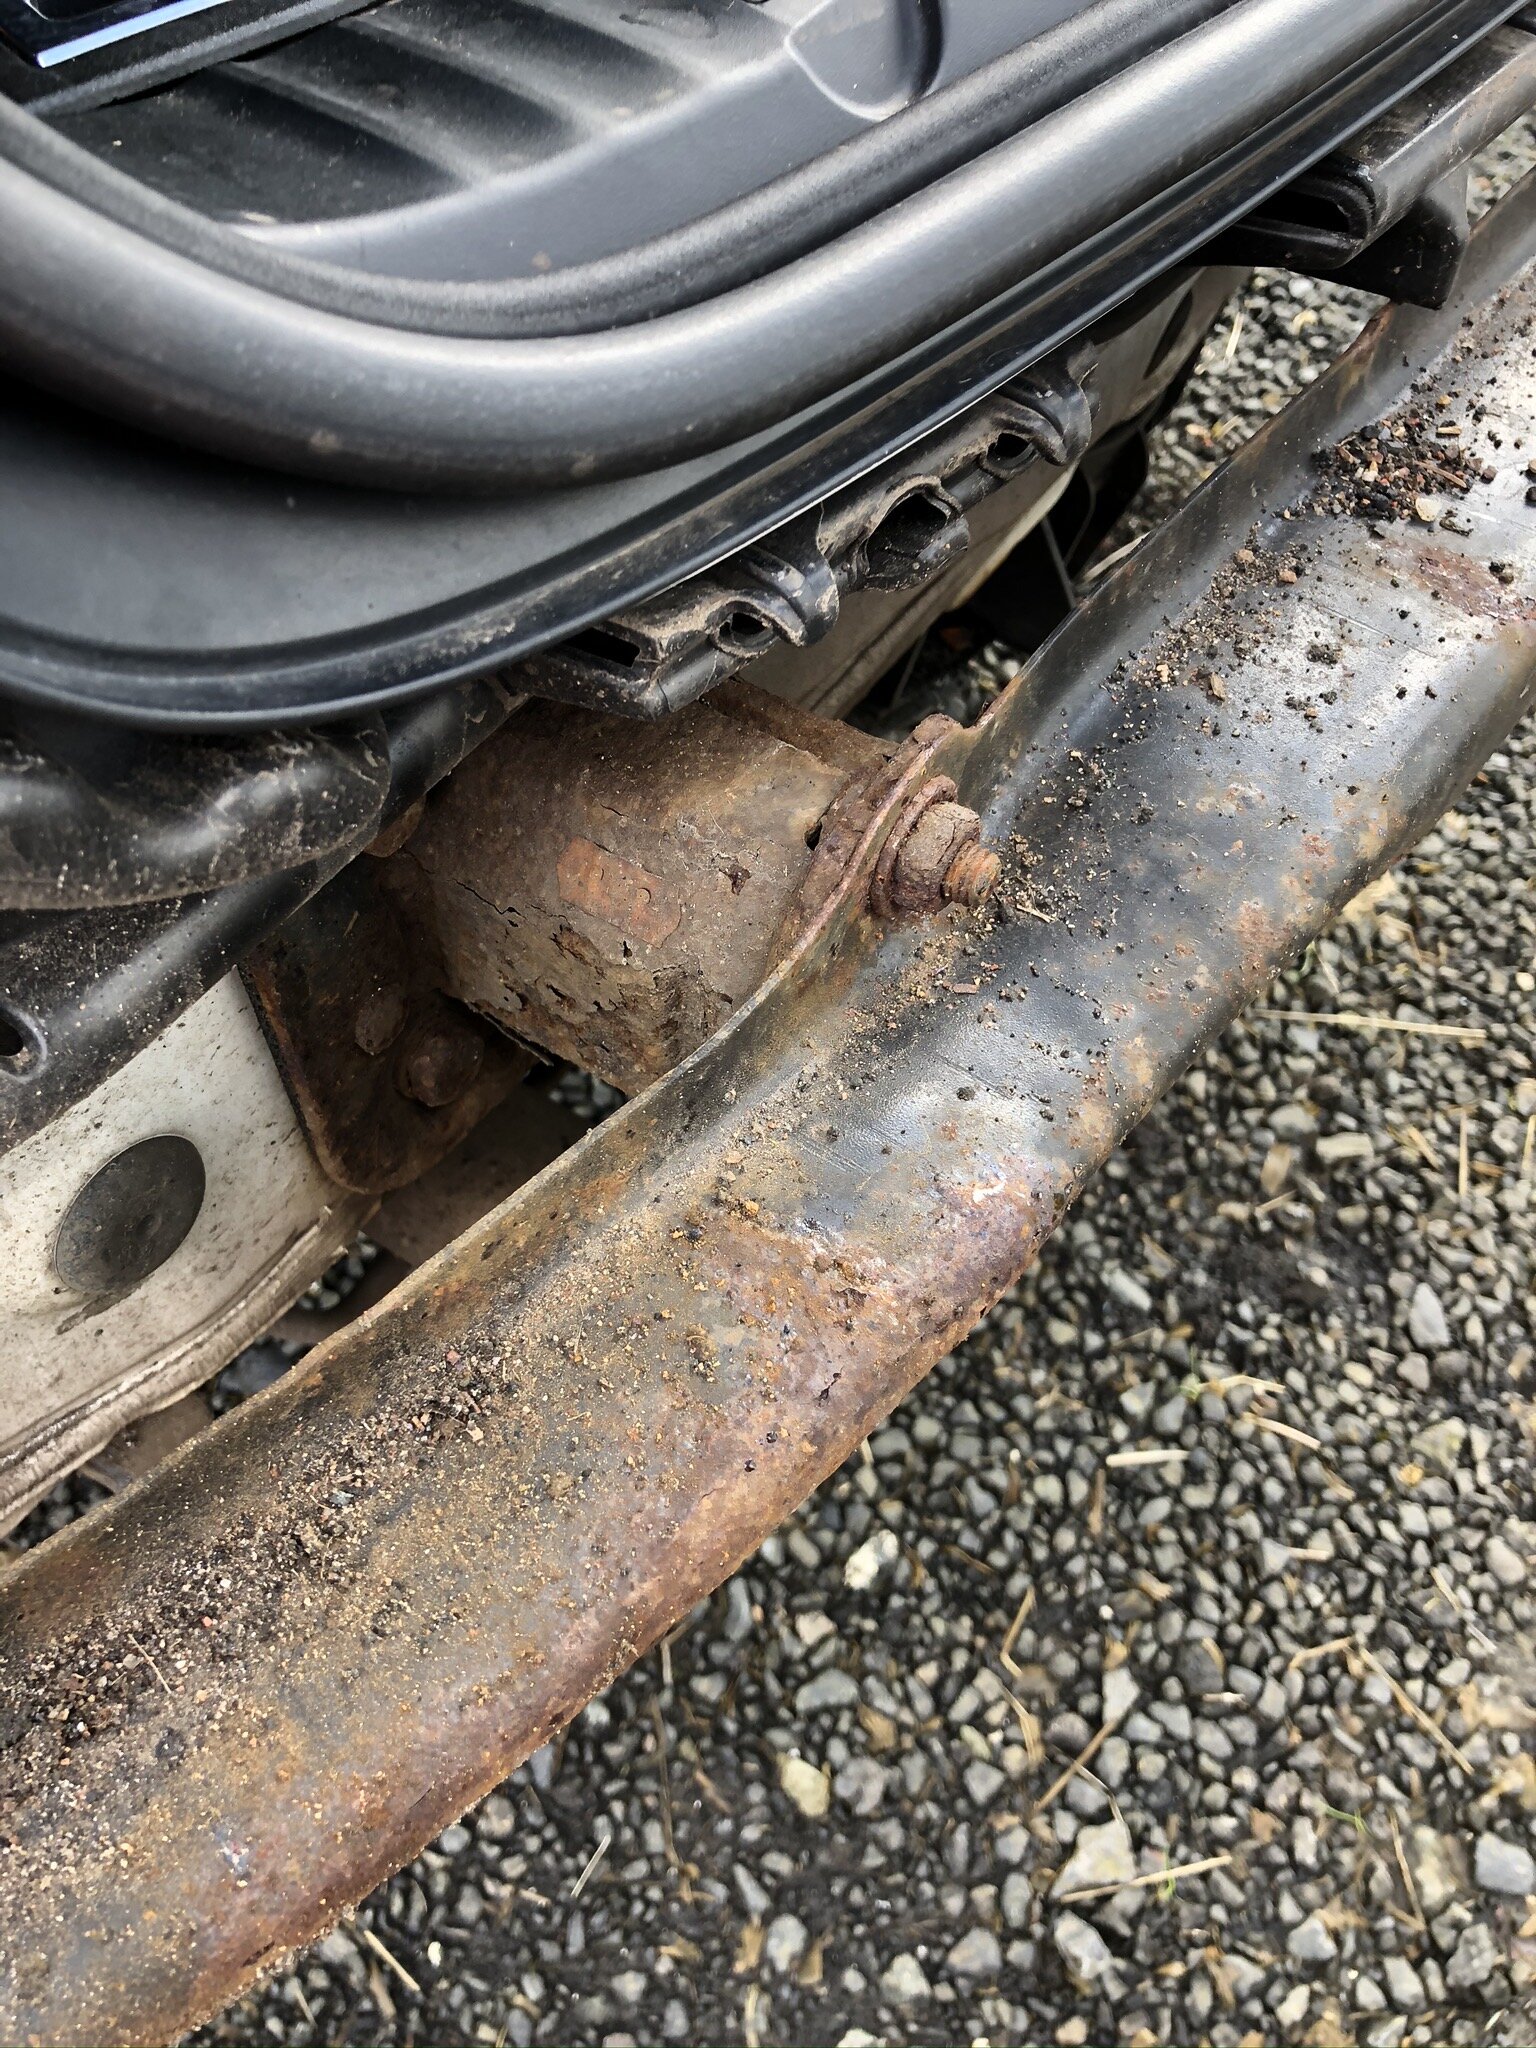
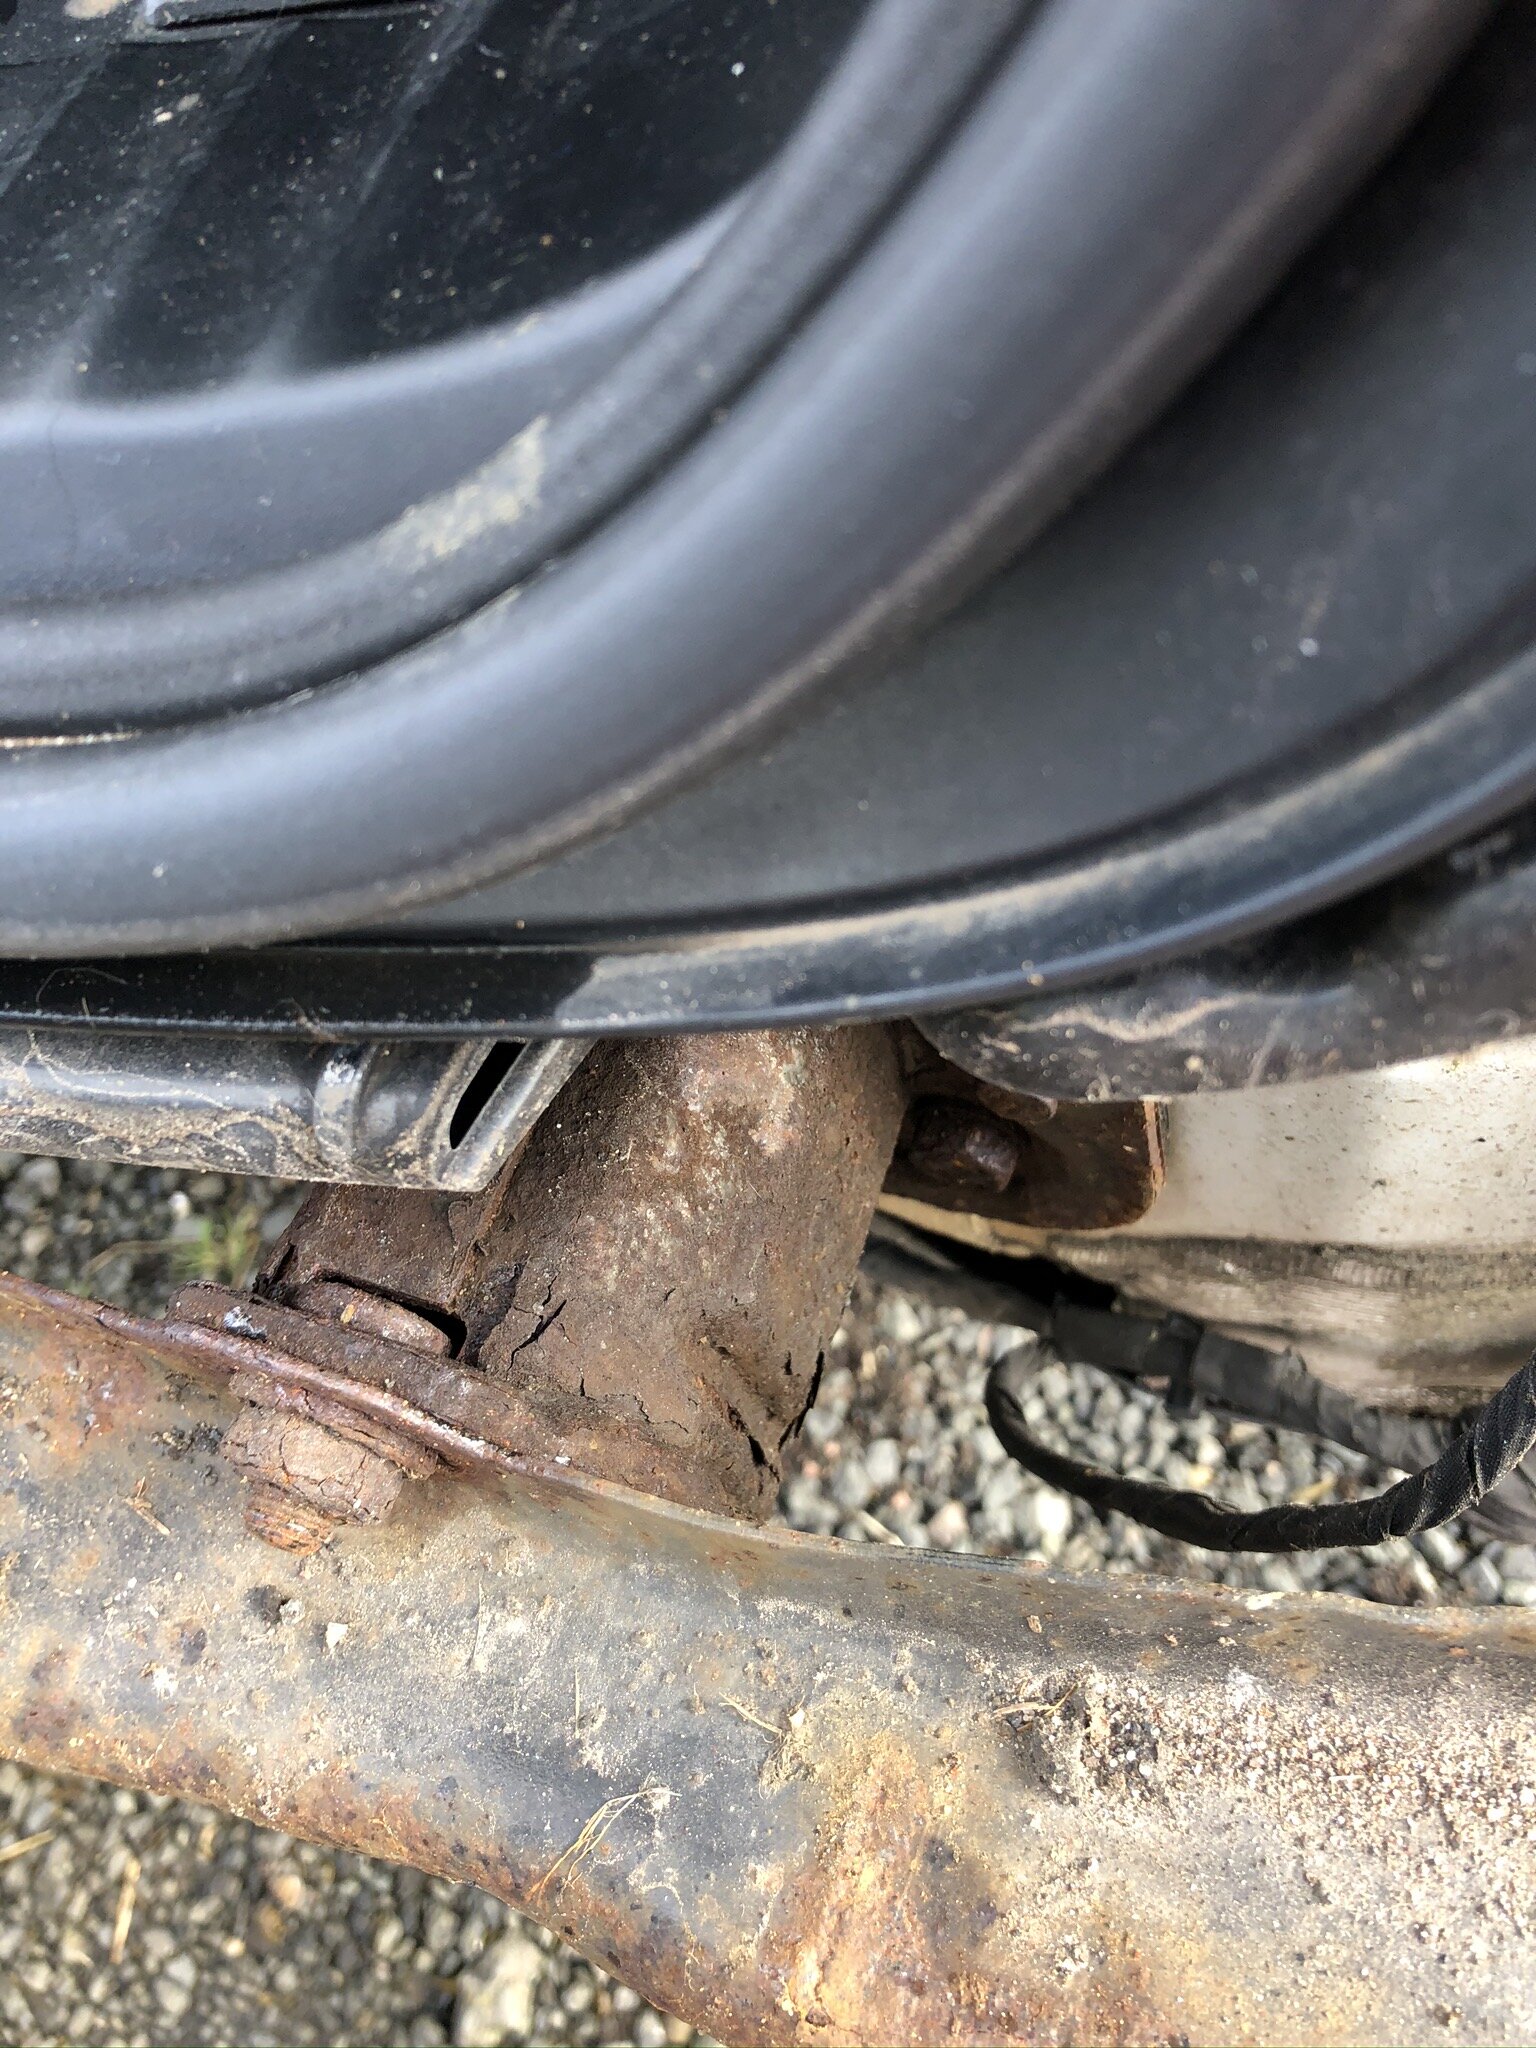
/Post Accident Inspection

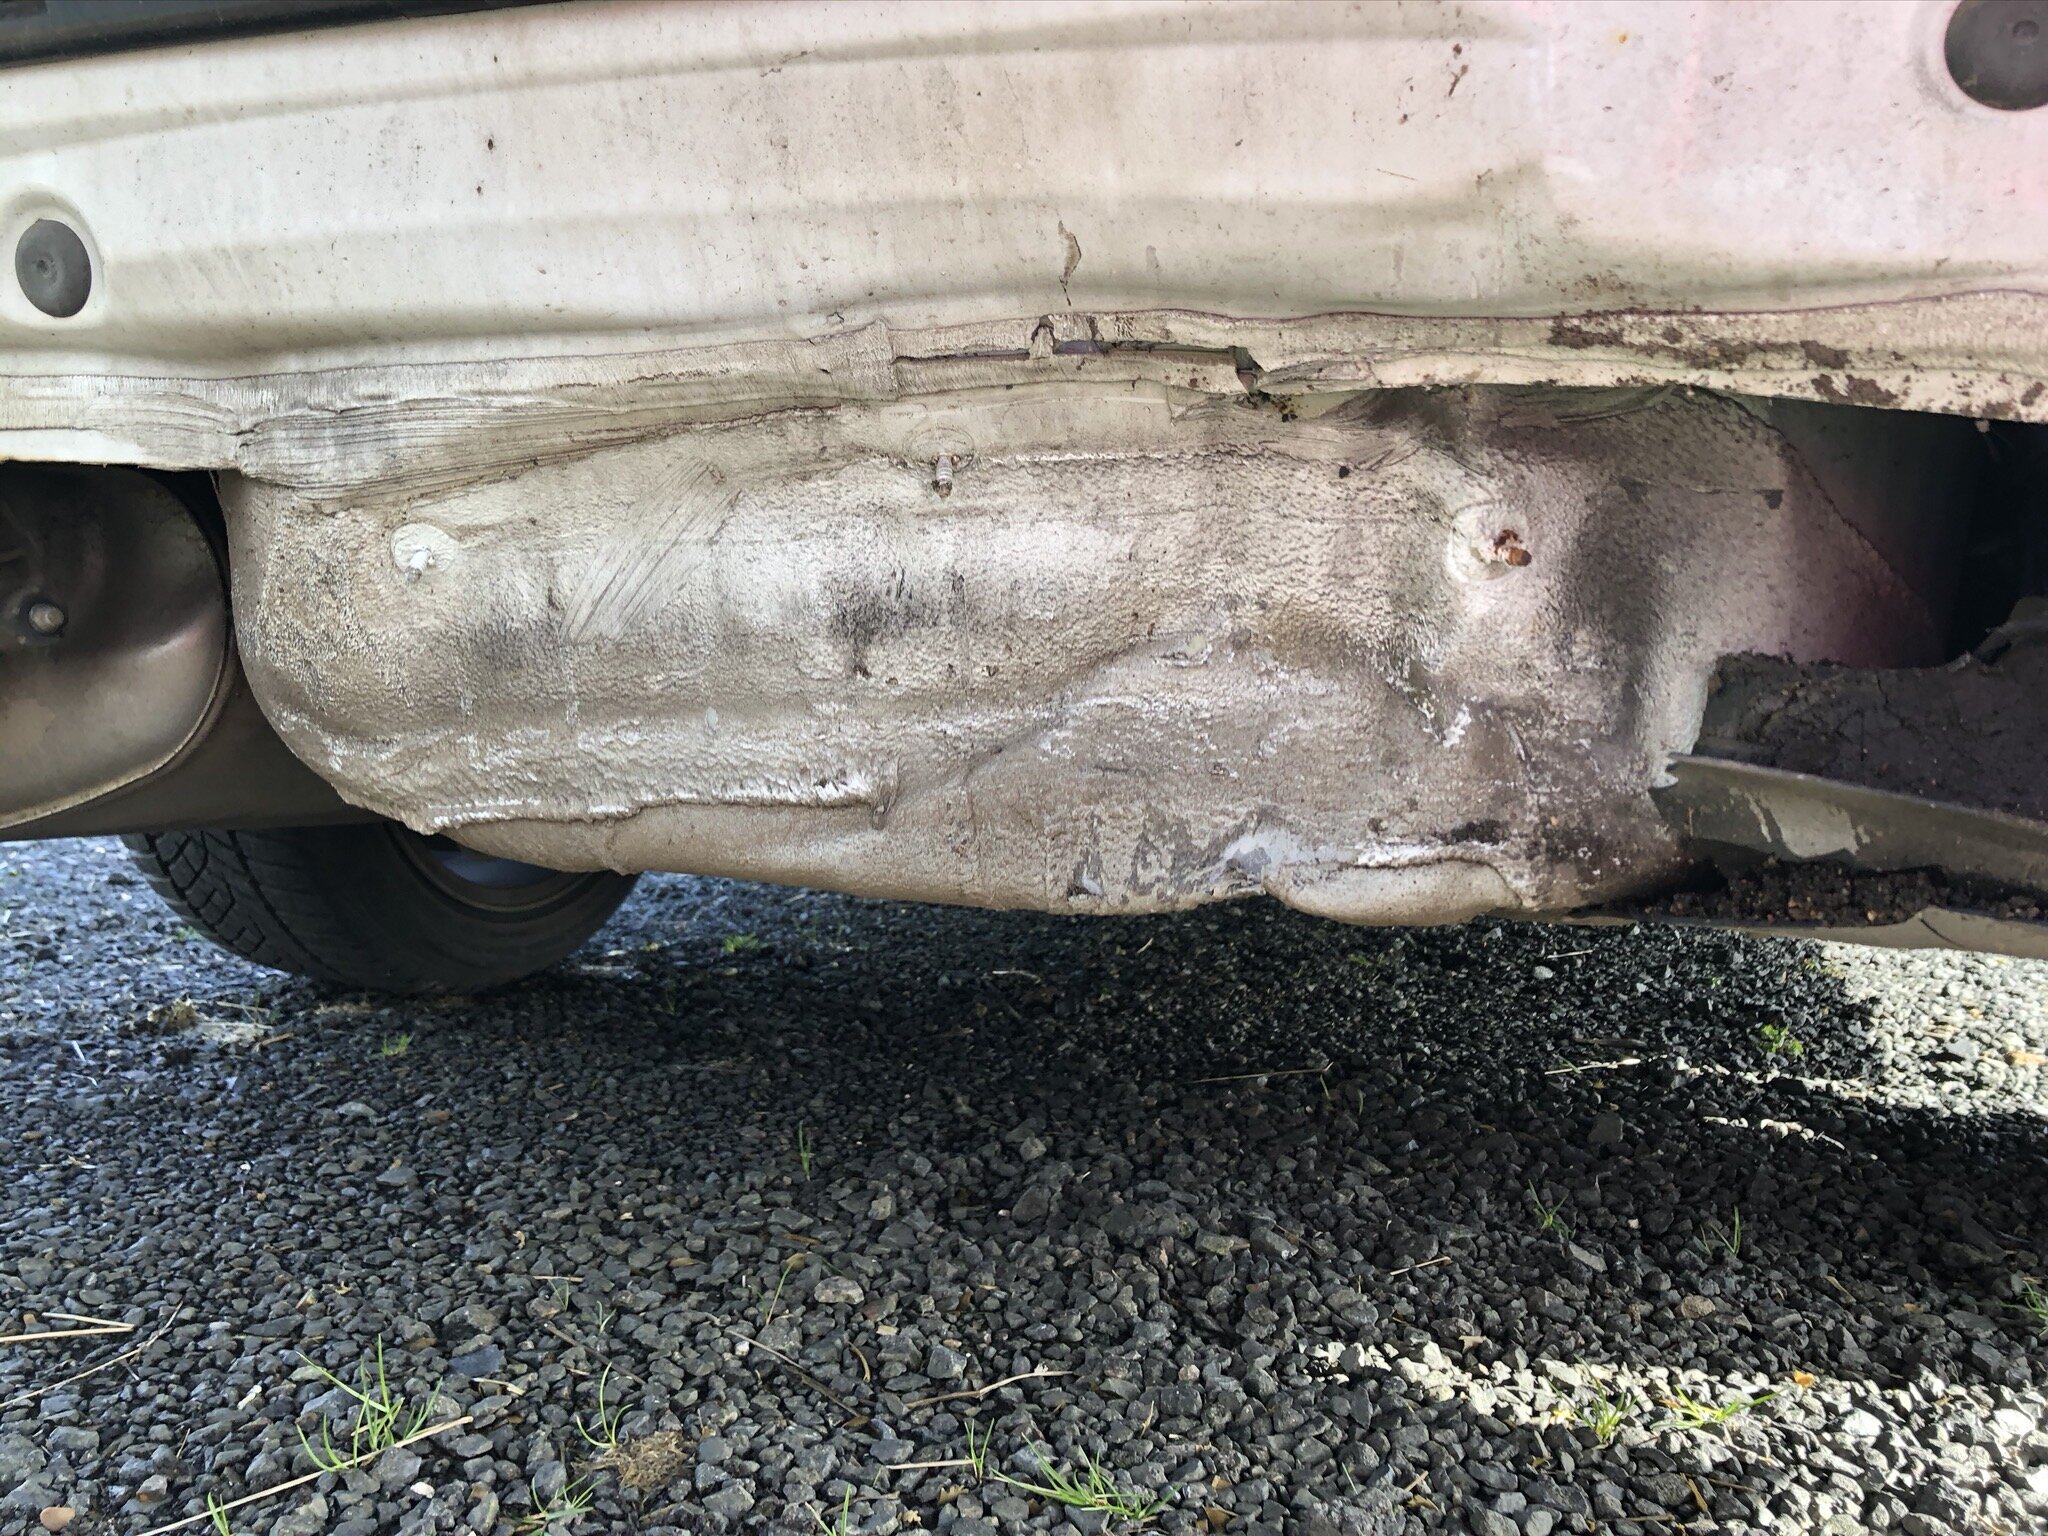
Spare Wheel Well Reshaped
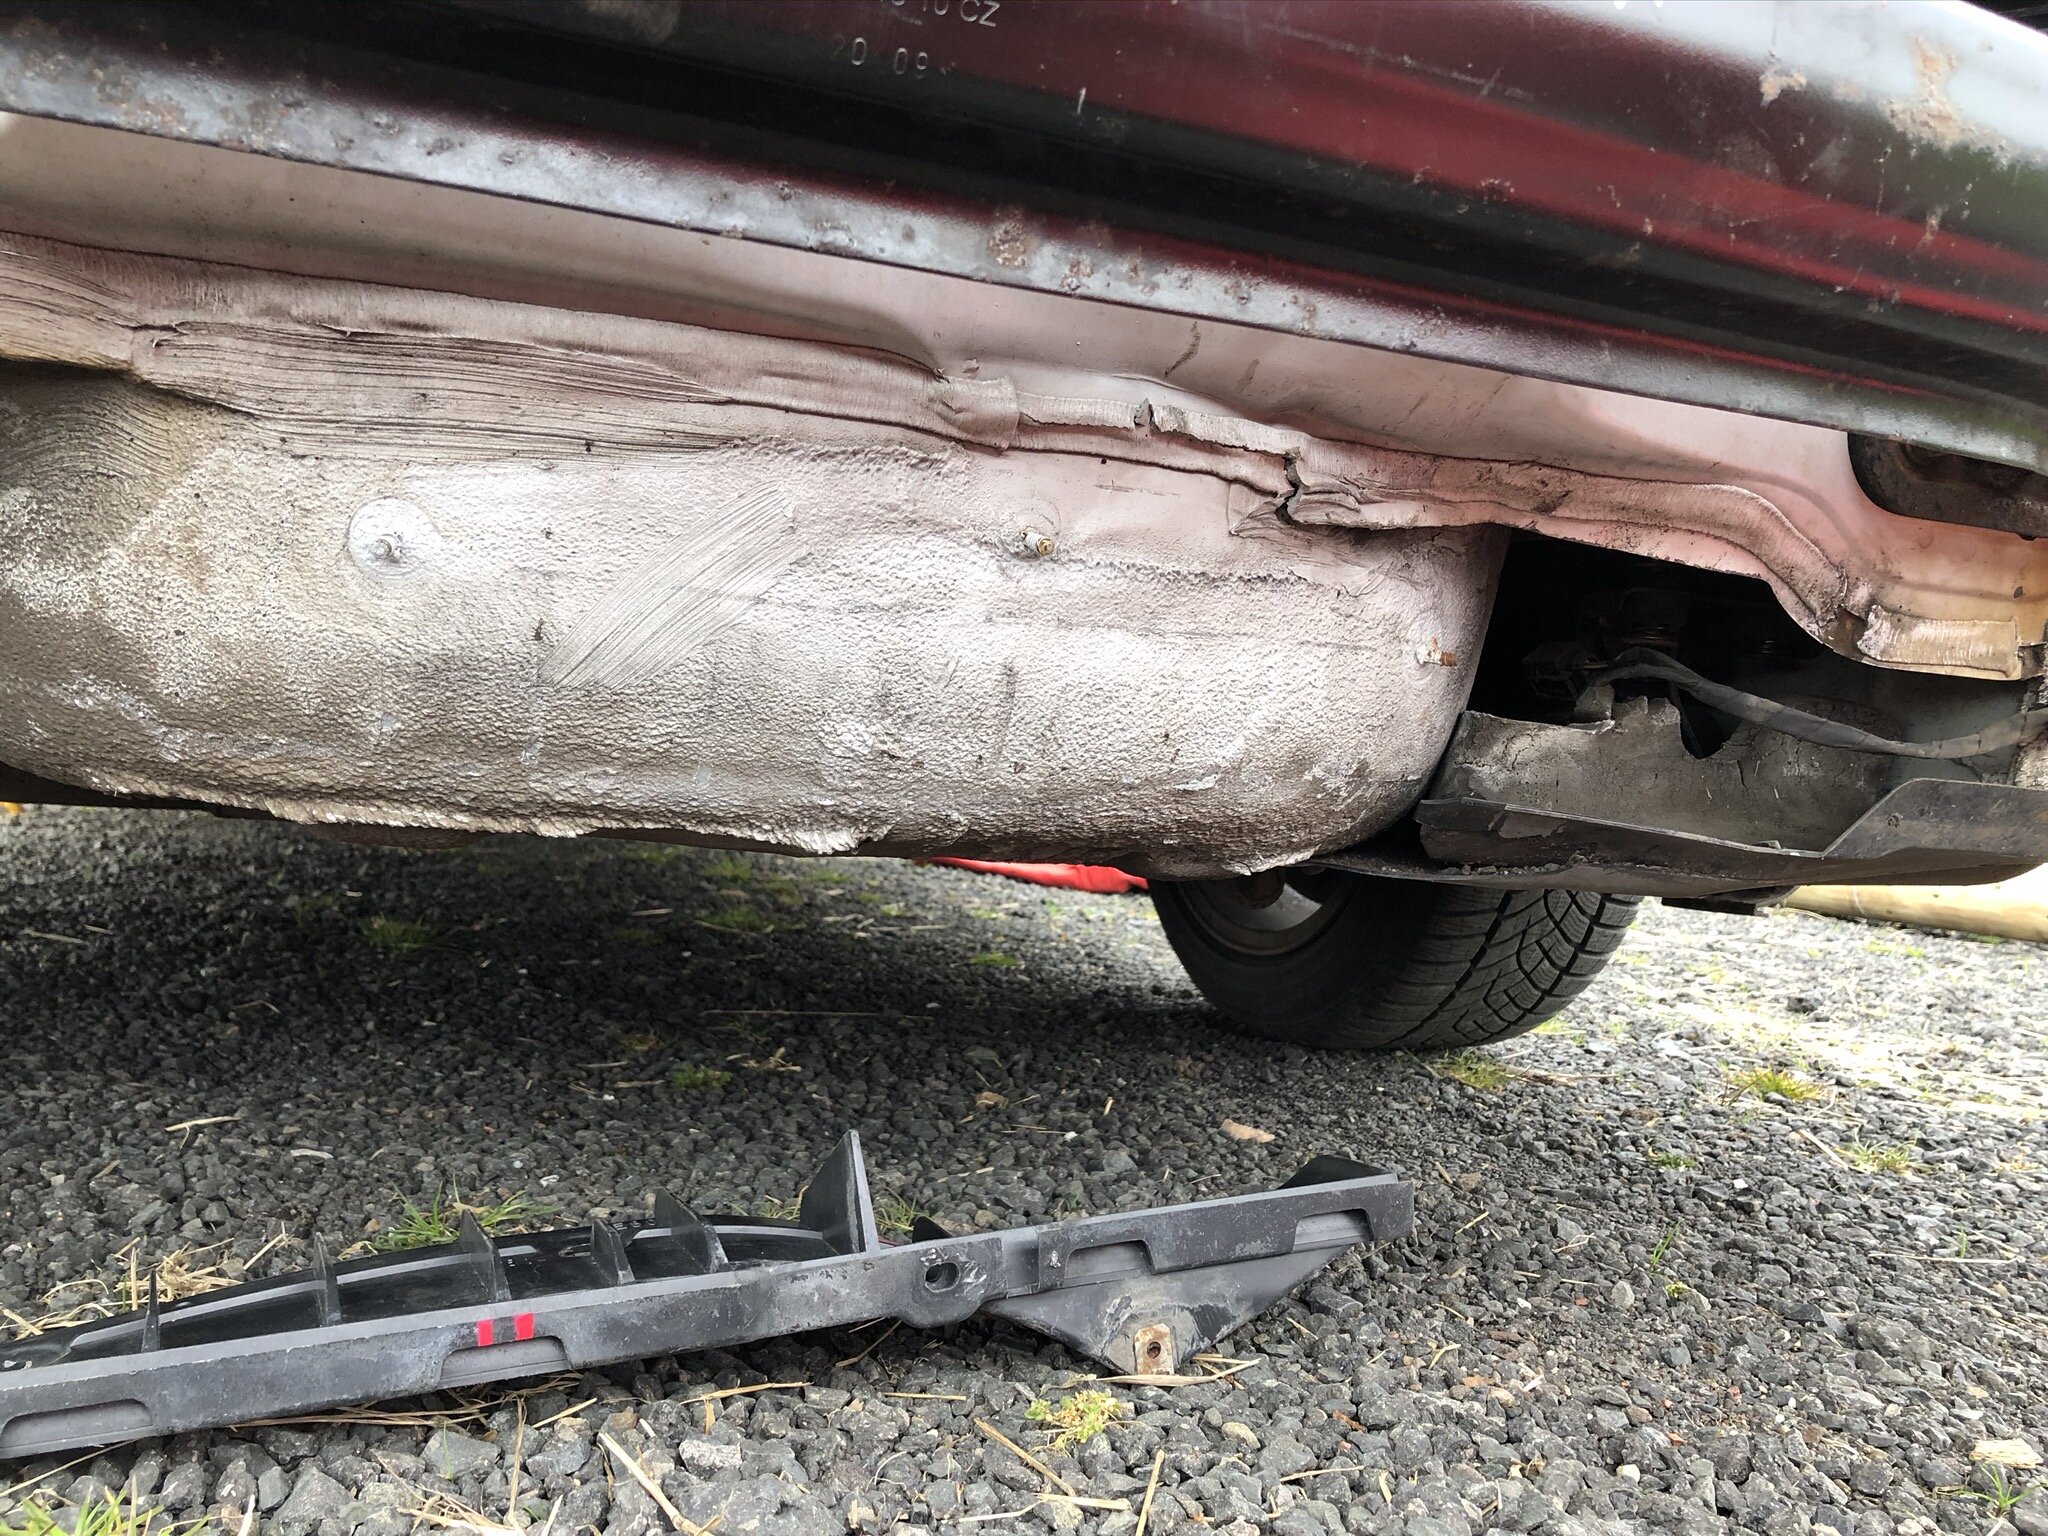
Wheel well dressed back into shape…

…using the new plastic diffuser part as an alignment guide.
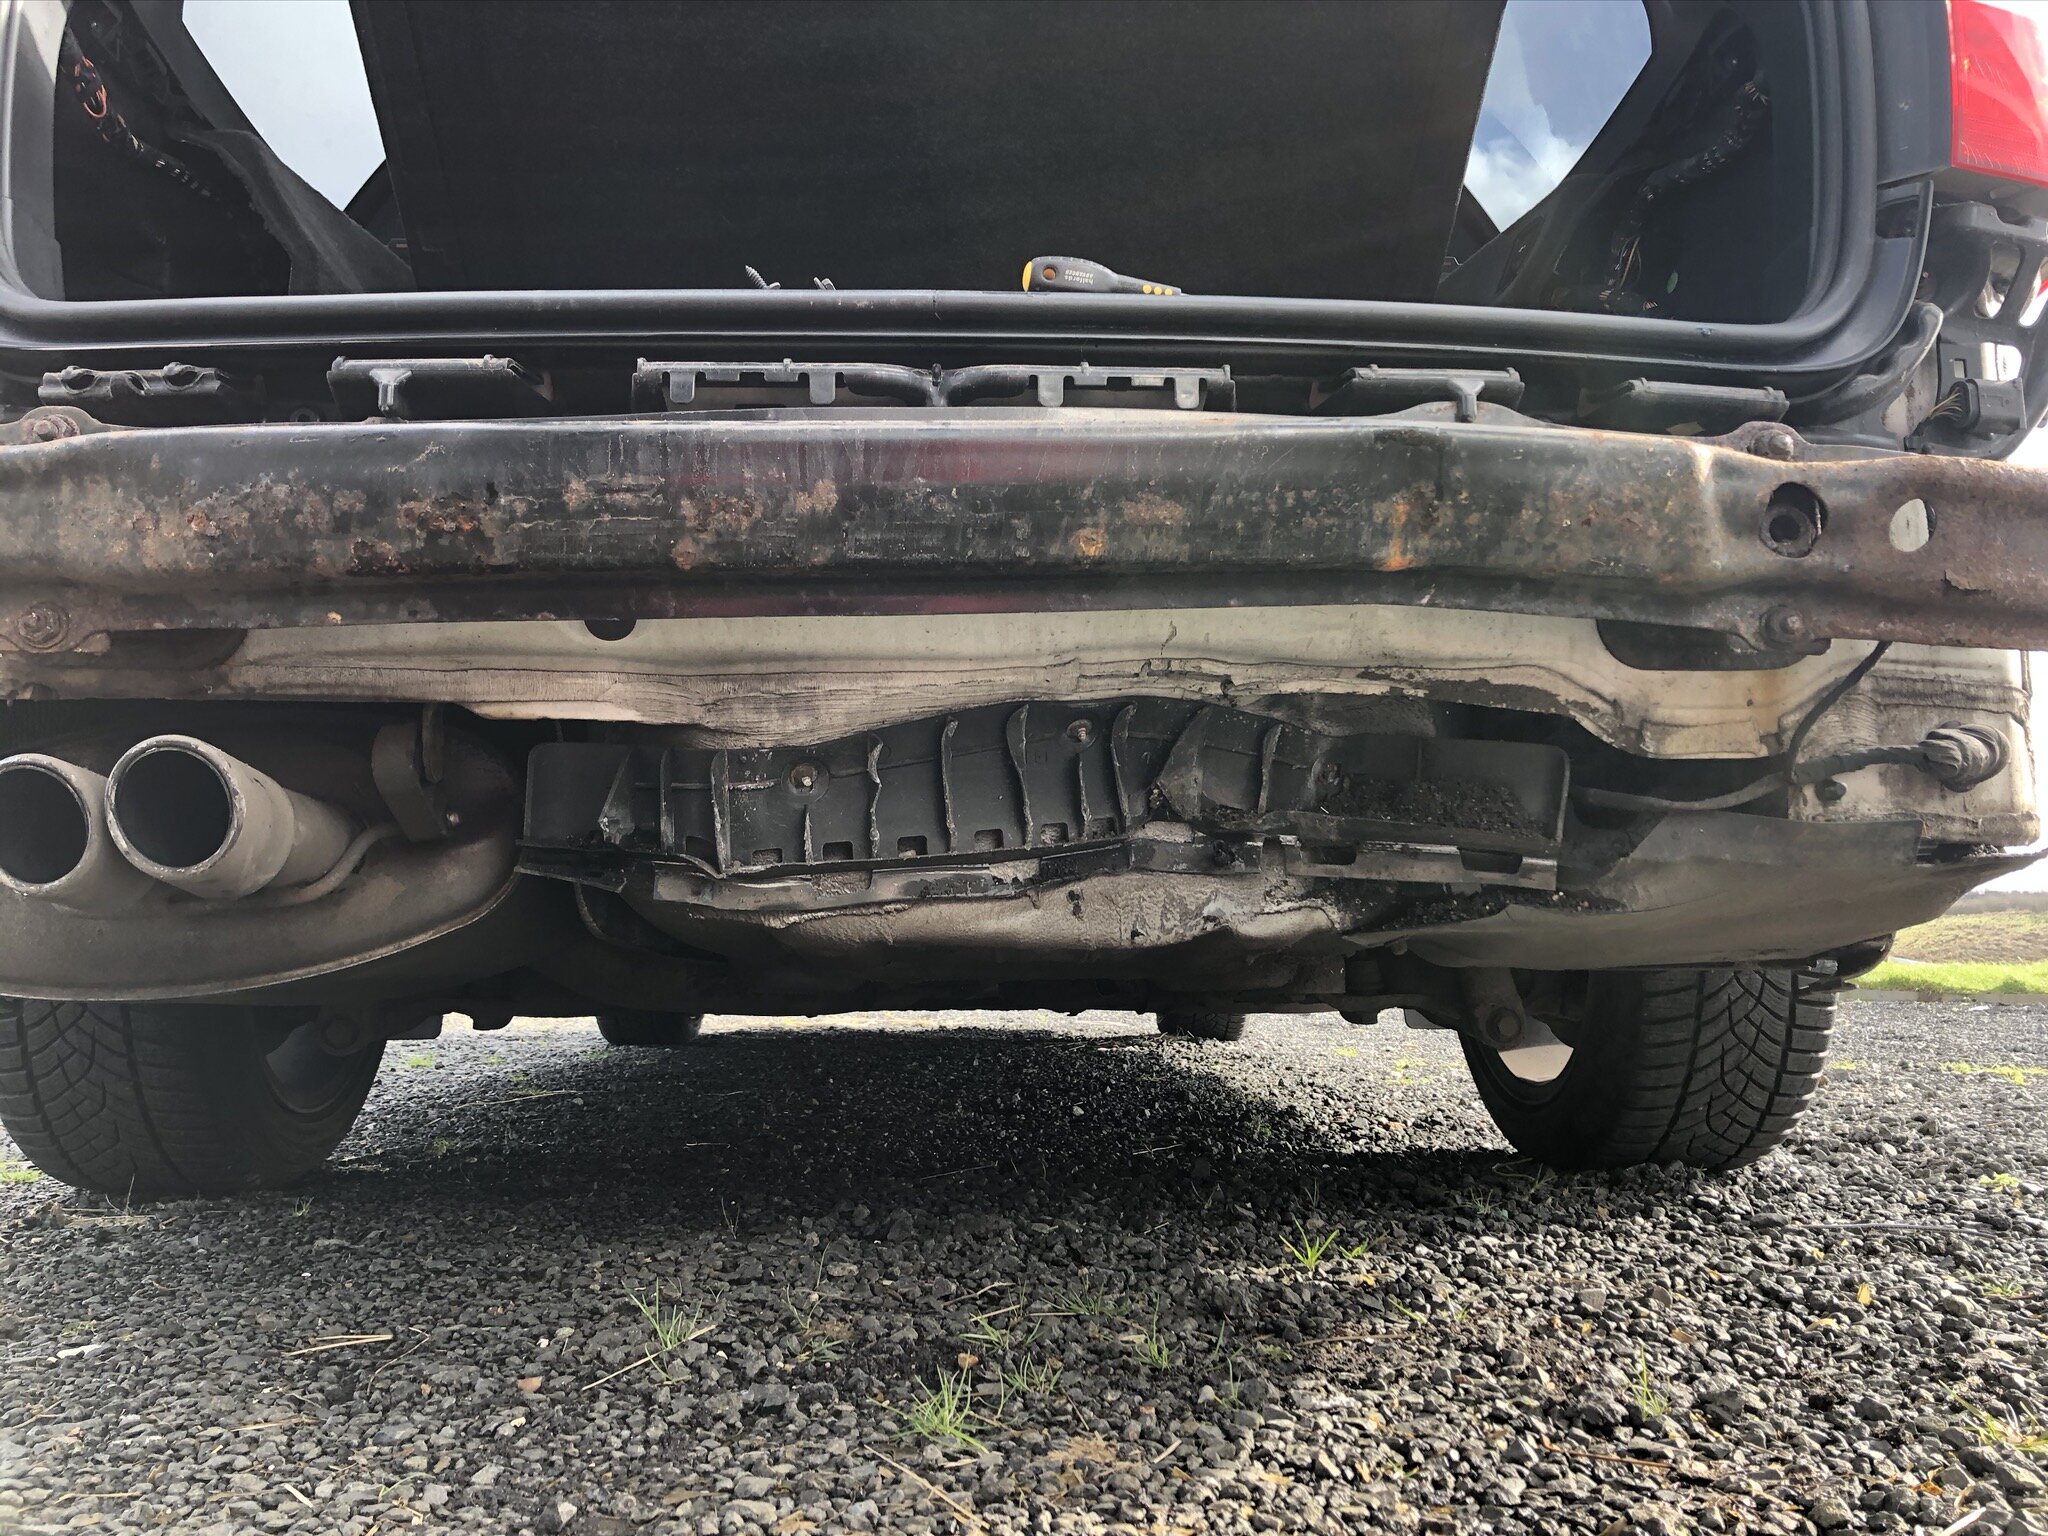
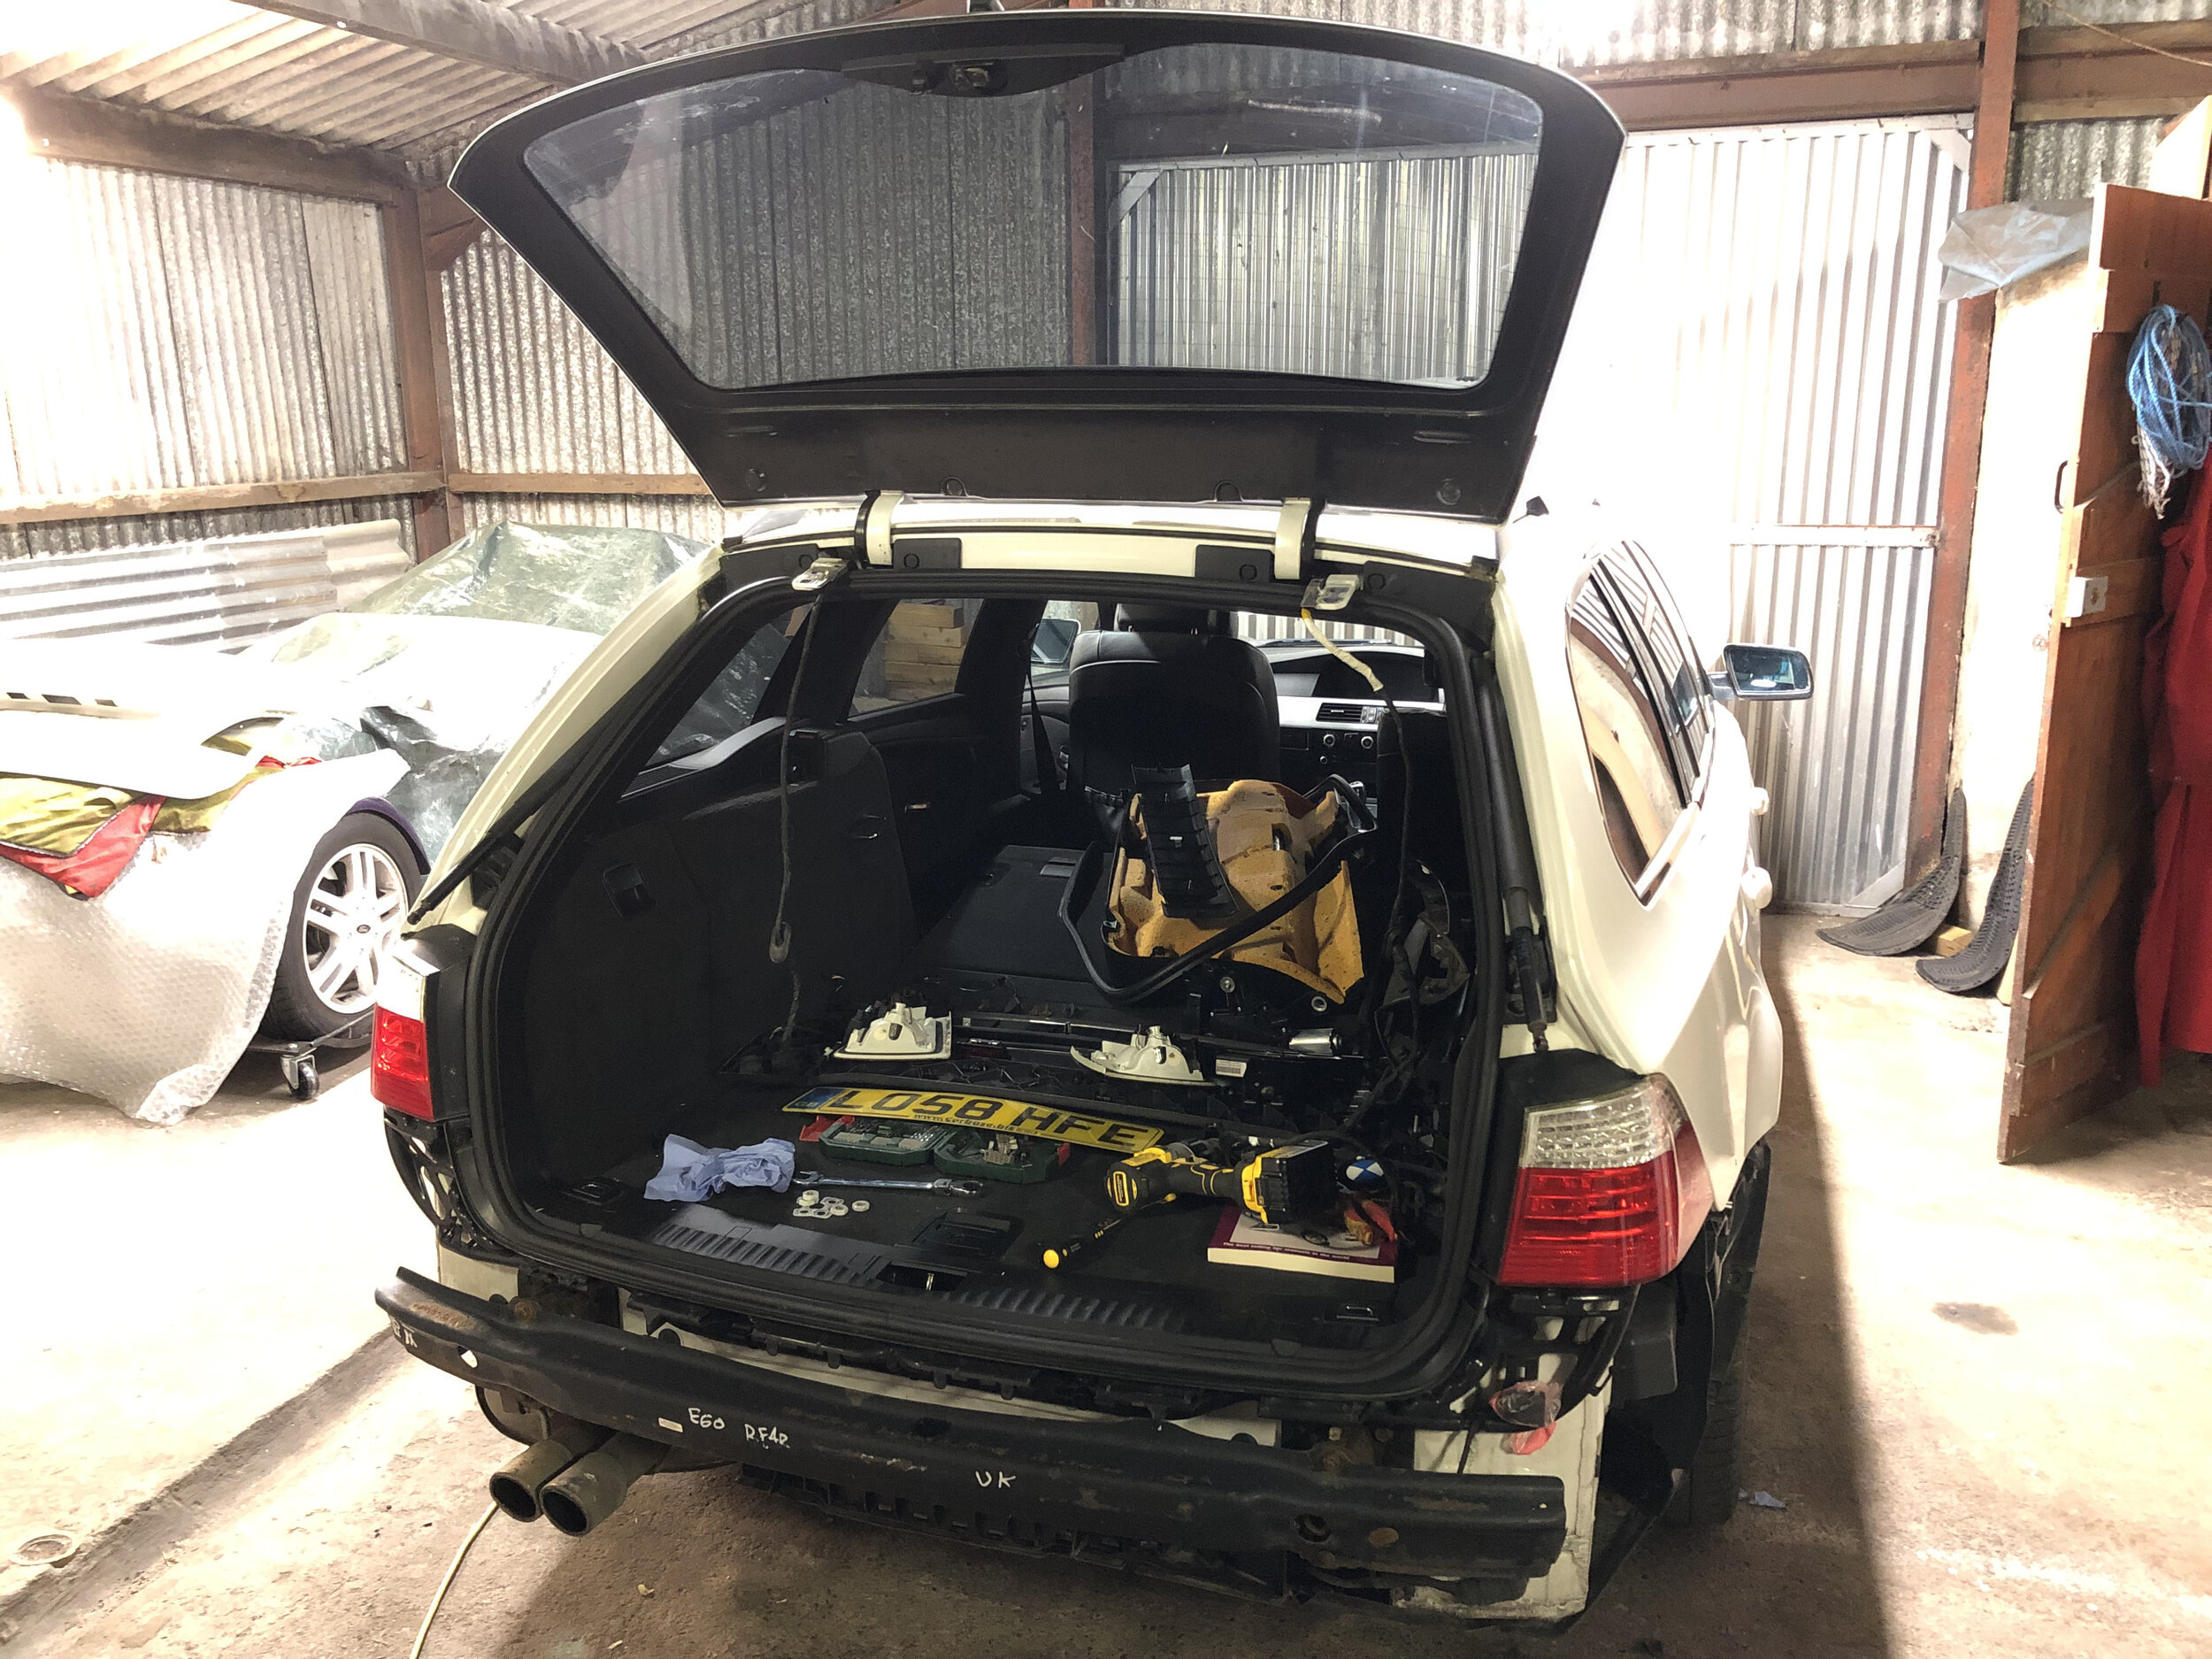
Rear Bumper Replaced
The rear bumper cover was clearly unrepairable so a genuine used part was sourced on eBay and fitted along with a new steel reinforcement bar and crush tubes. The original crush tubes had not been damaged but the new bar came with new ones attached so I just replaced it as a unit. The alignment was excellent since all the mountings were undamaged.


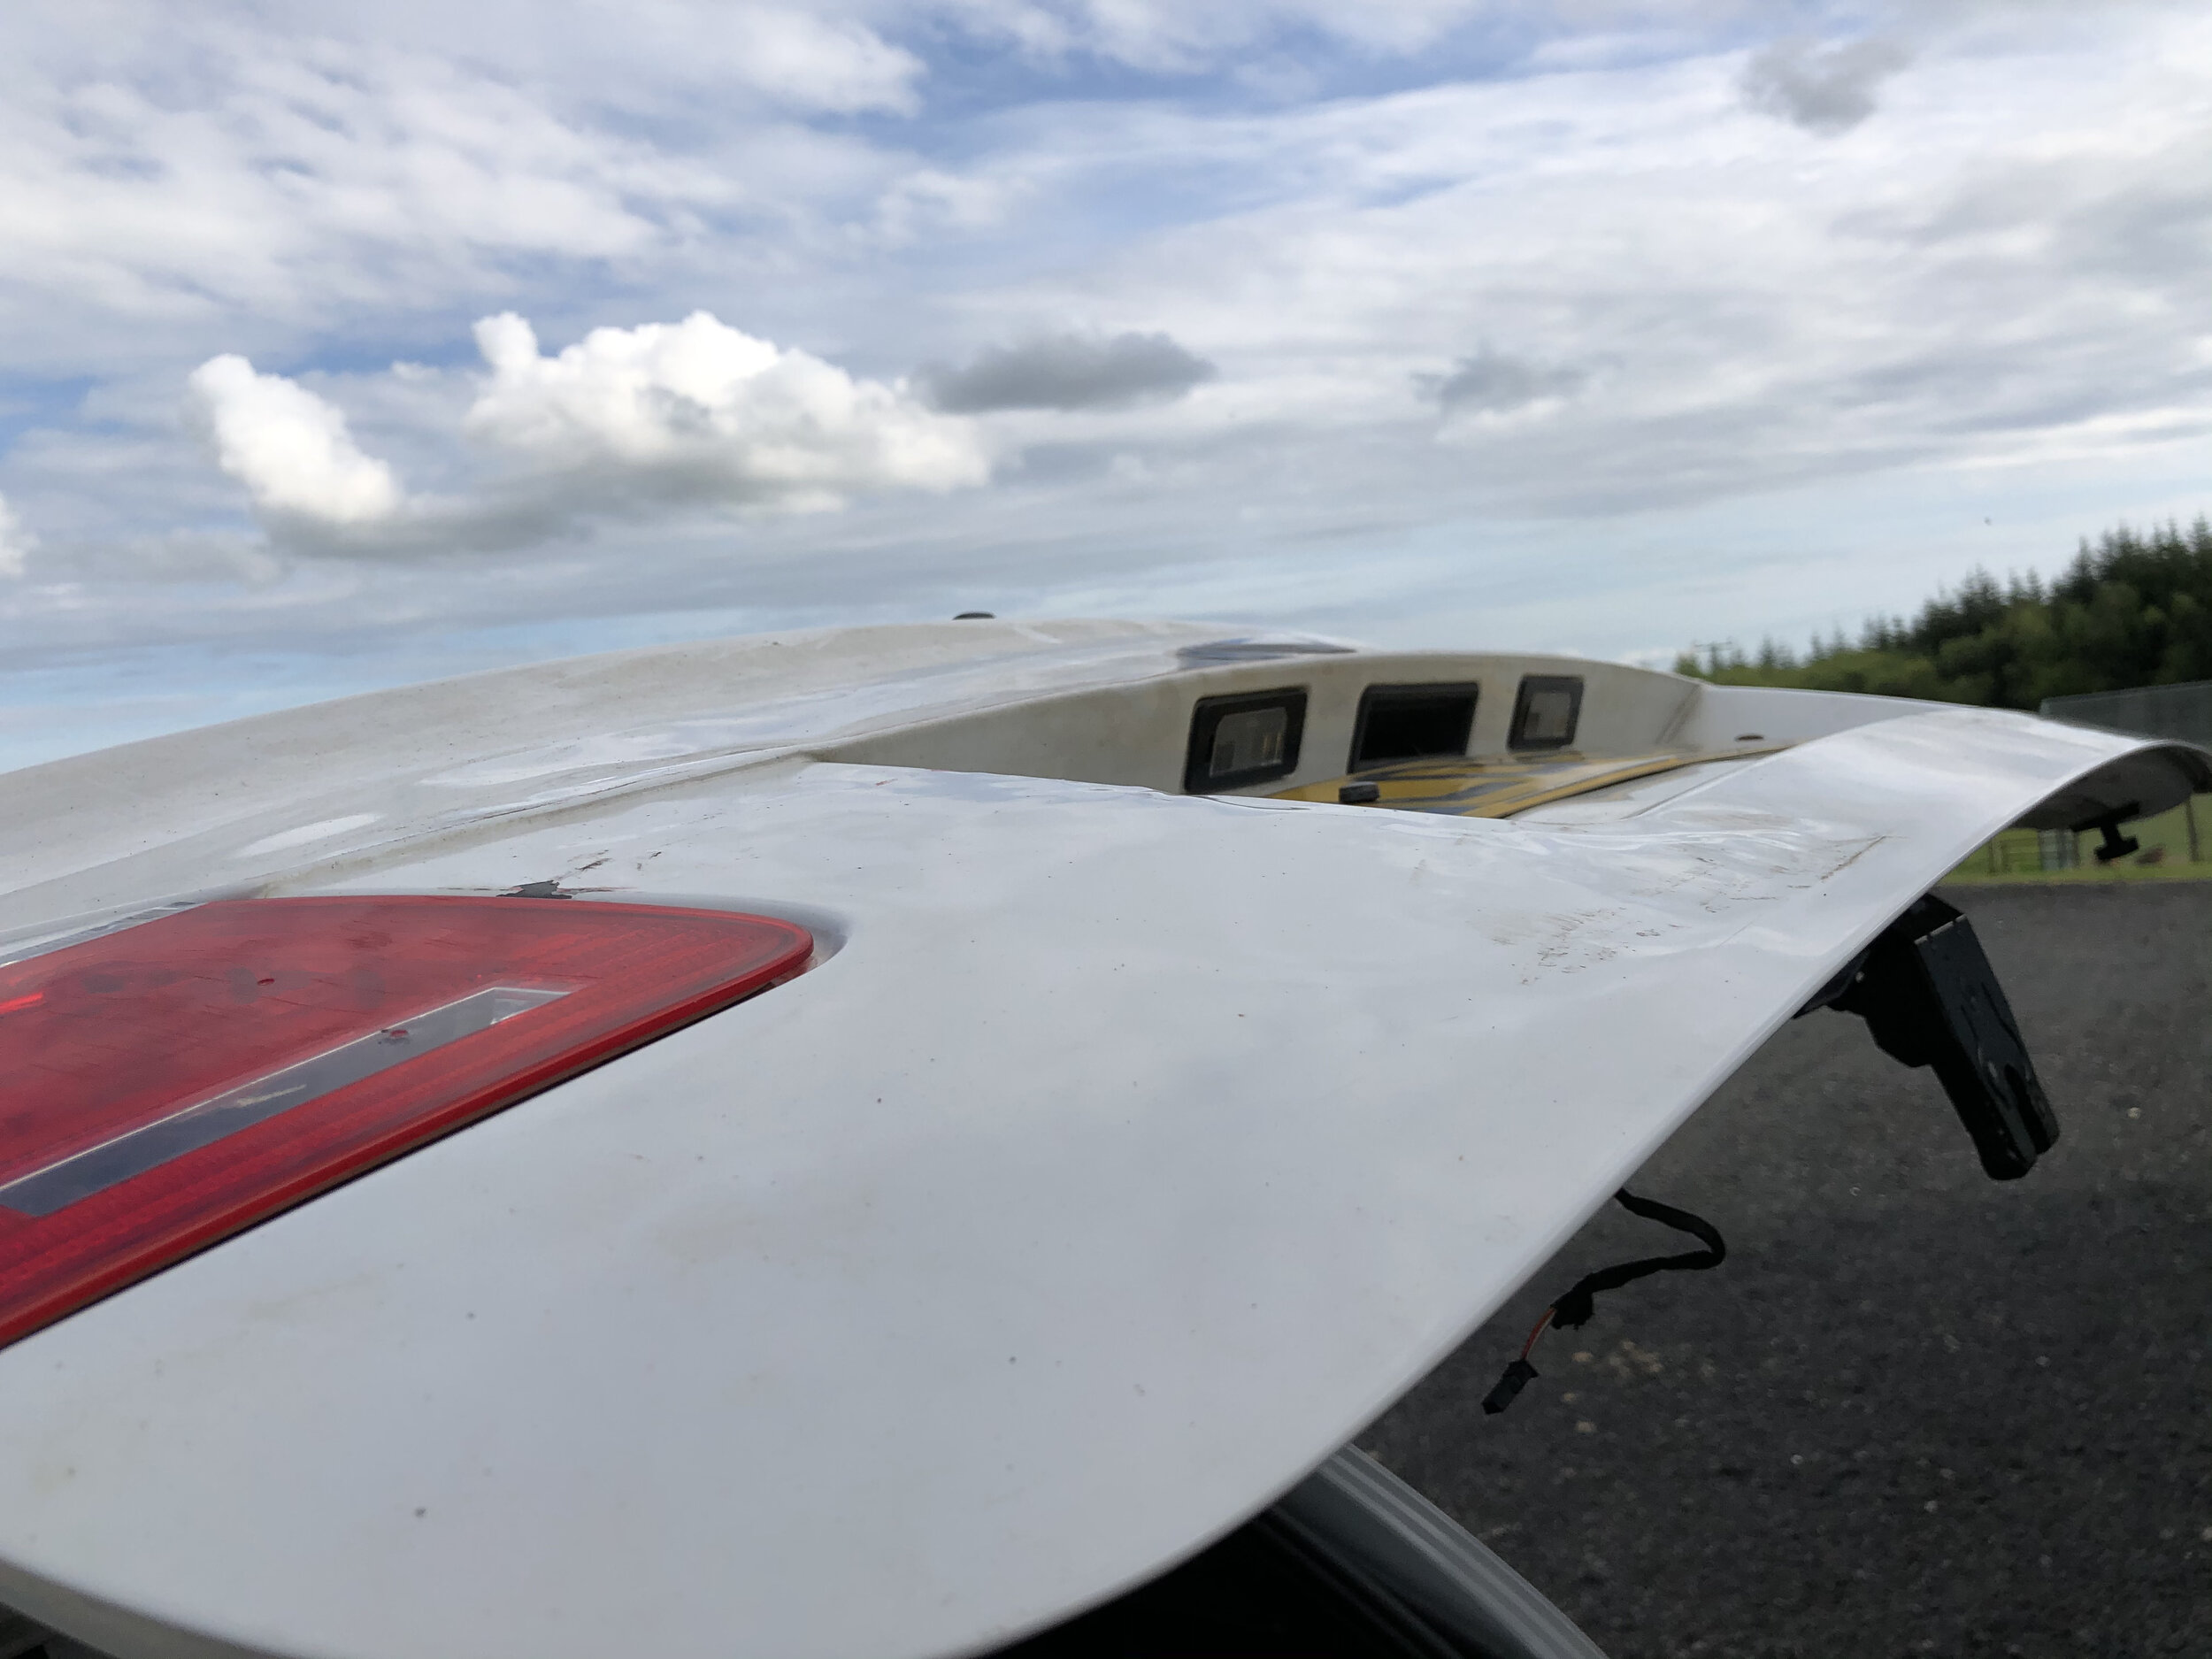
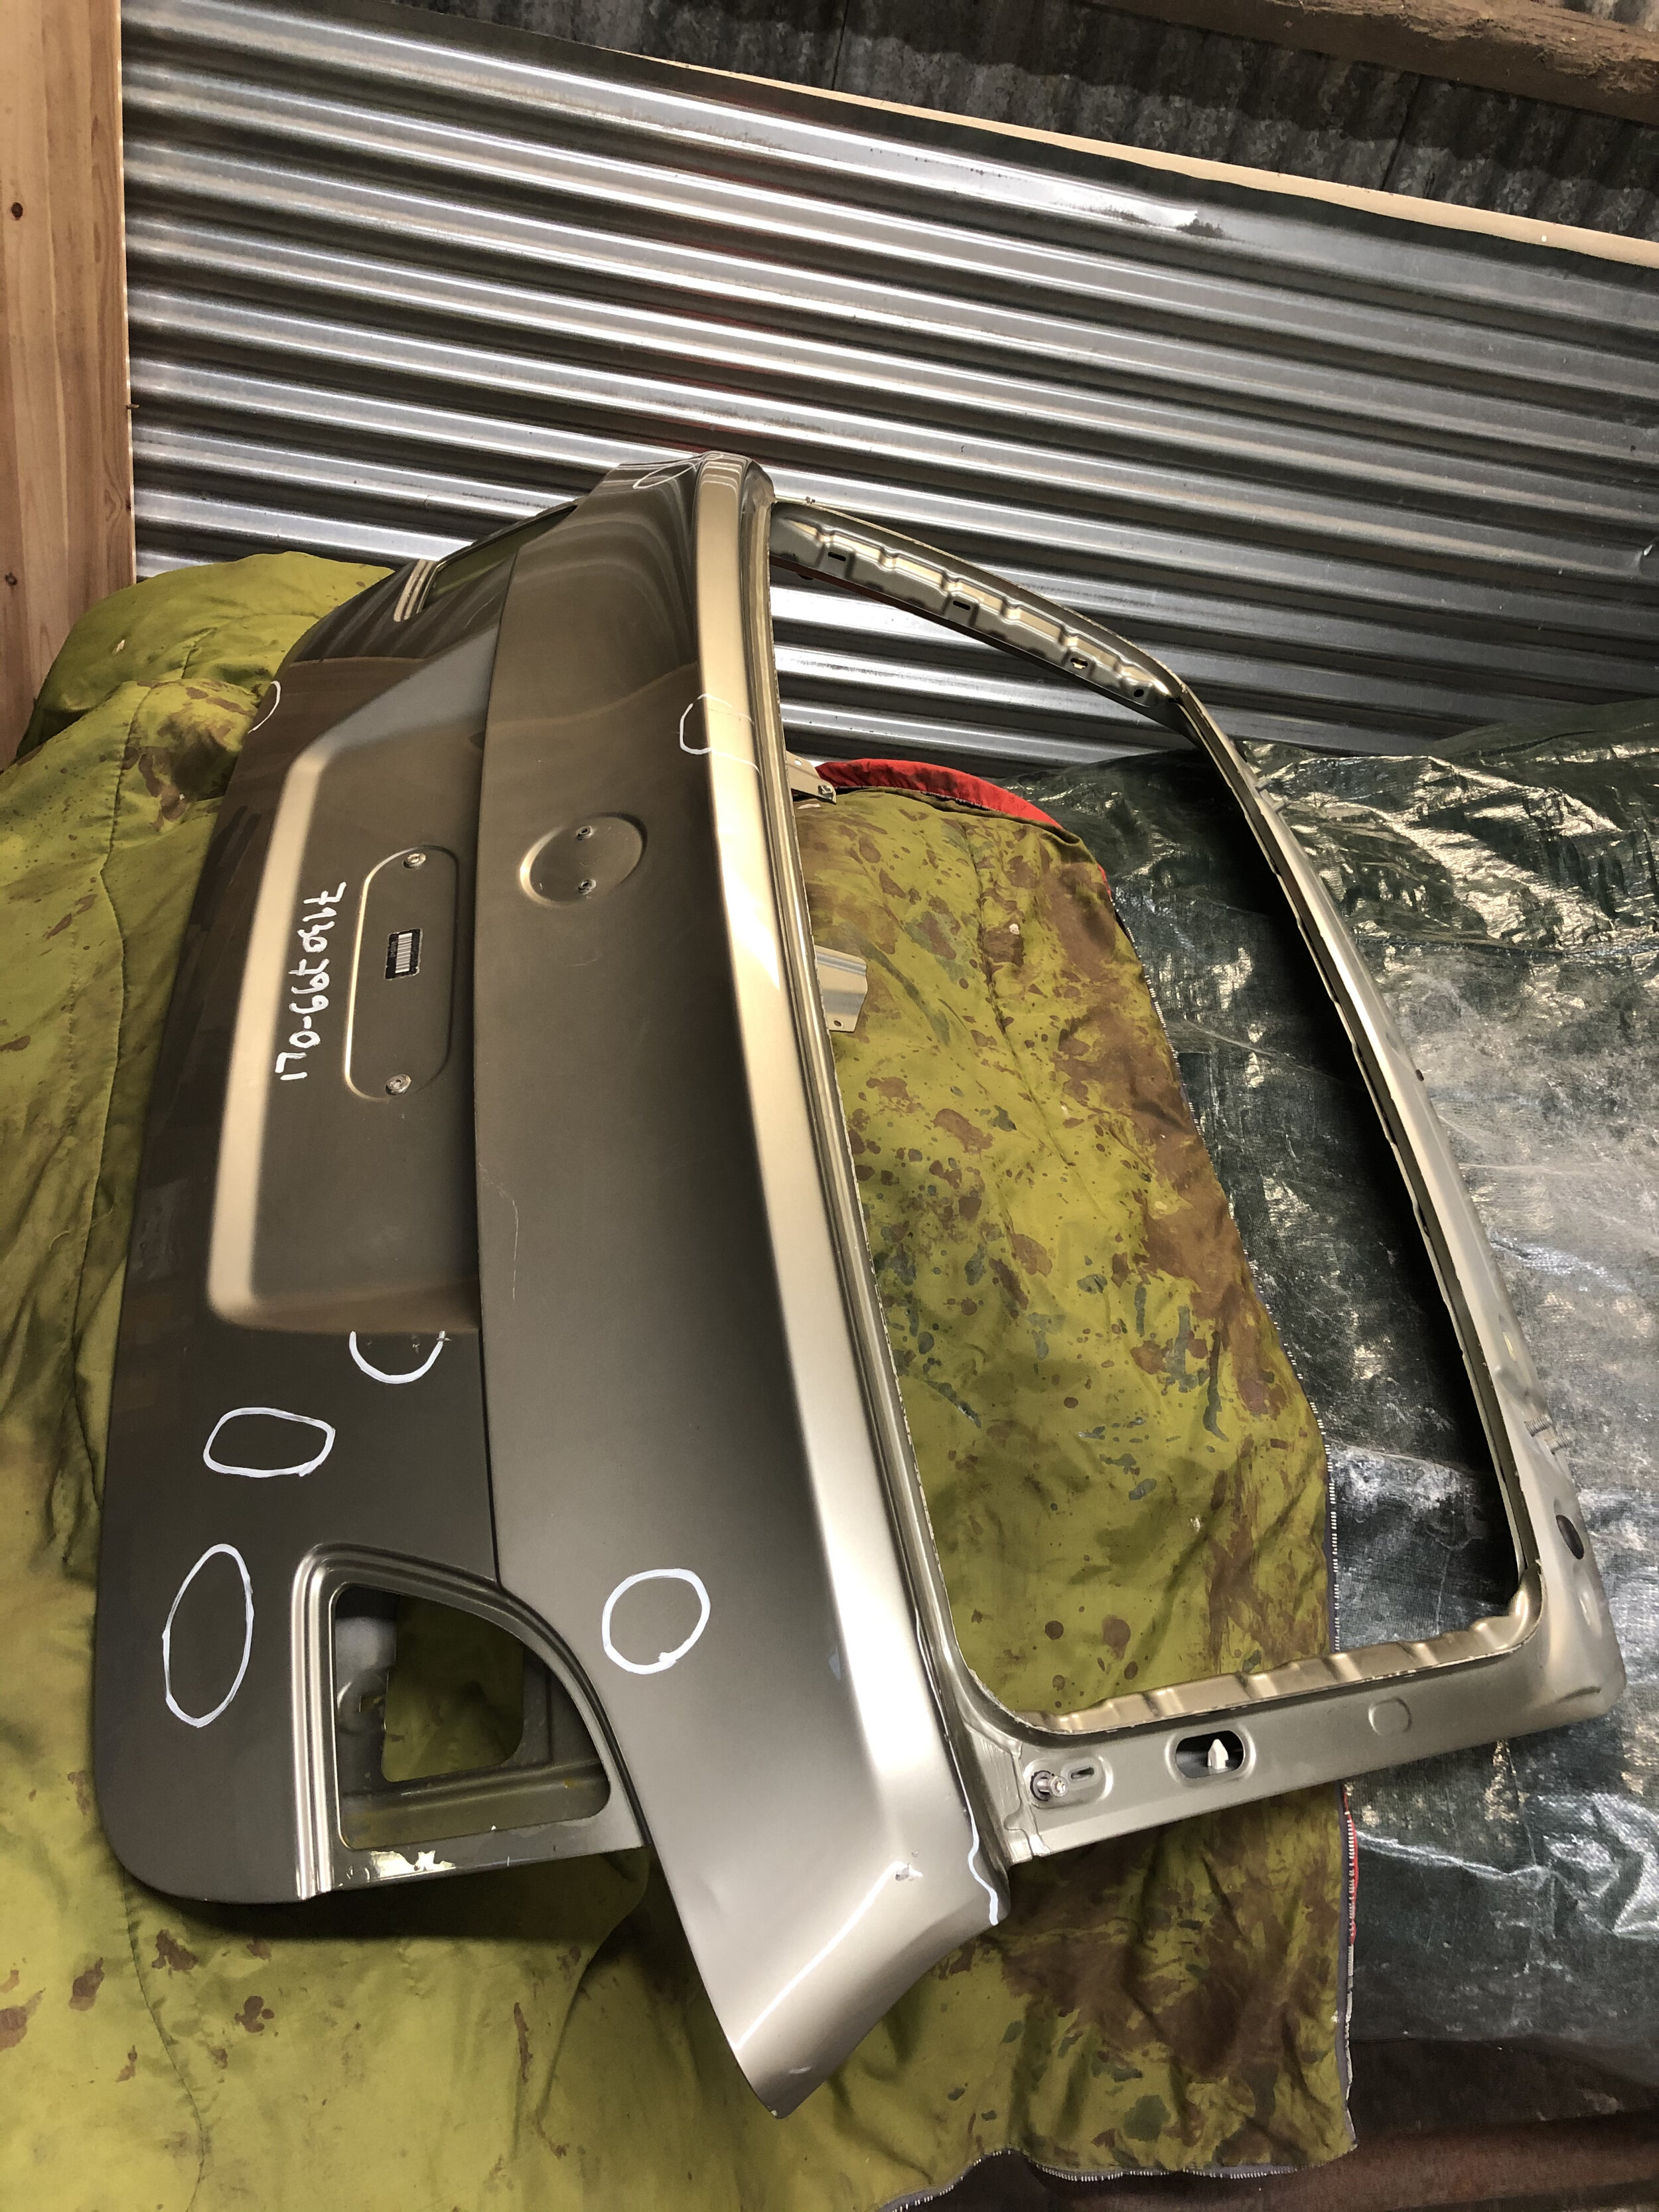
Tailgate Replaced
I had originally thought the tailgate could be repaired but after knocking out the majority of the damage, I wasn’t happy with it so sourced a genuine used replacement. I figured if I’m going to be paying a professional bodyshop to paint it, I want the end result to be right!

Front End Inspected

Front bumper cover removed
The damage to the front was mostly in the grill area and only affected various plastic parts including the sides and top of the radiator cowling and the main engine intake pipe. The upper bumper support was also bent slightly and since this is an alloy part and is important for bumper alignment, I decided to replace it as well. As expected, the bumper support itself was undamaged although it is also a bolt on part so could have been easily replaced. The plastic parts could easily have been glued back together but they are also readily available on eBay for £20 to £30 each piece and it makes for a much better result.
The bumper cover itself was beyond reasonable repair so a genuine second hand part was sourced on eBay along with a couple of PDC sensors and a pair of new chrome grills.

Radiator cowling plastics replaced

Front end back together for trial alignment. Note the part with the orange “E60” written on it - that is the upper bumper support I mentioned above.
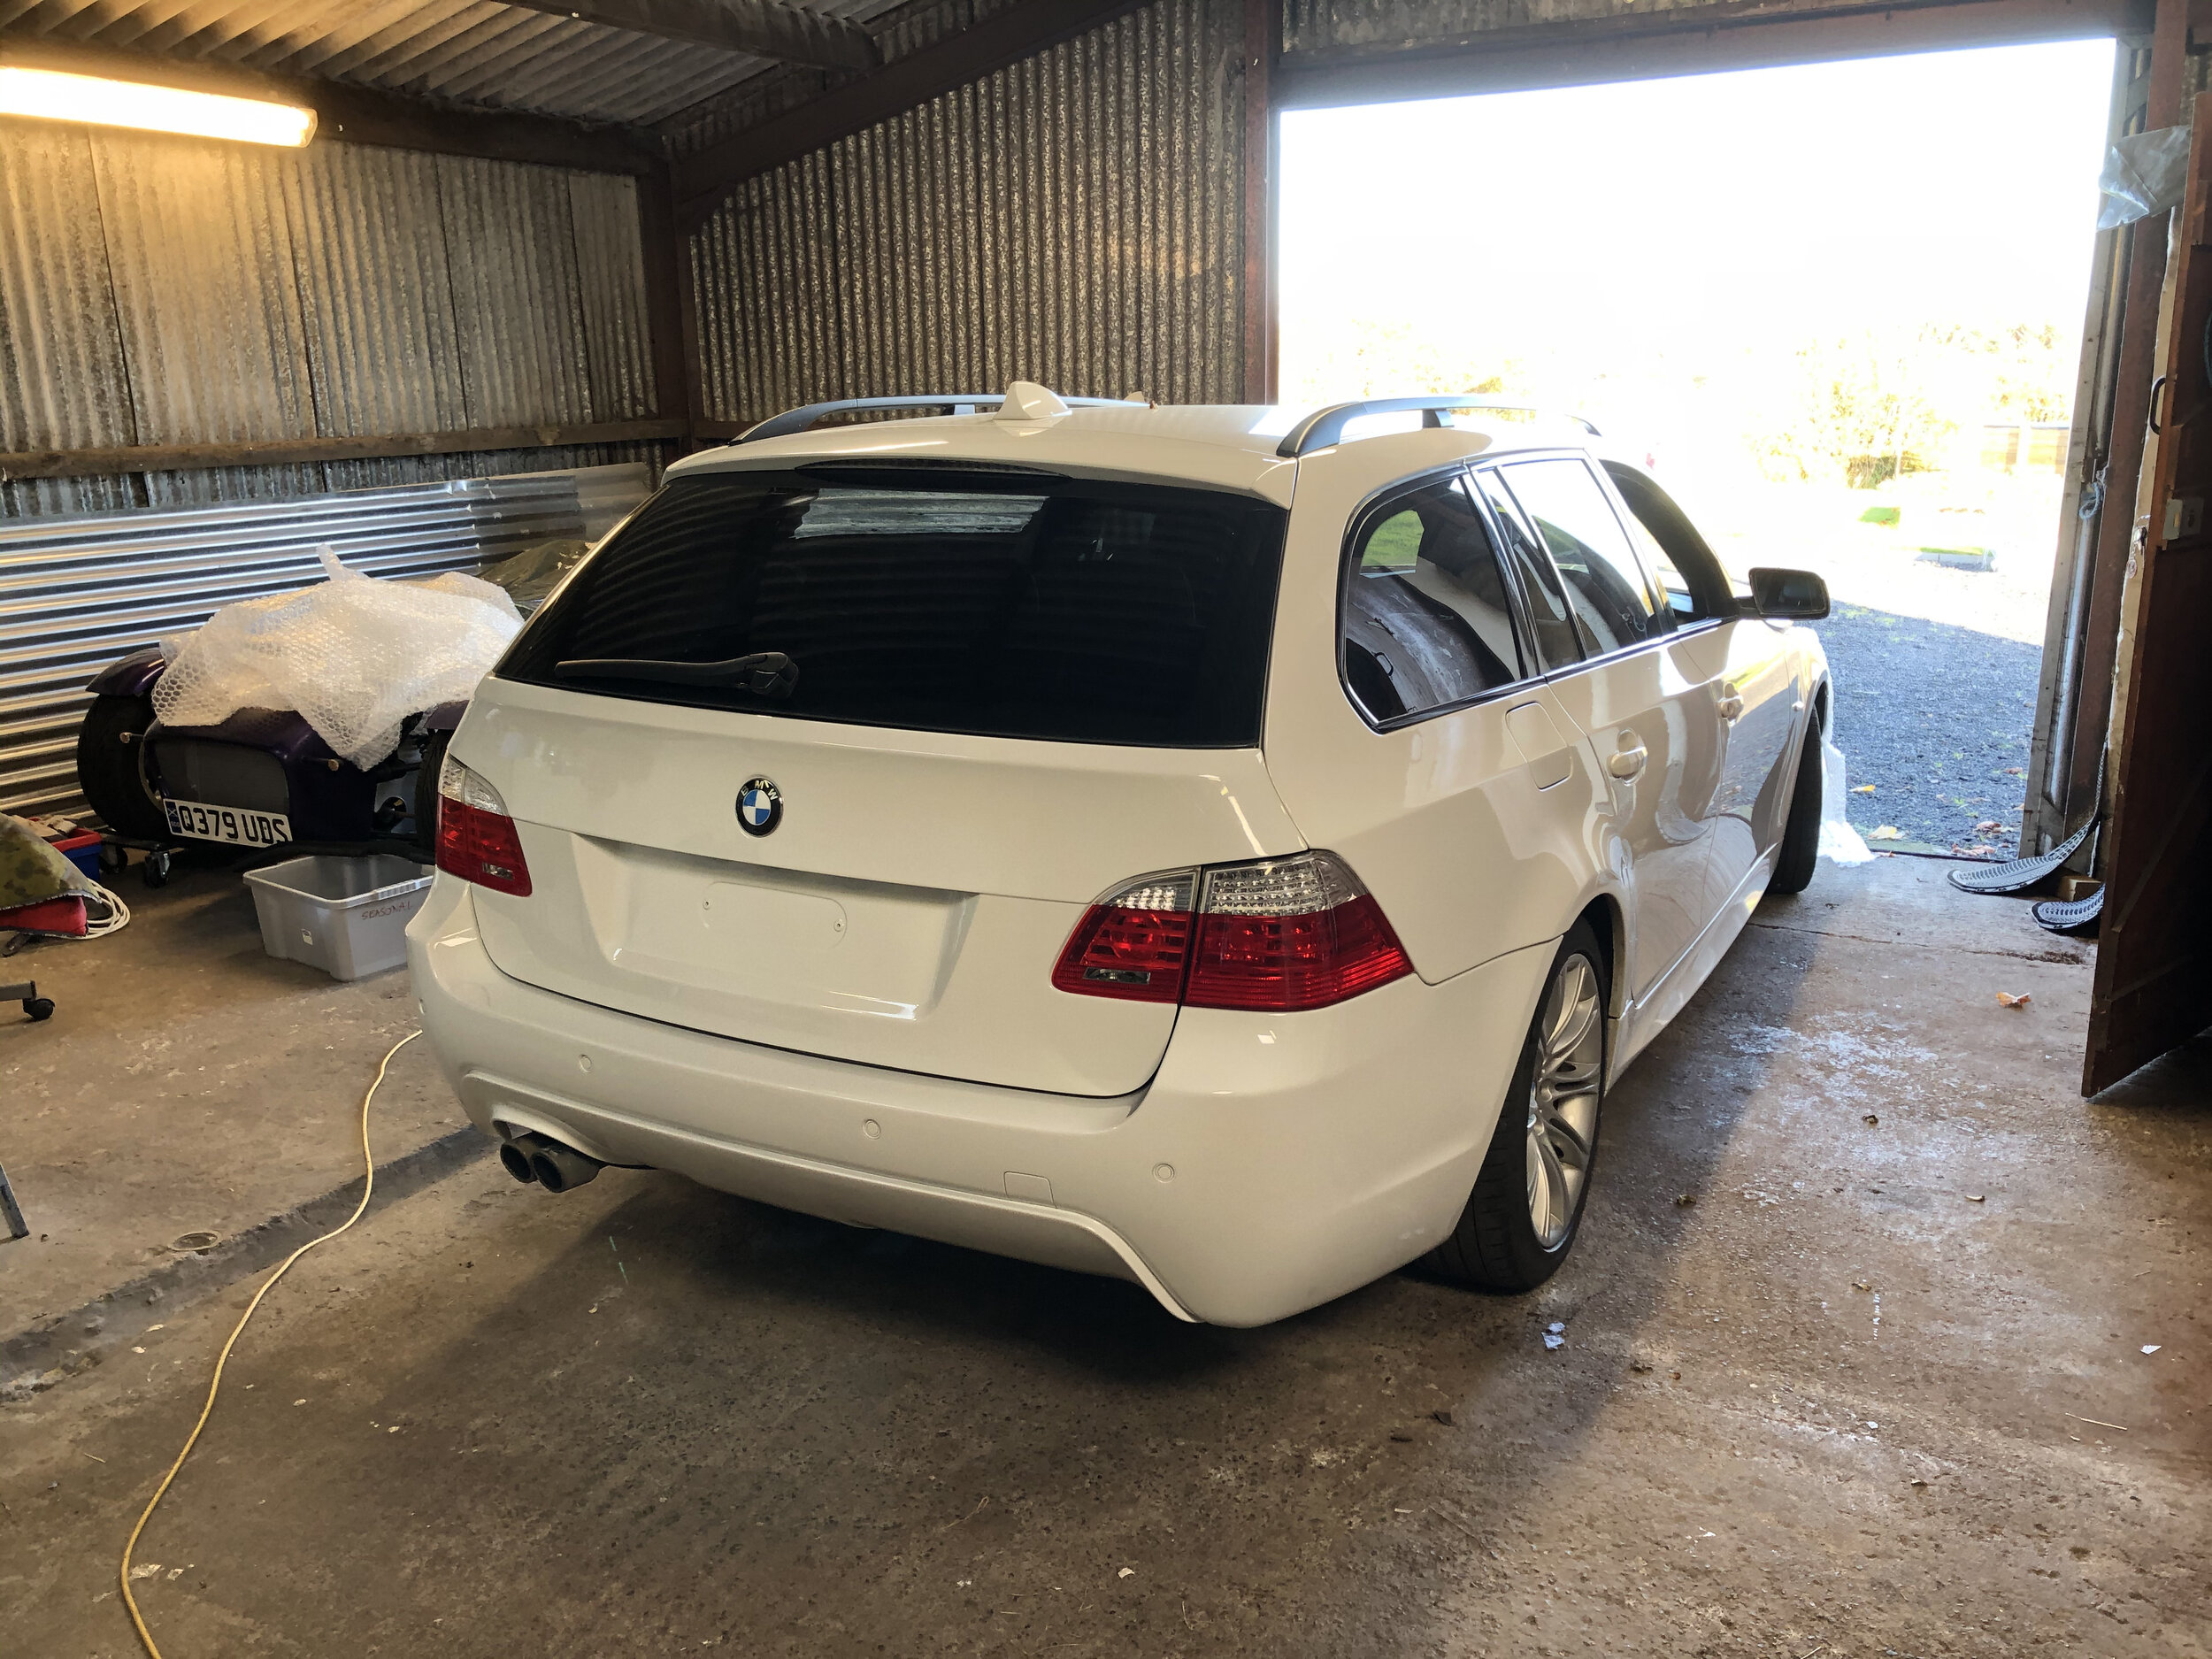
Everything aligned pretty well straight away and there is enough adjustment available to fine tune the shut lines later once everything is painted. I tried to find Alpine White III bumpers but in M-Sport guise they seem to be super rare. I’m sure if it was a police spec car then white bumpers would be easy to come by!