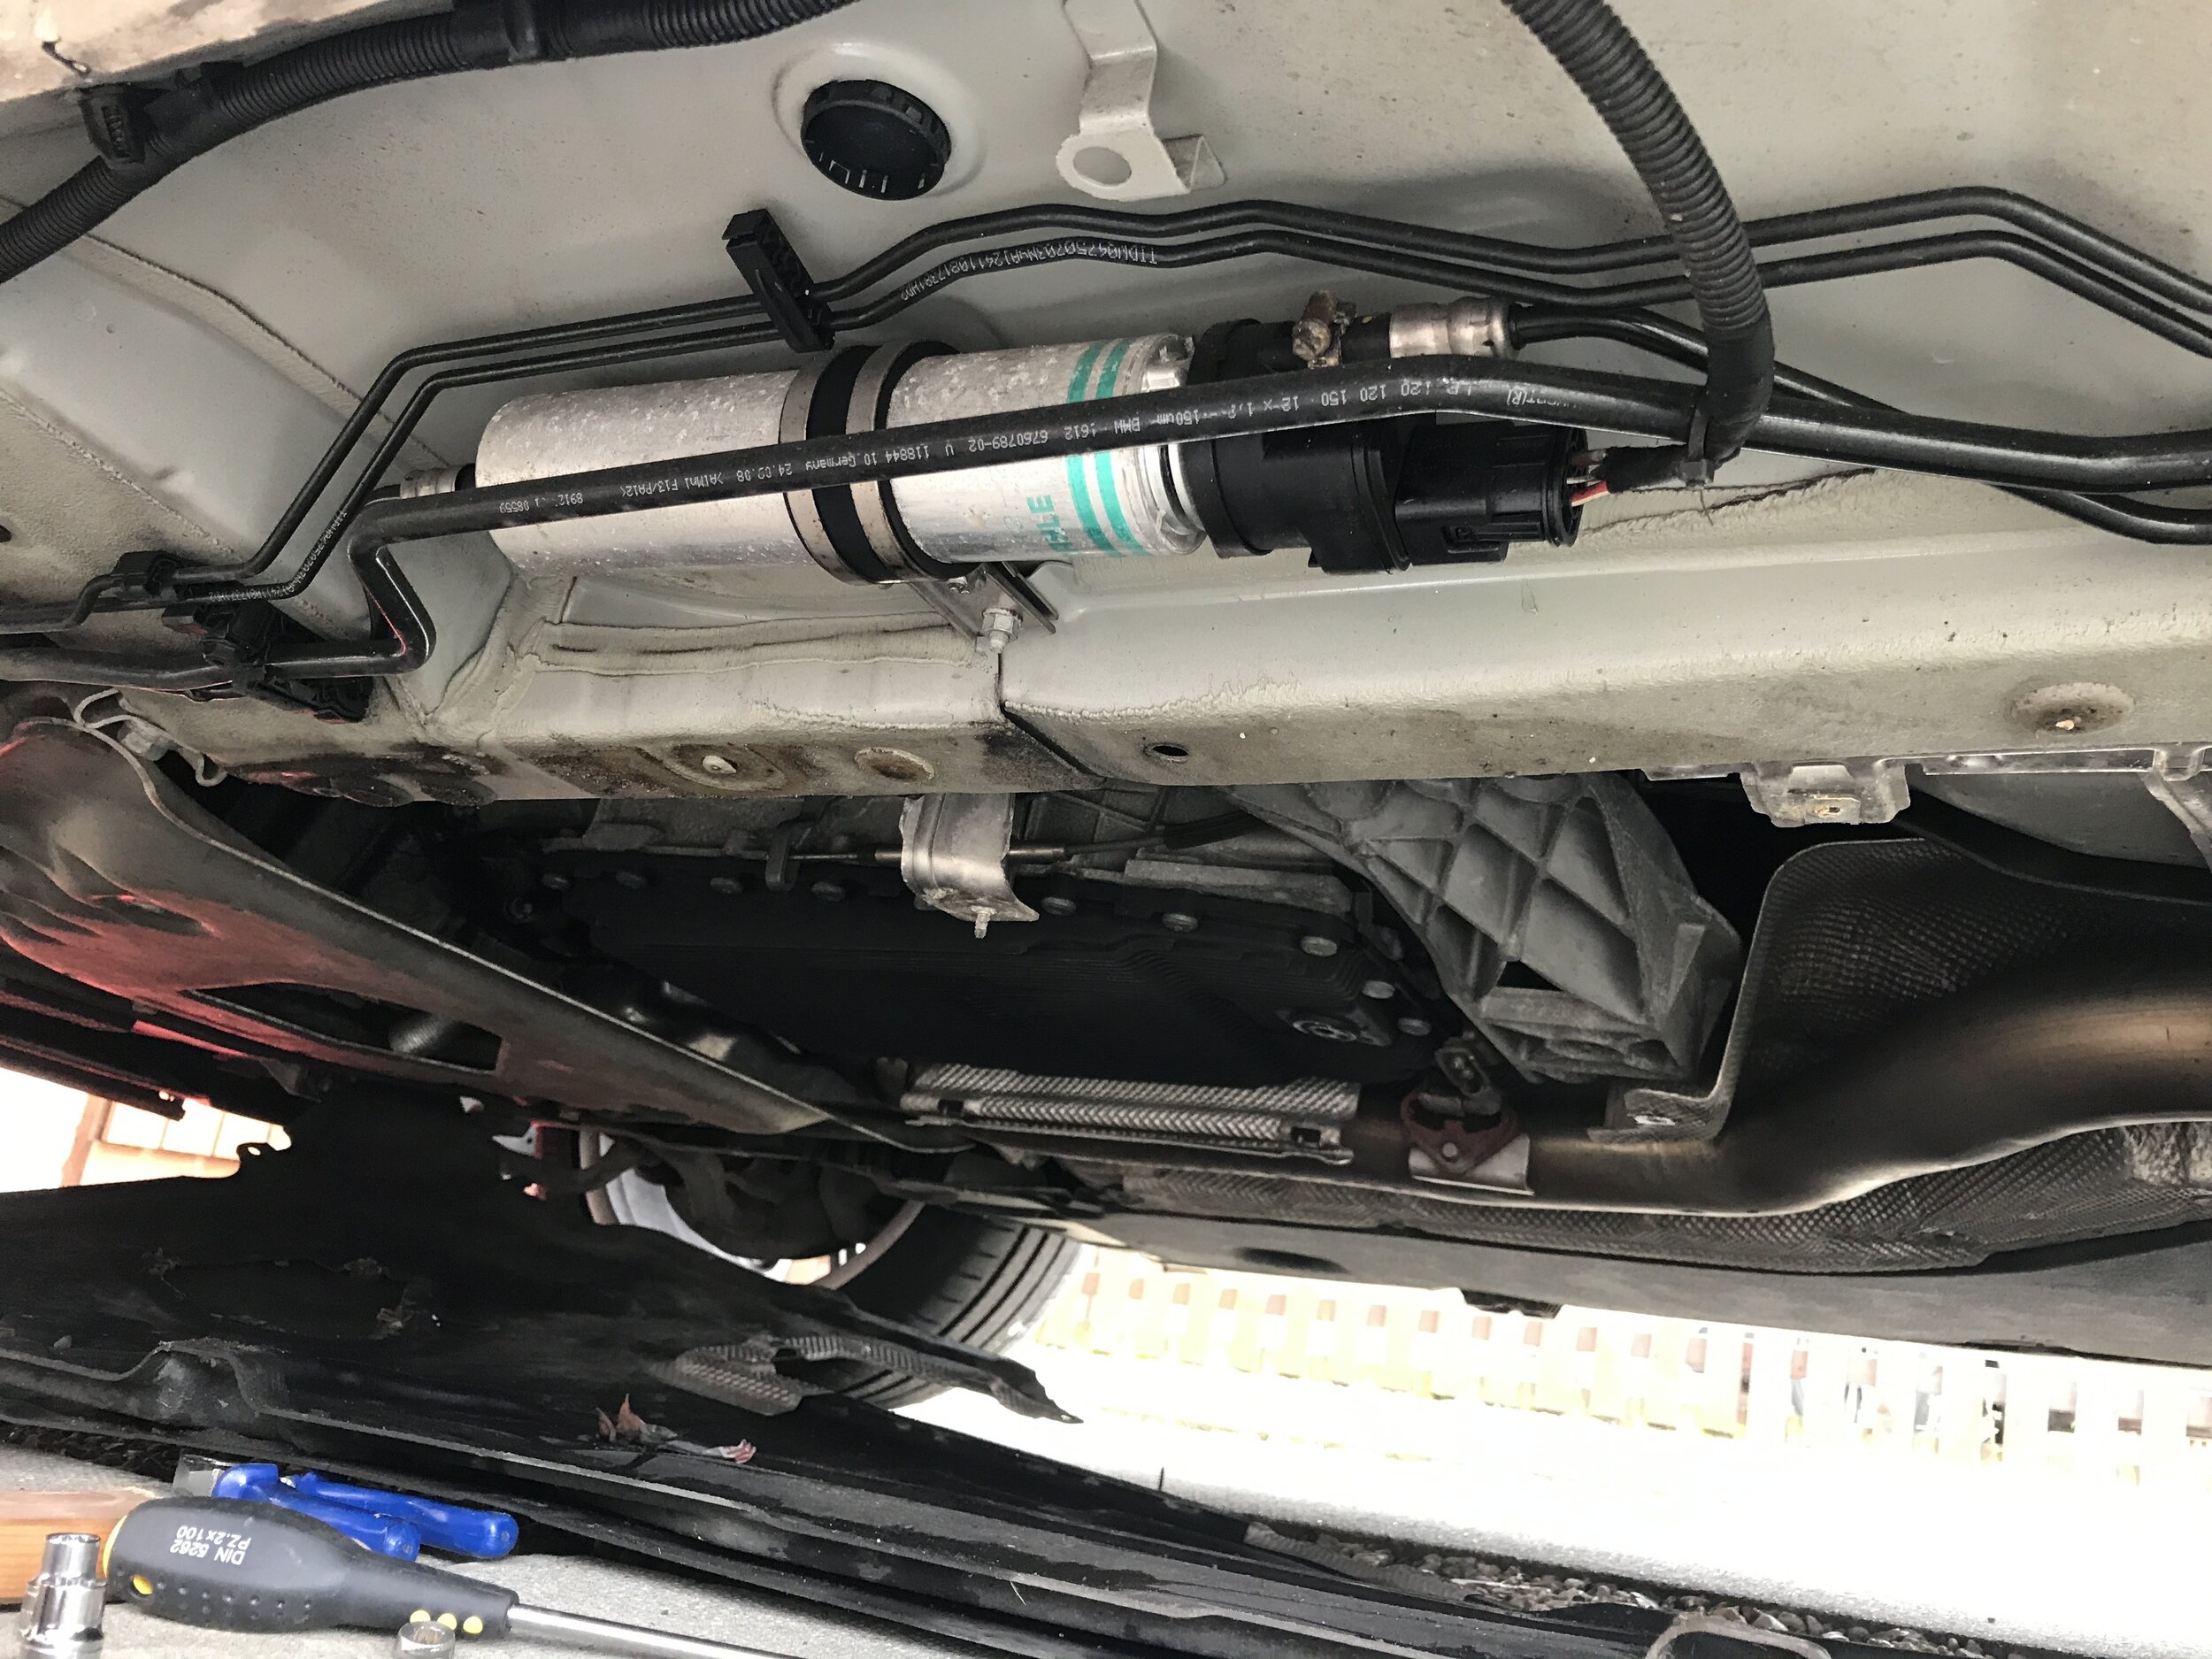
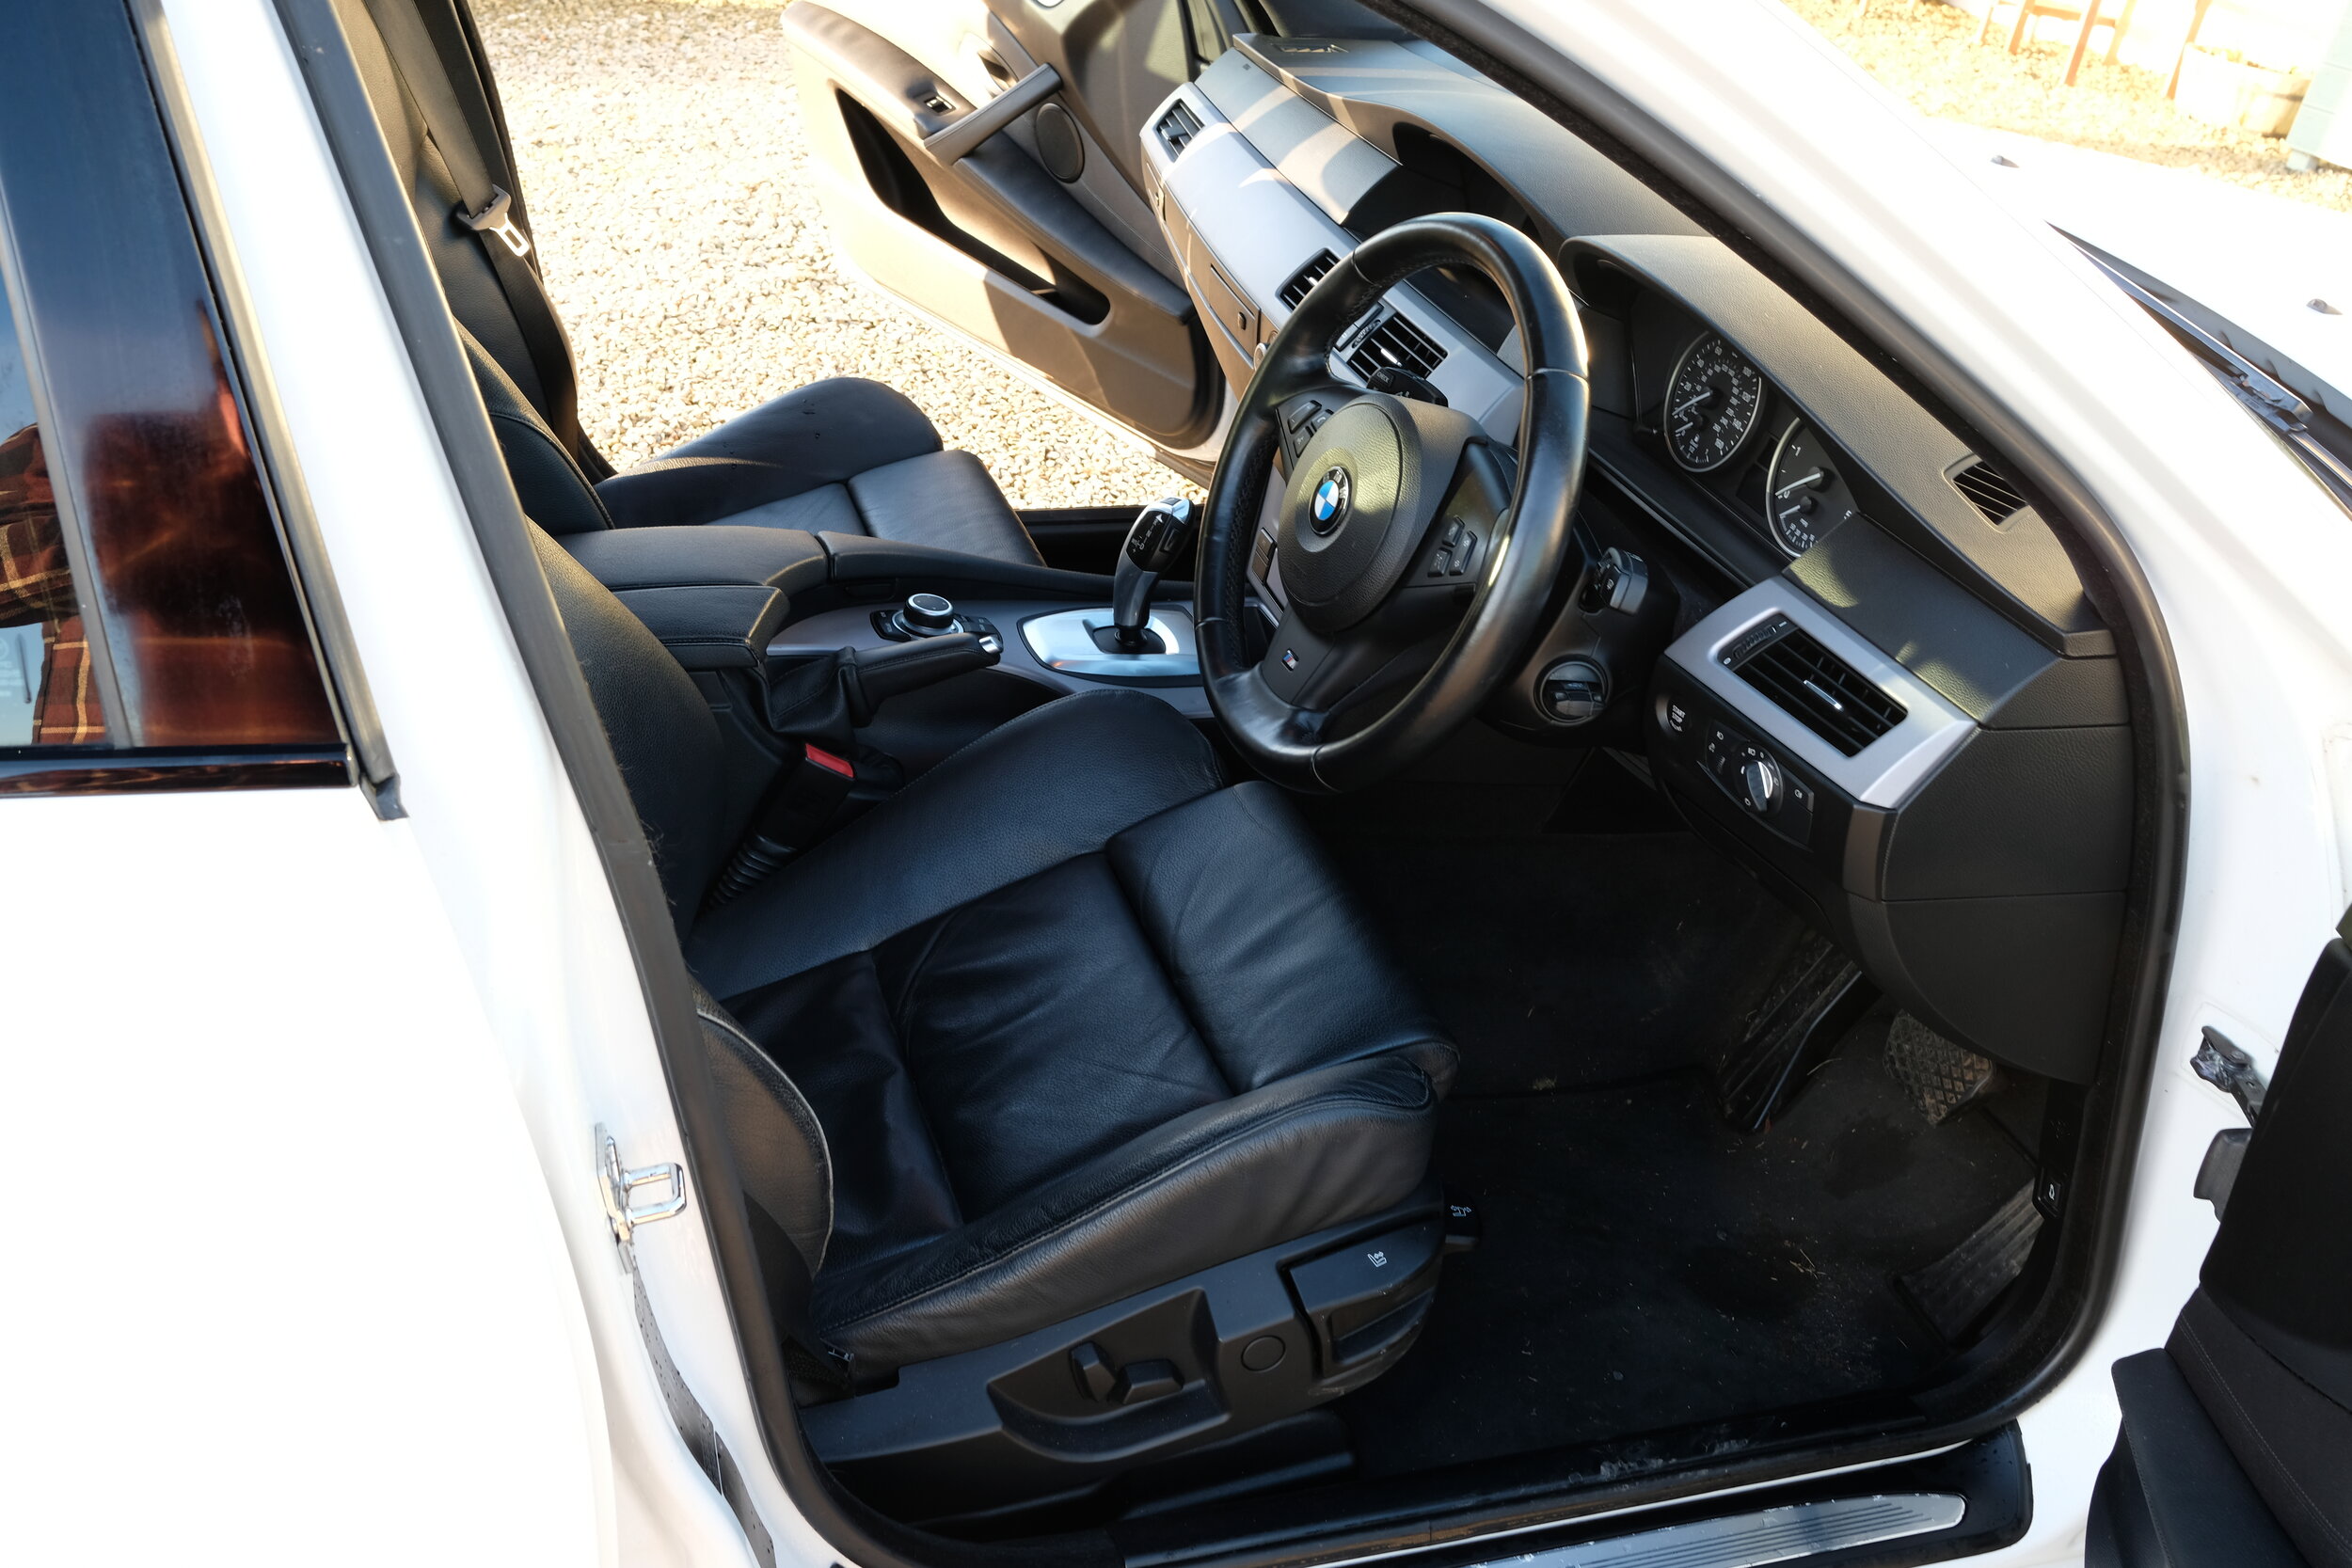
Finished!
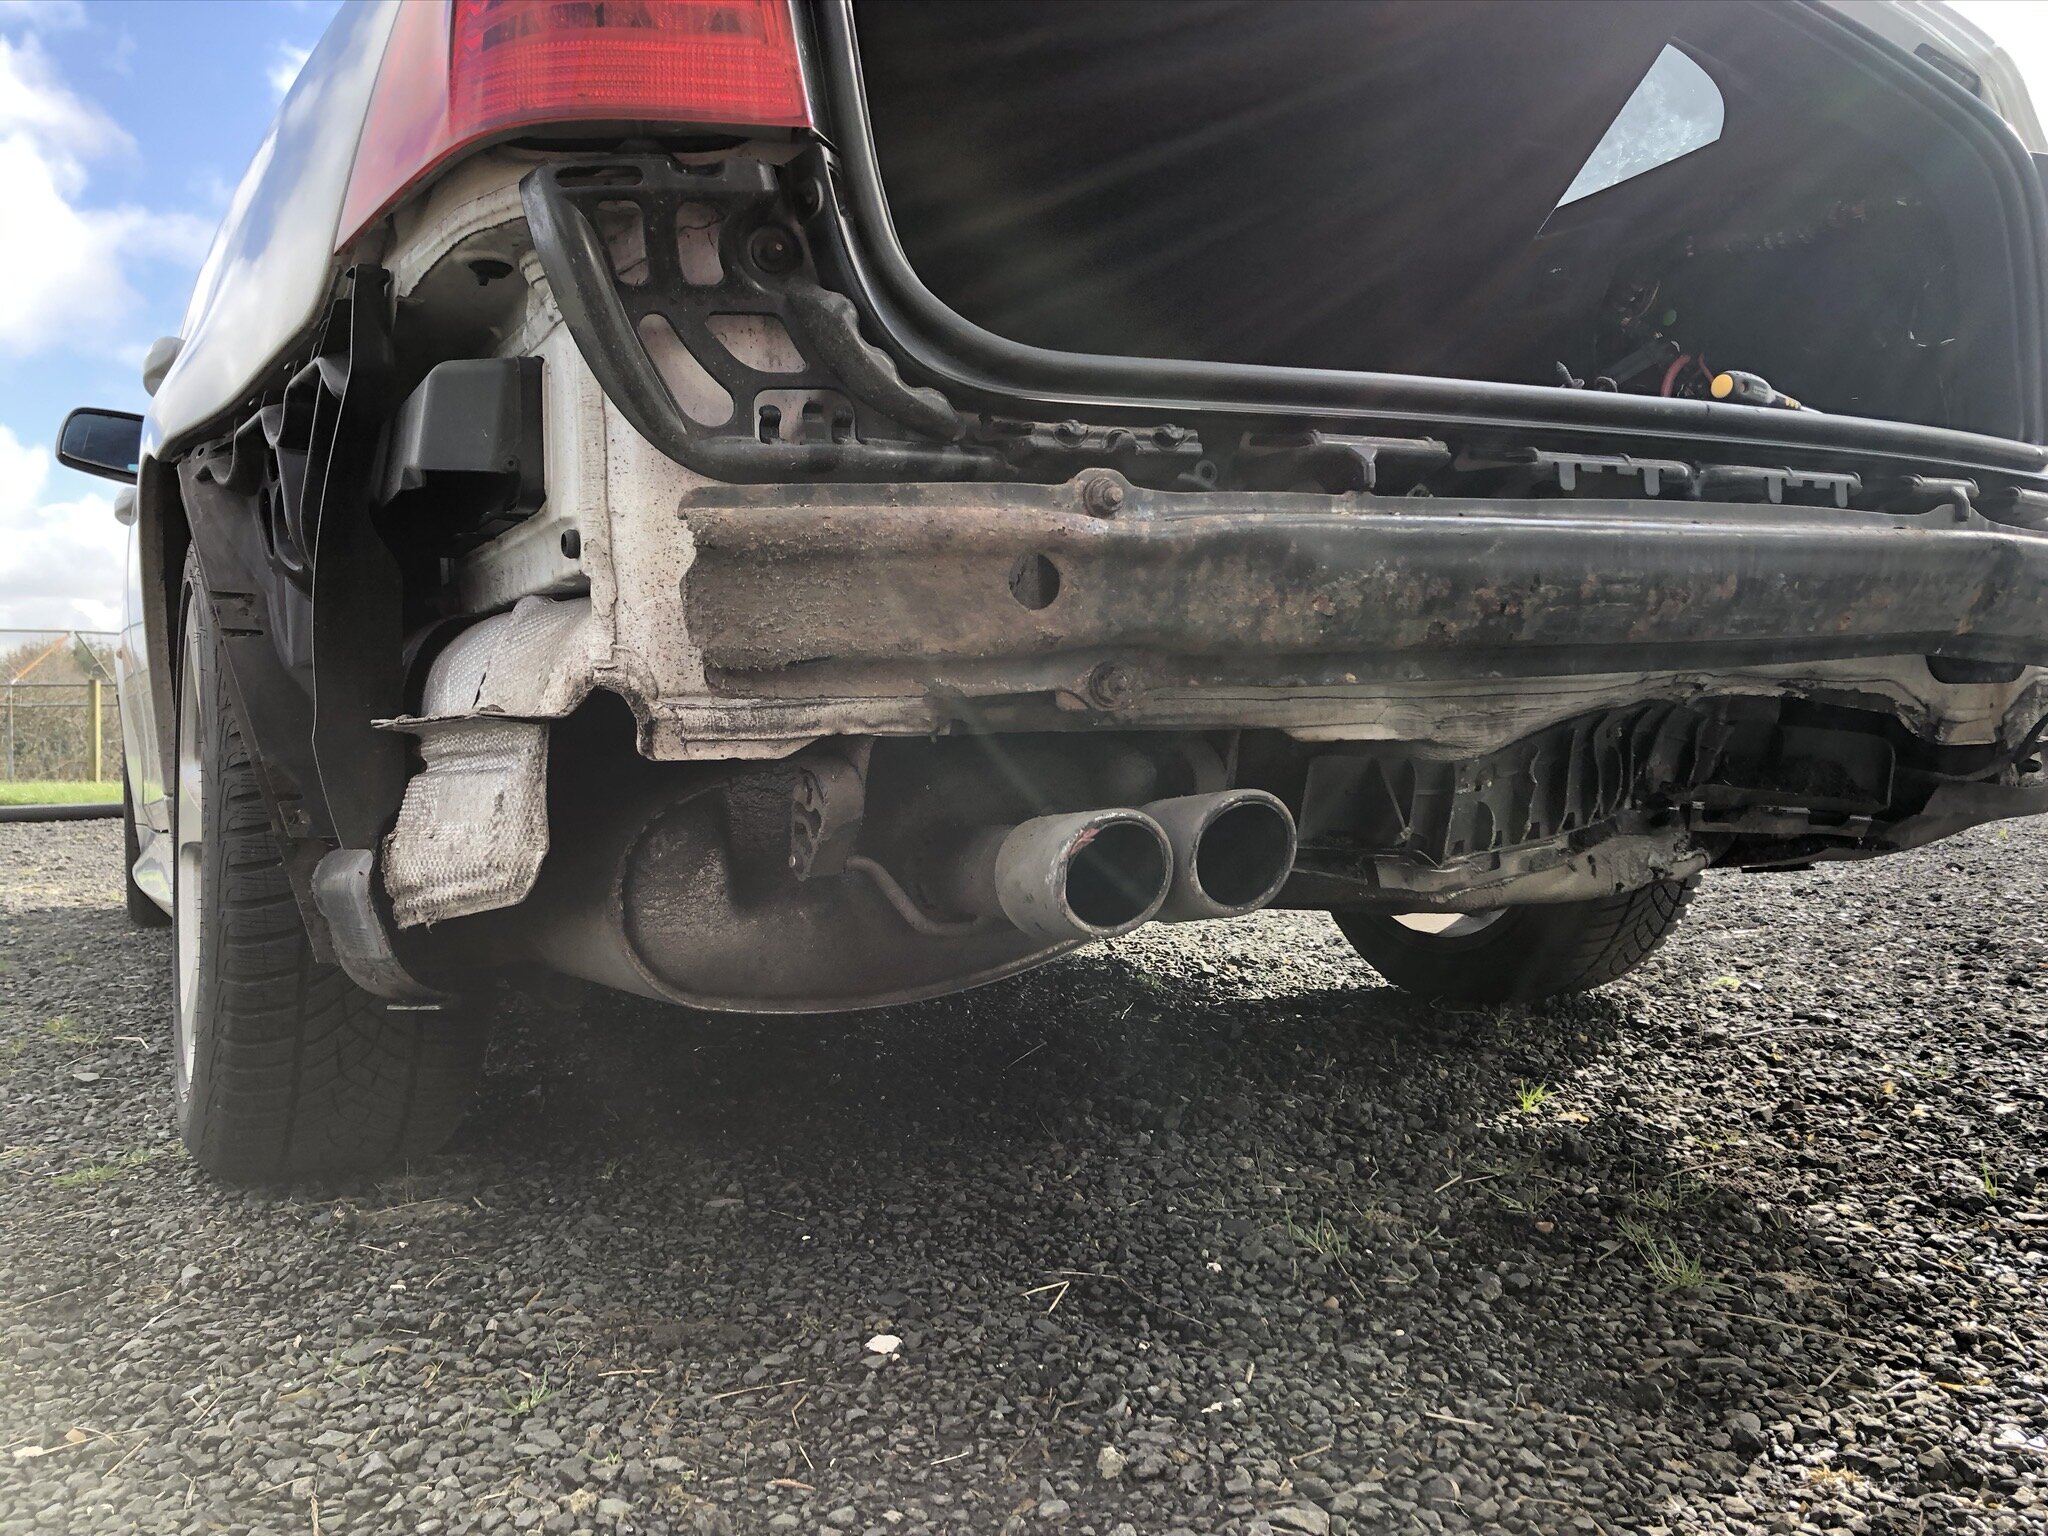
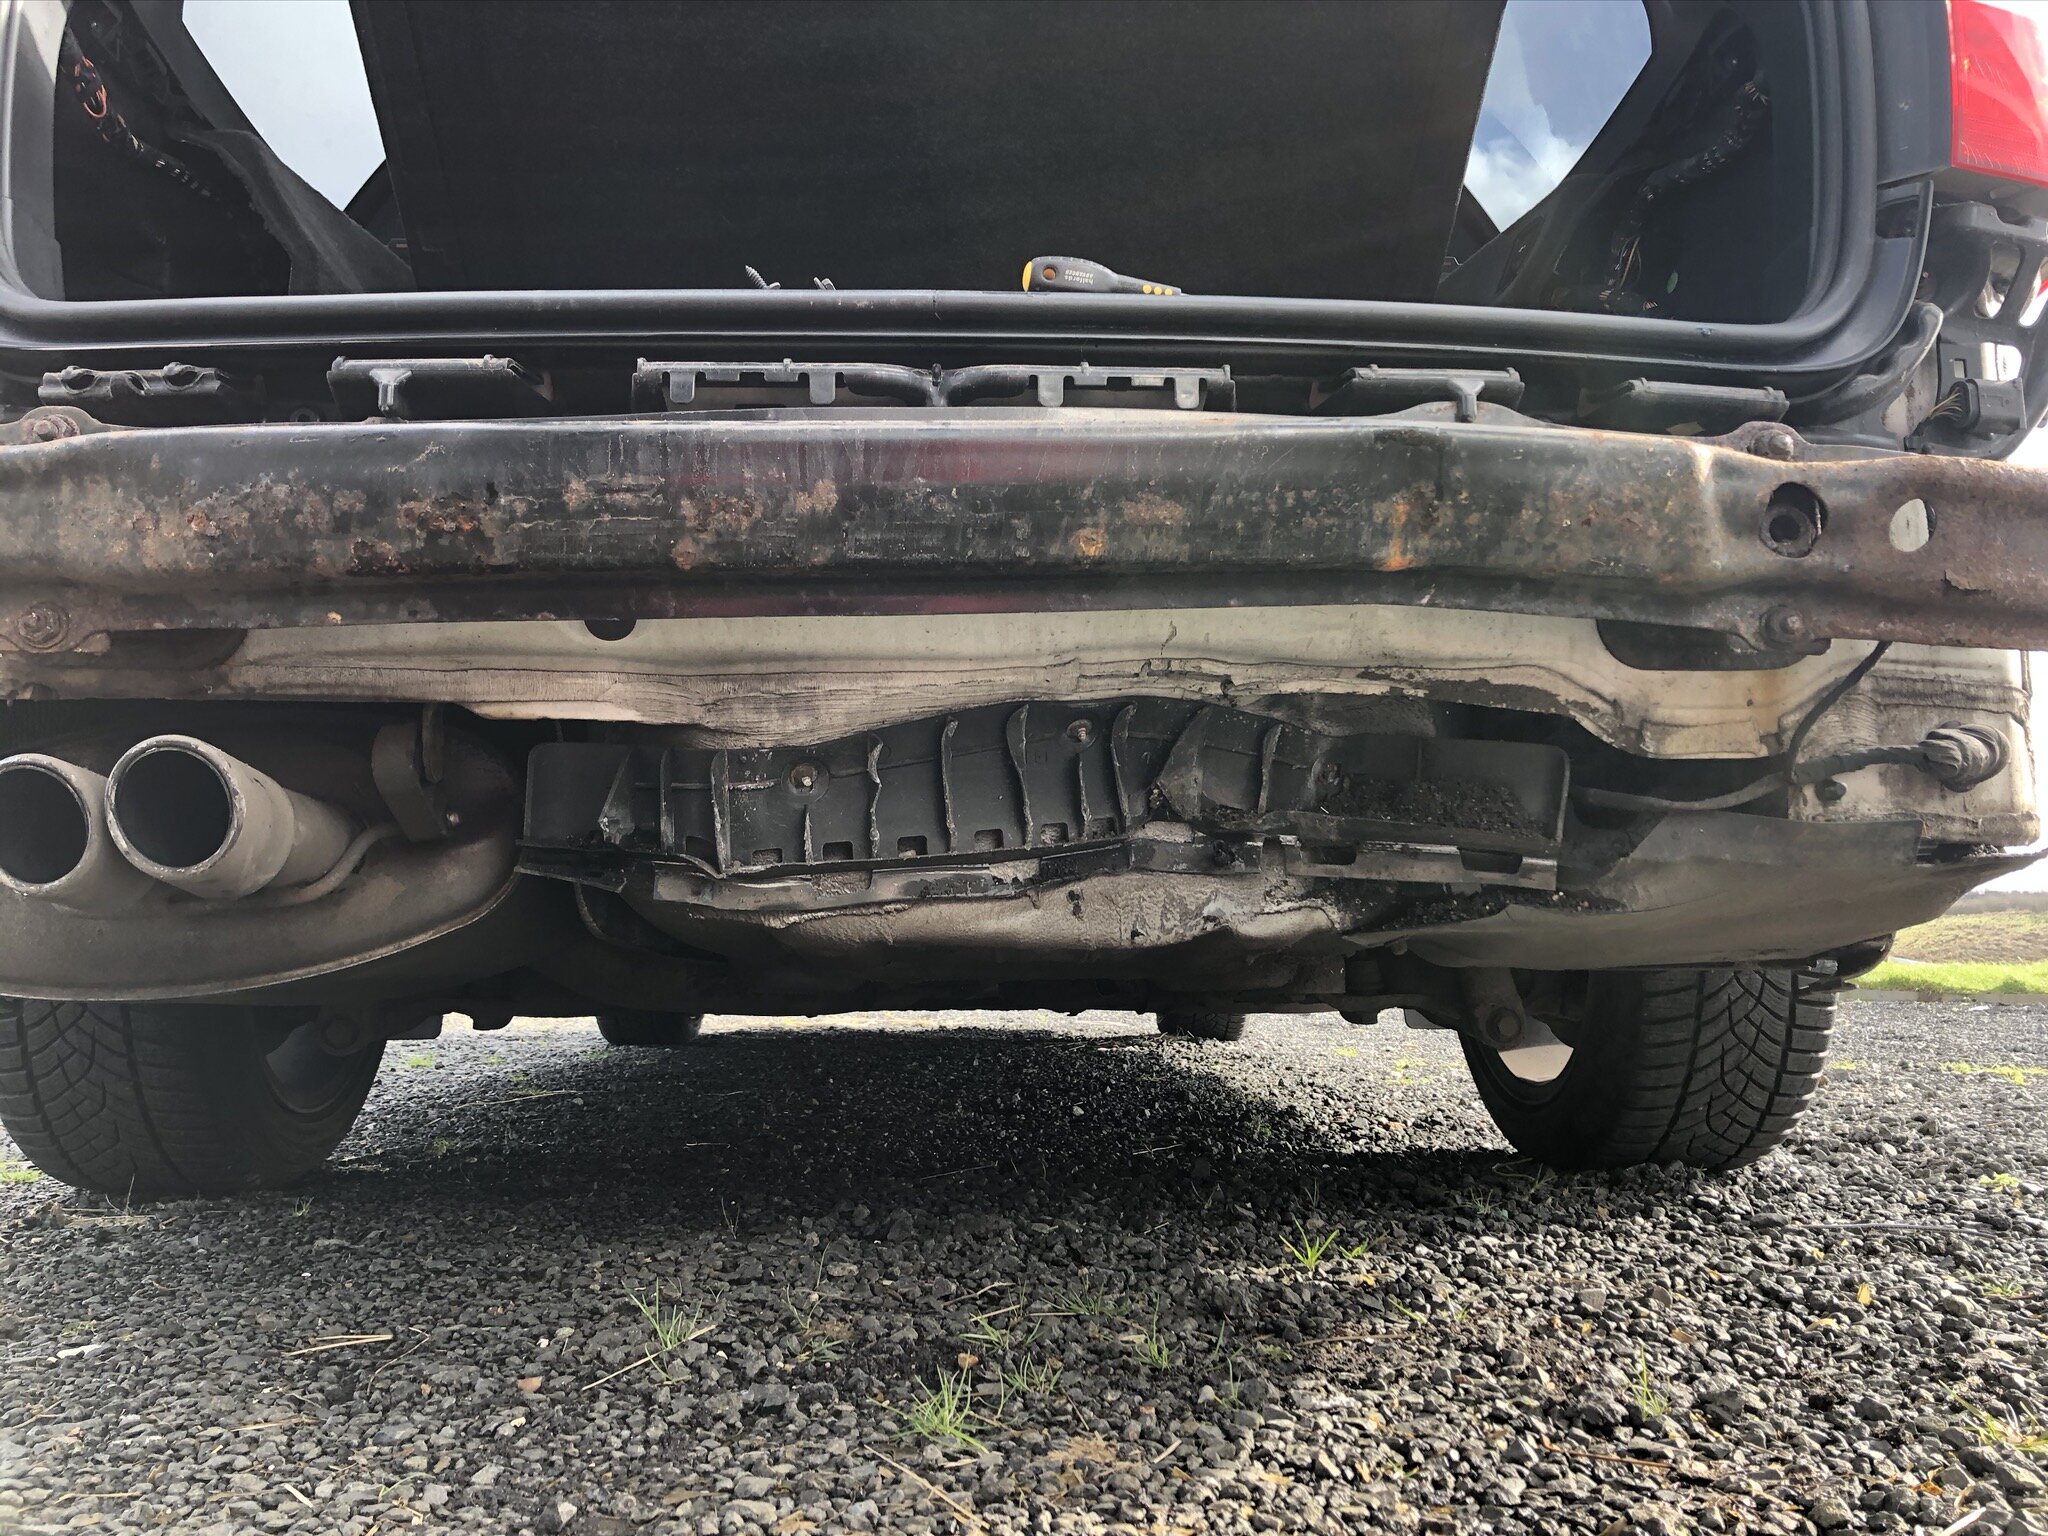
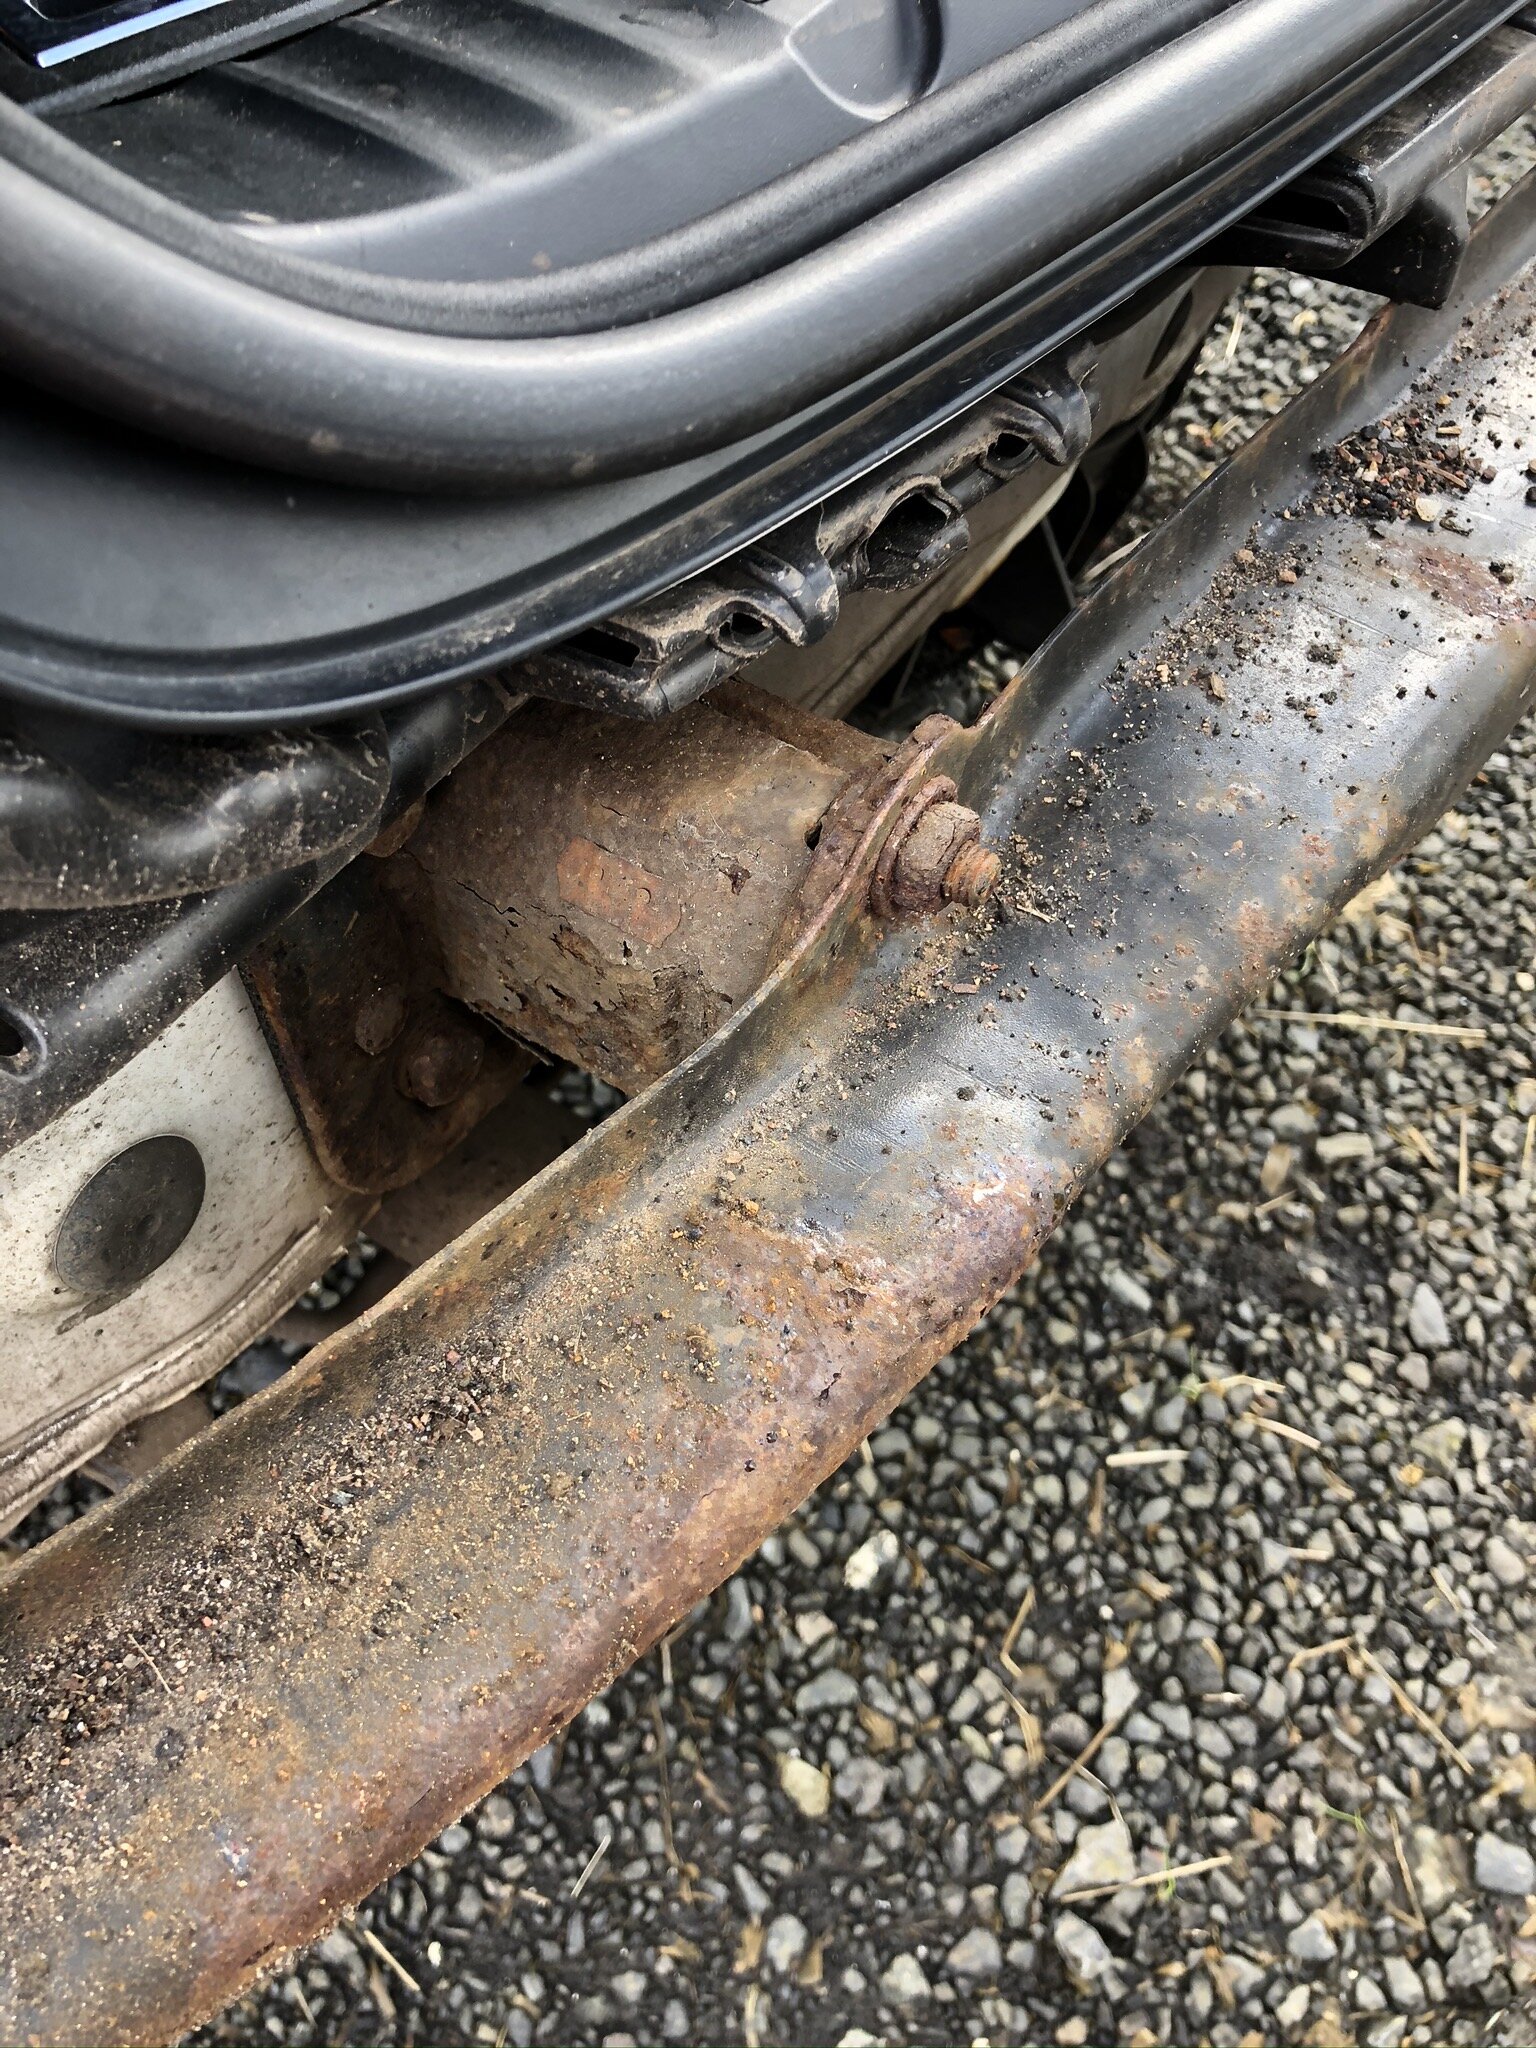
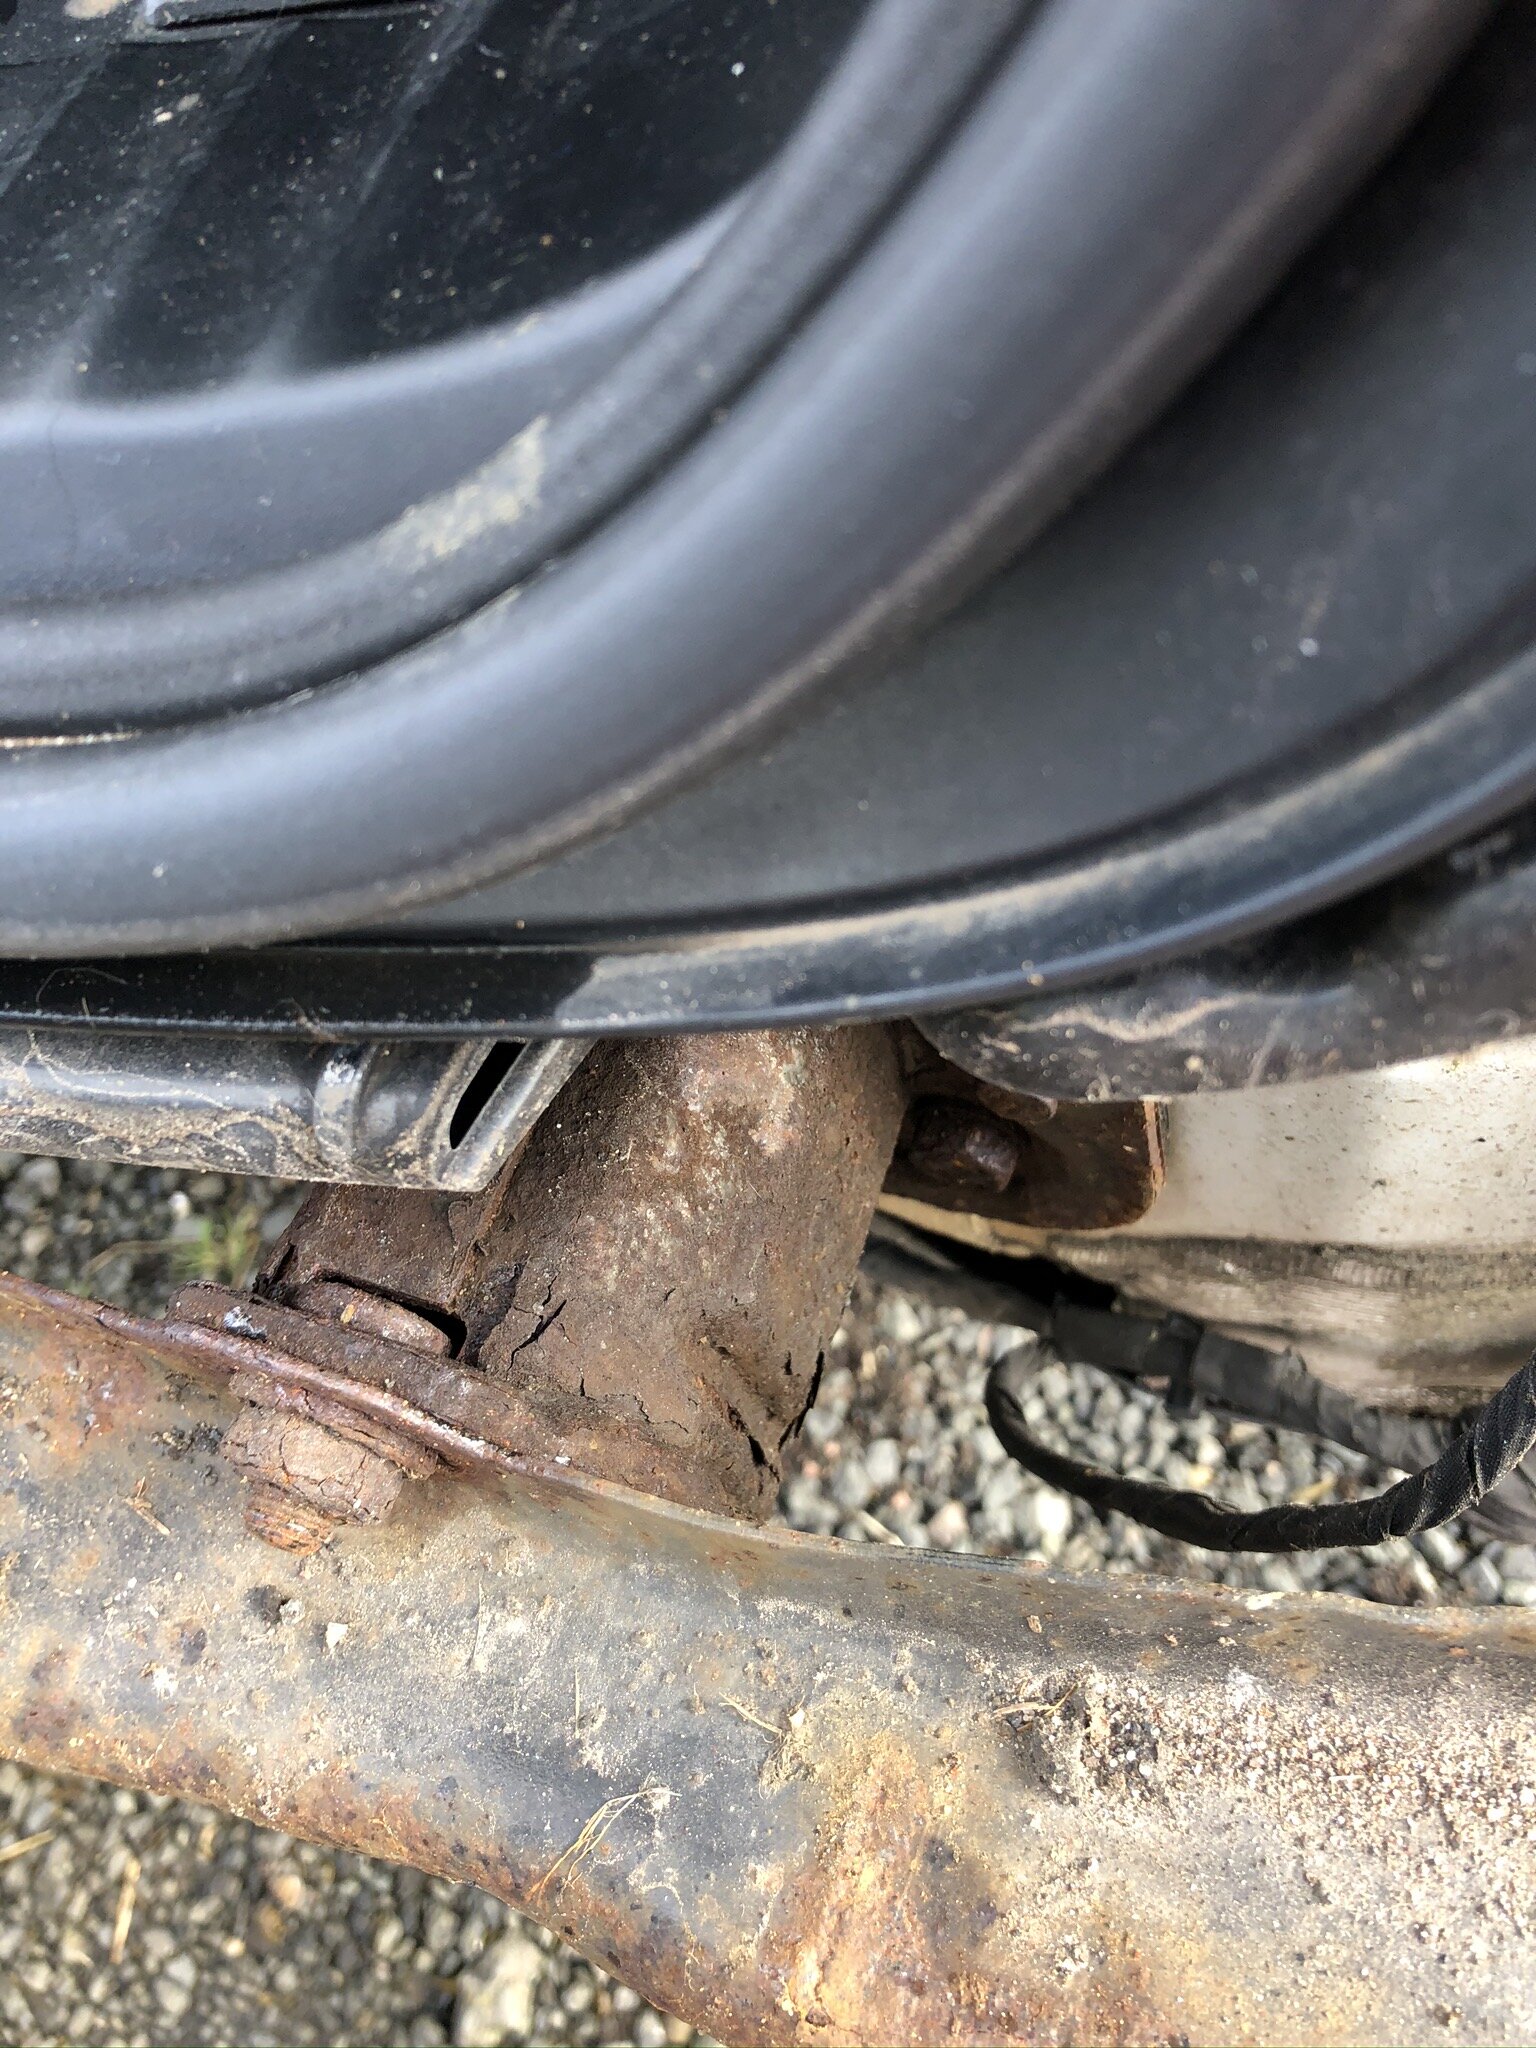
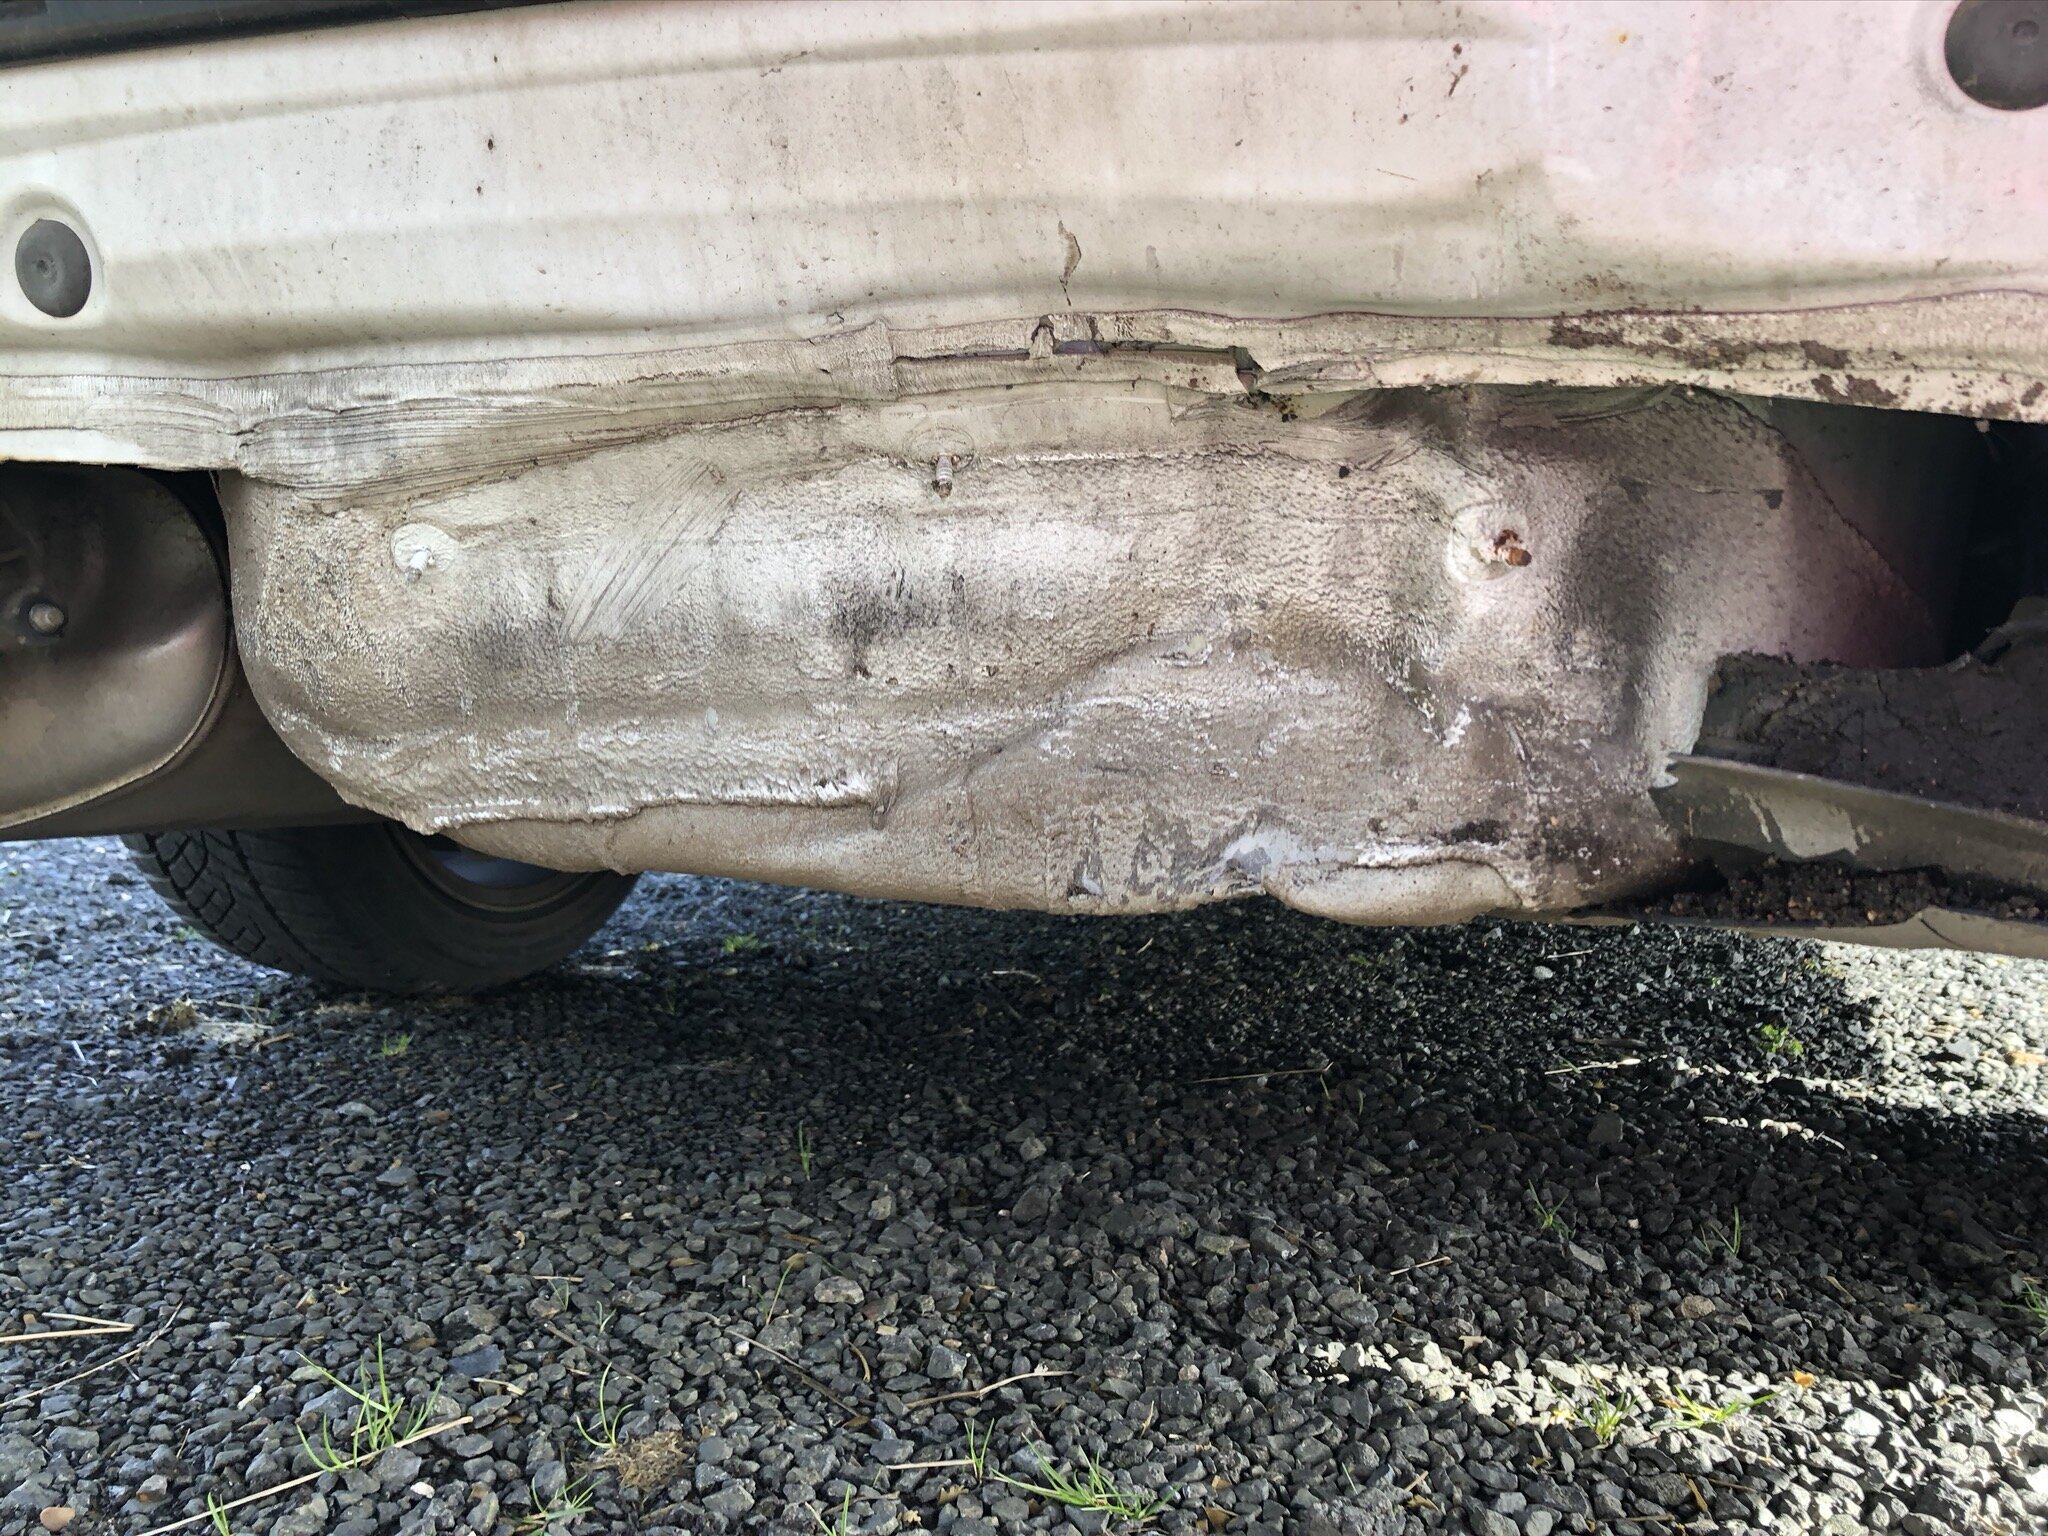
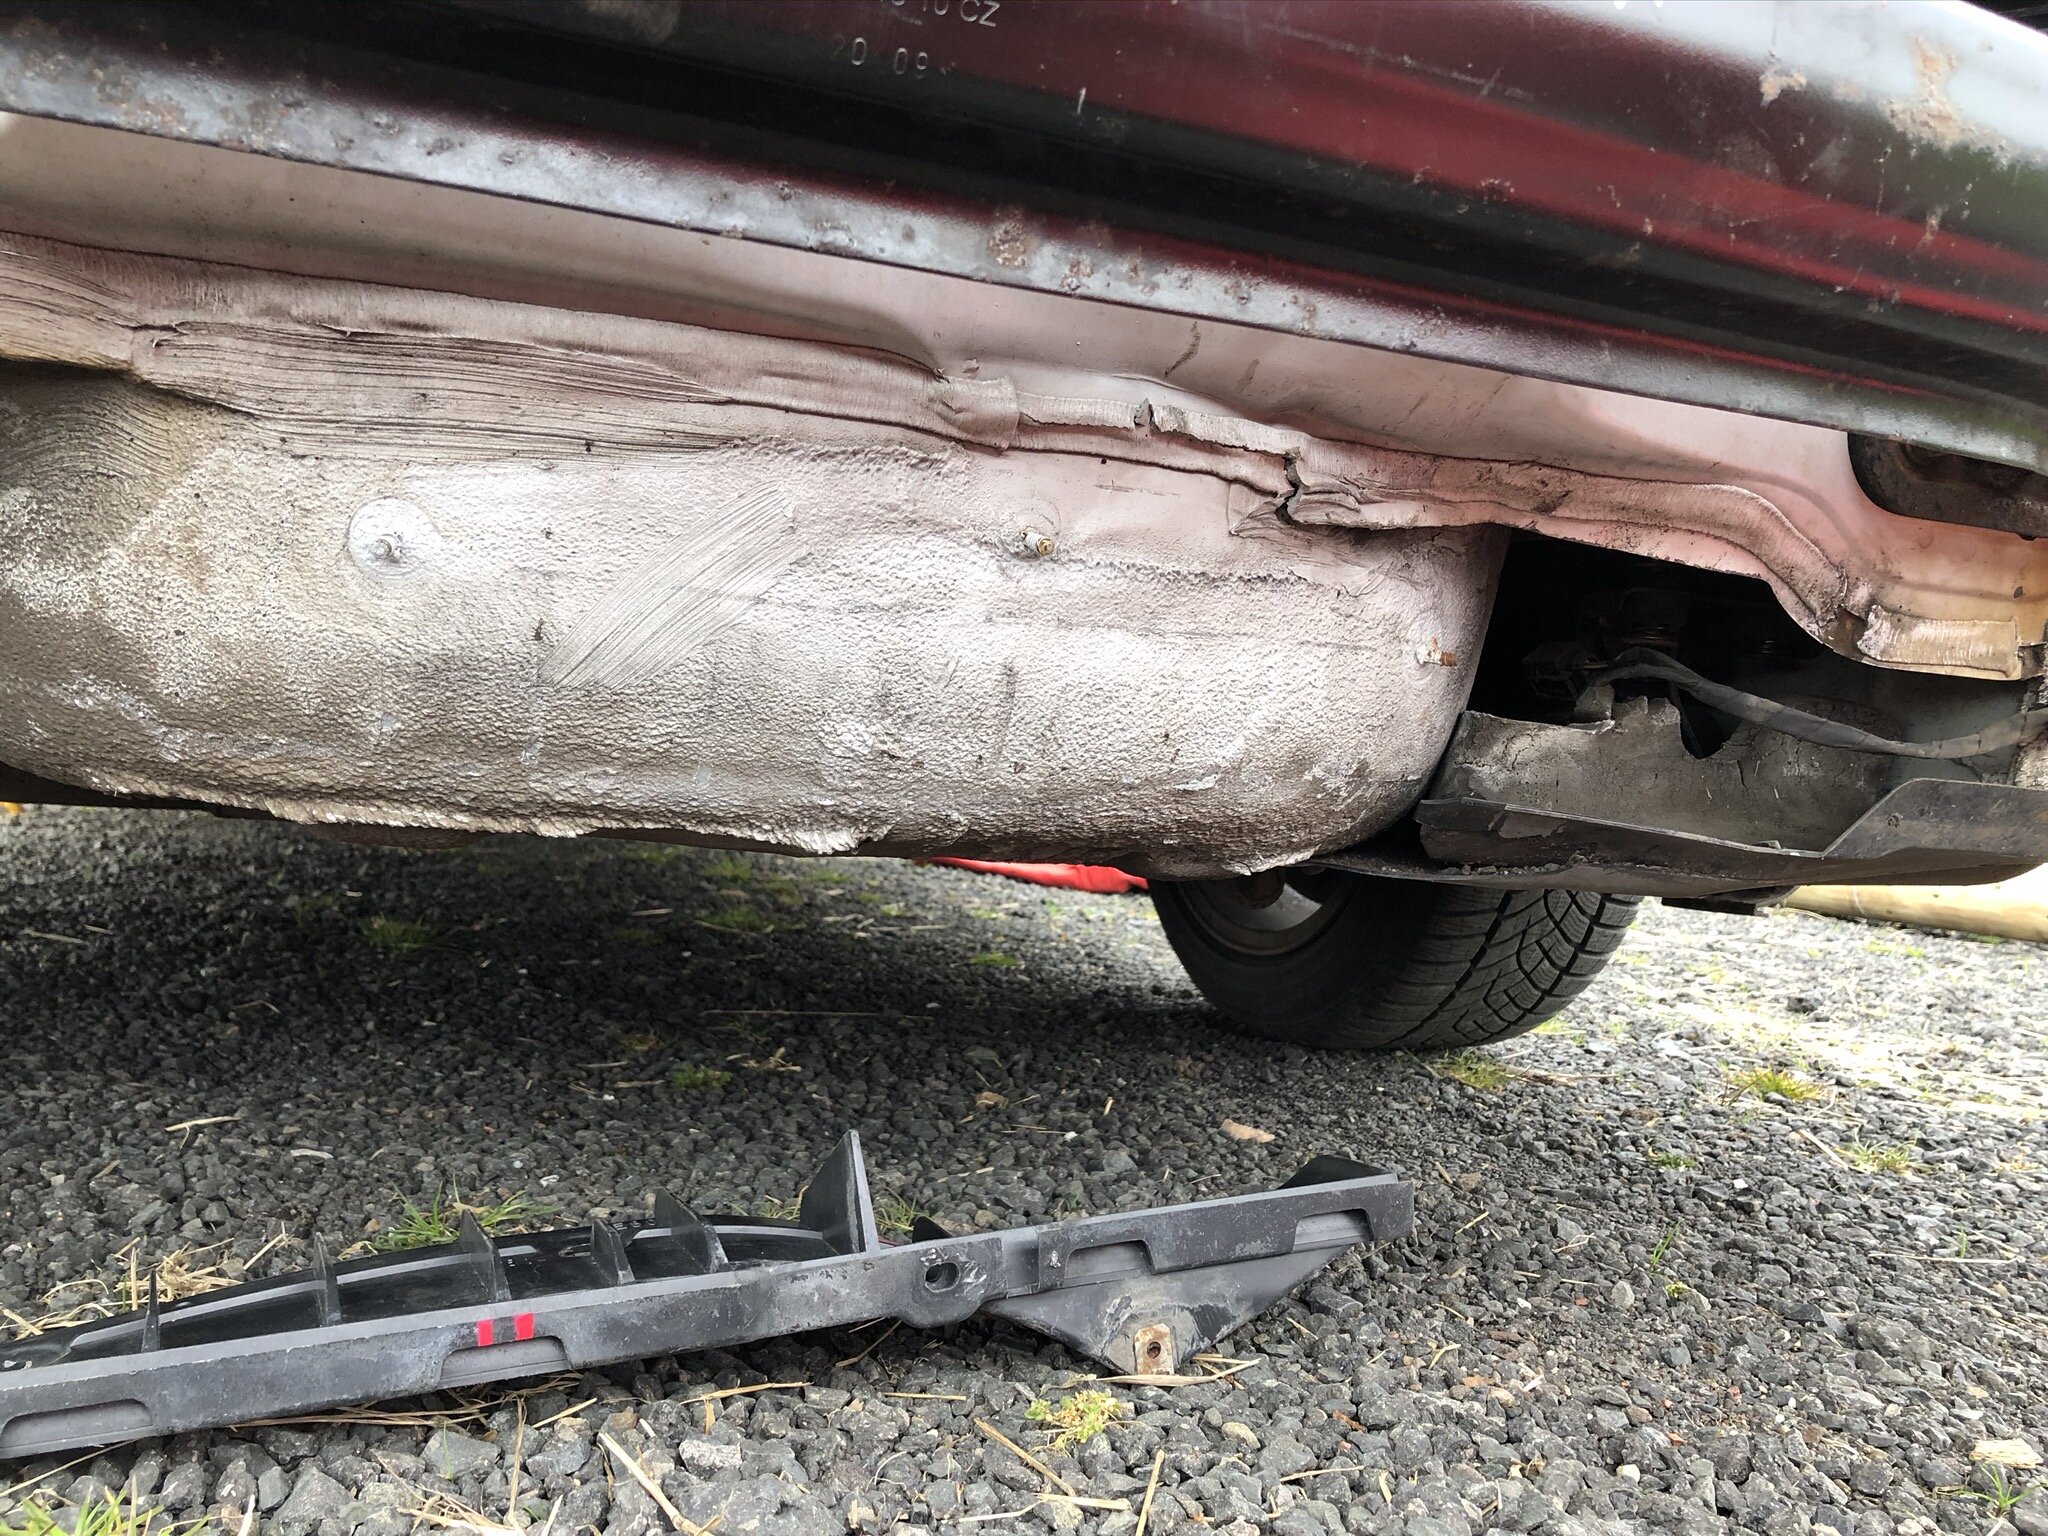
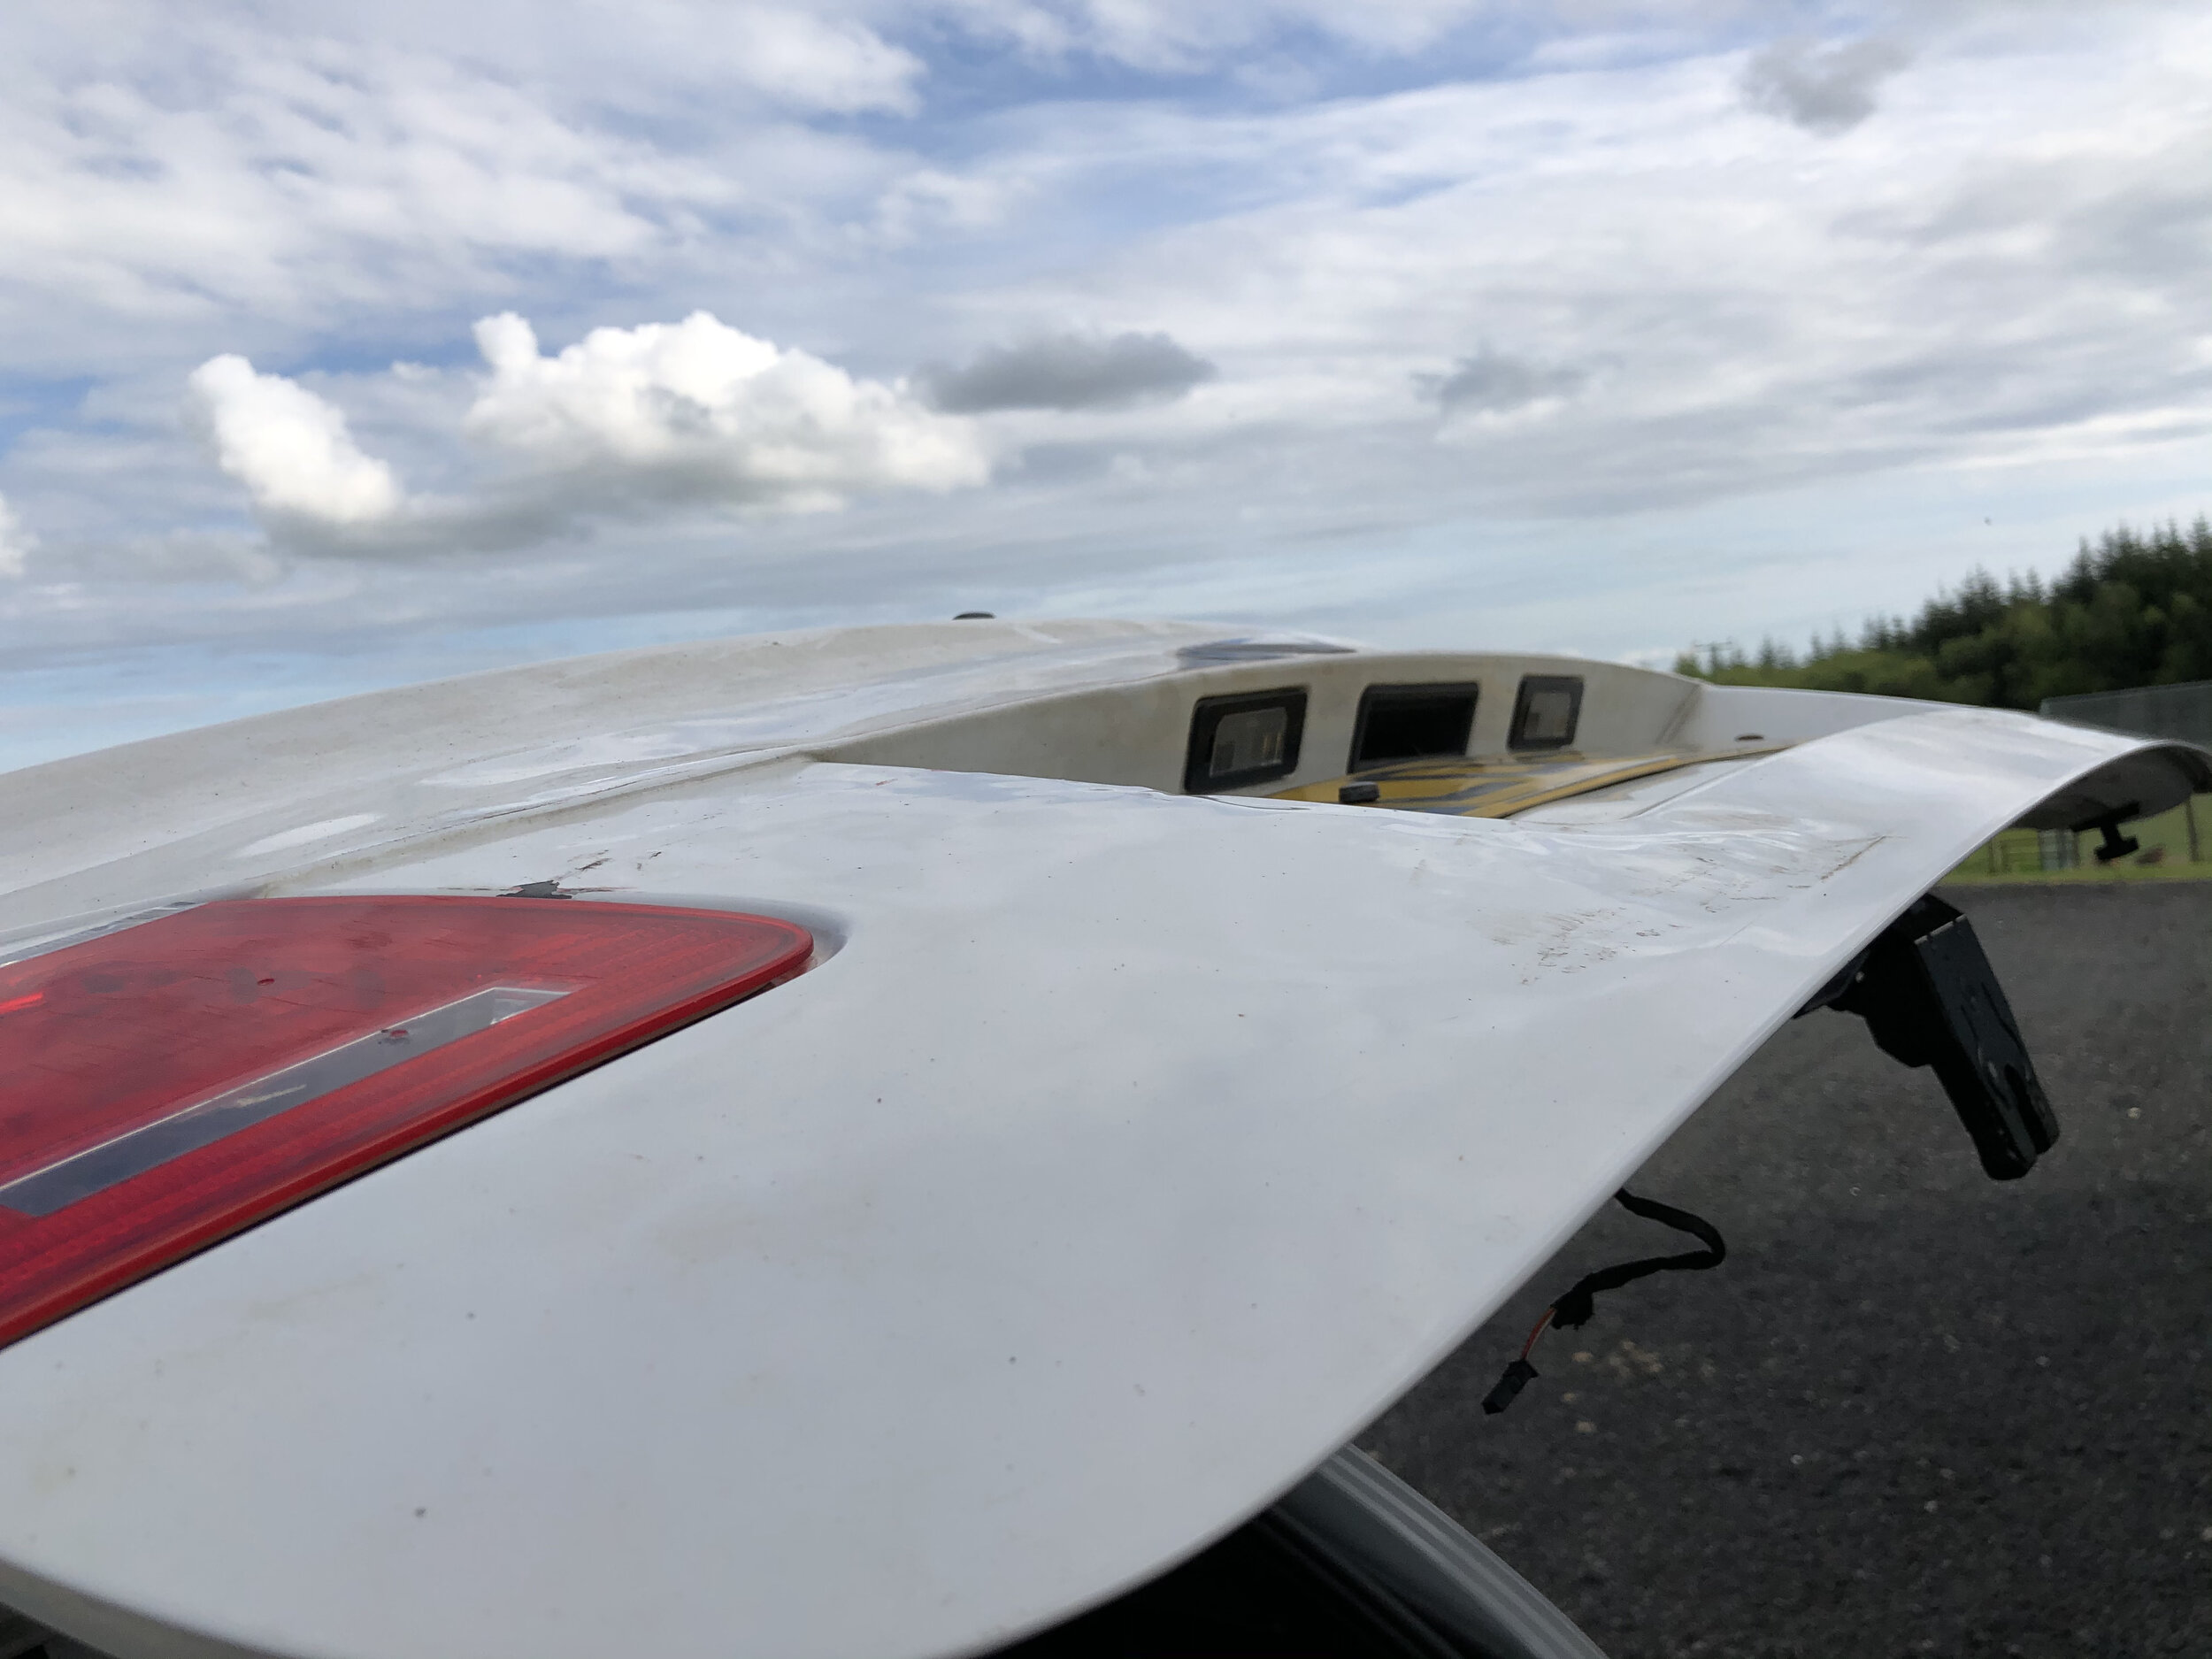
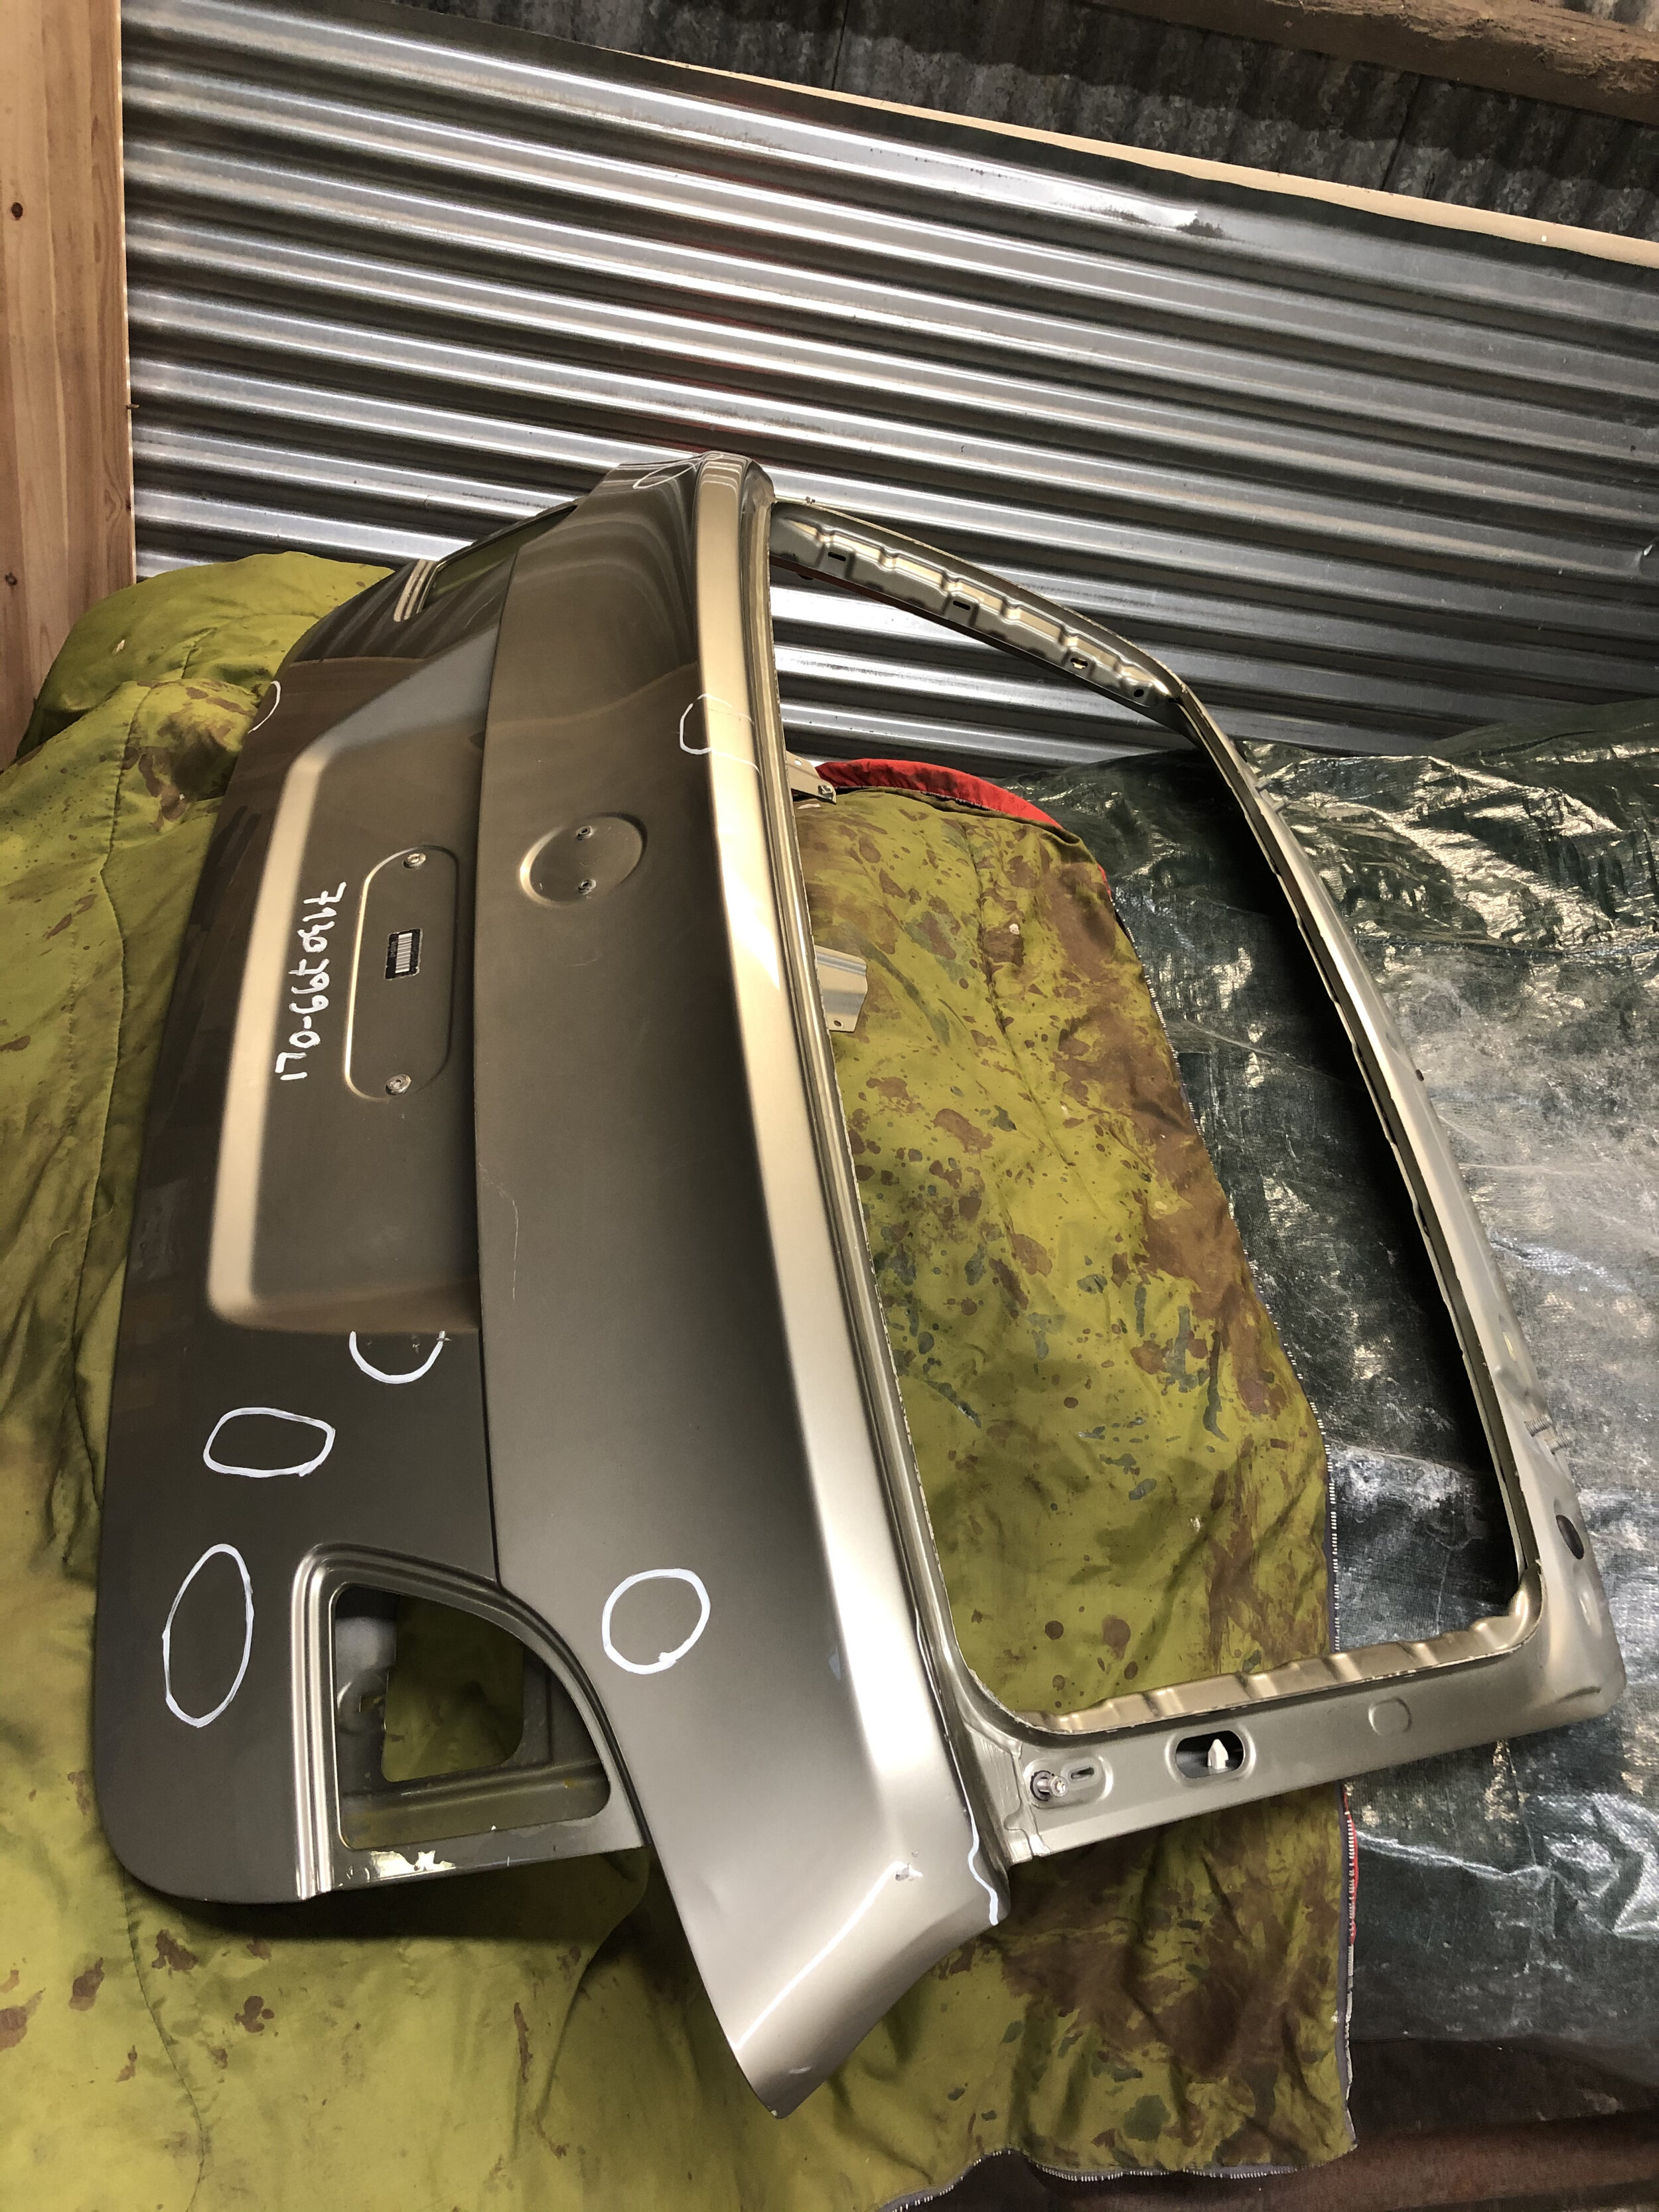
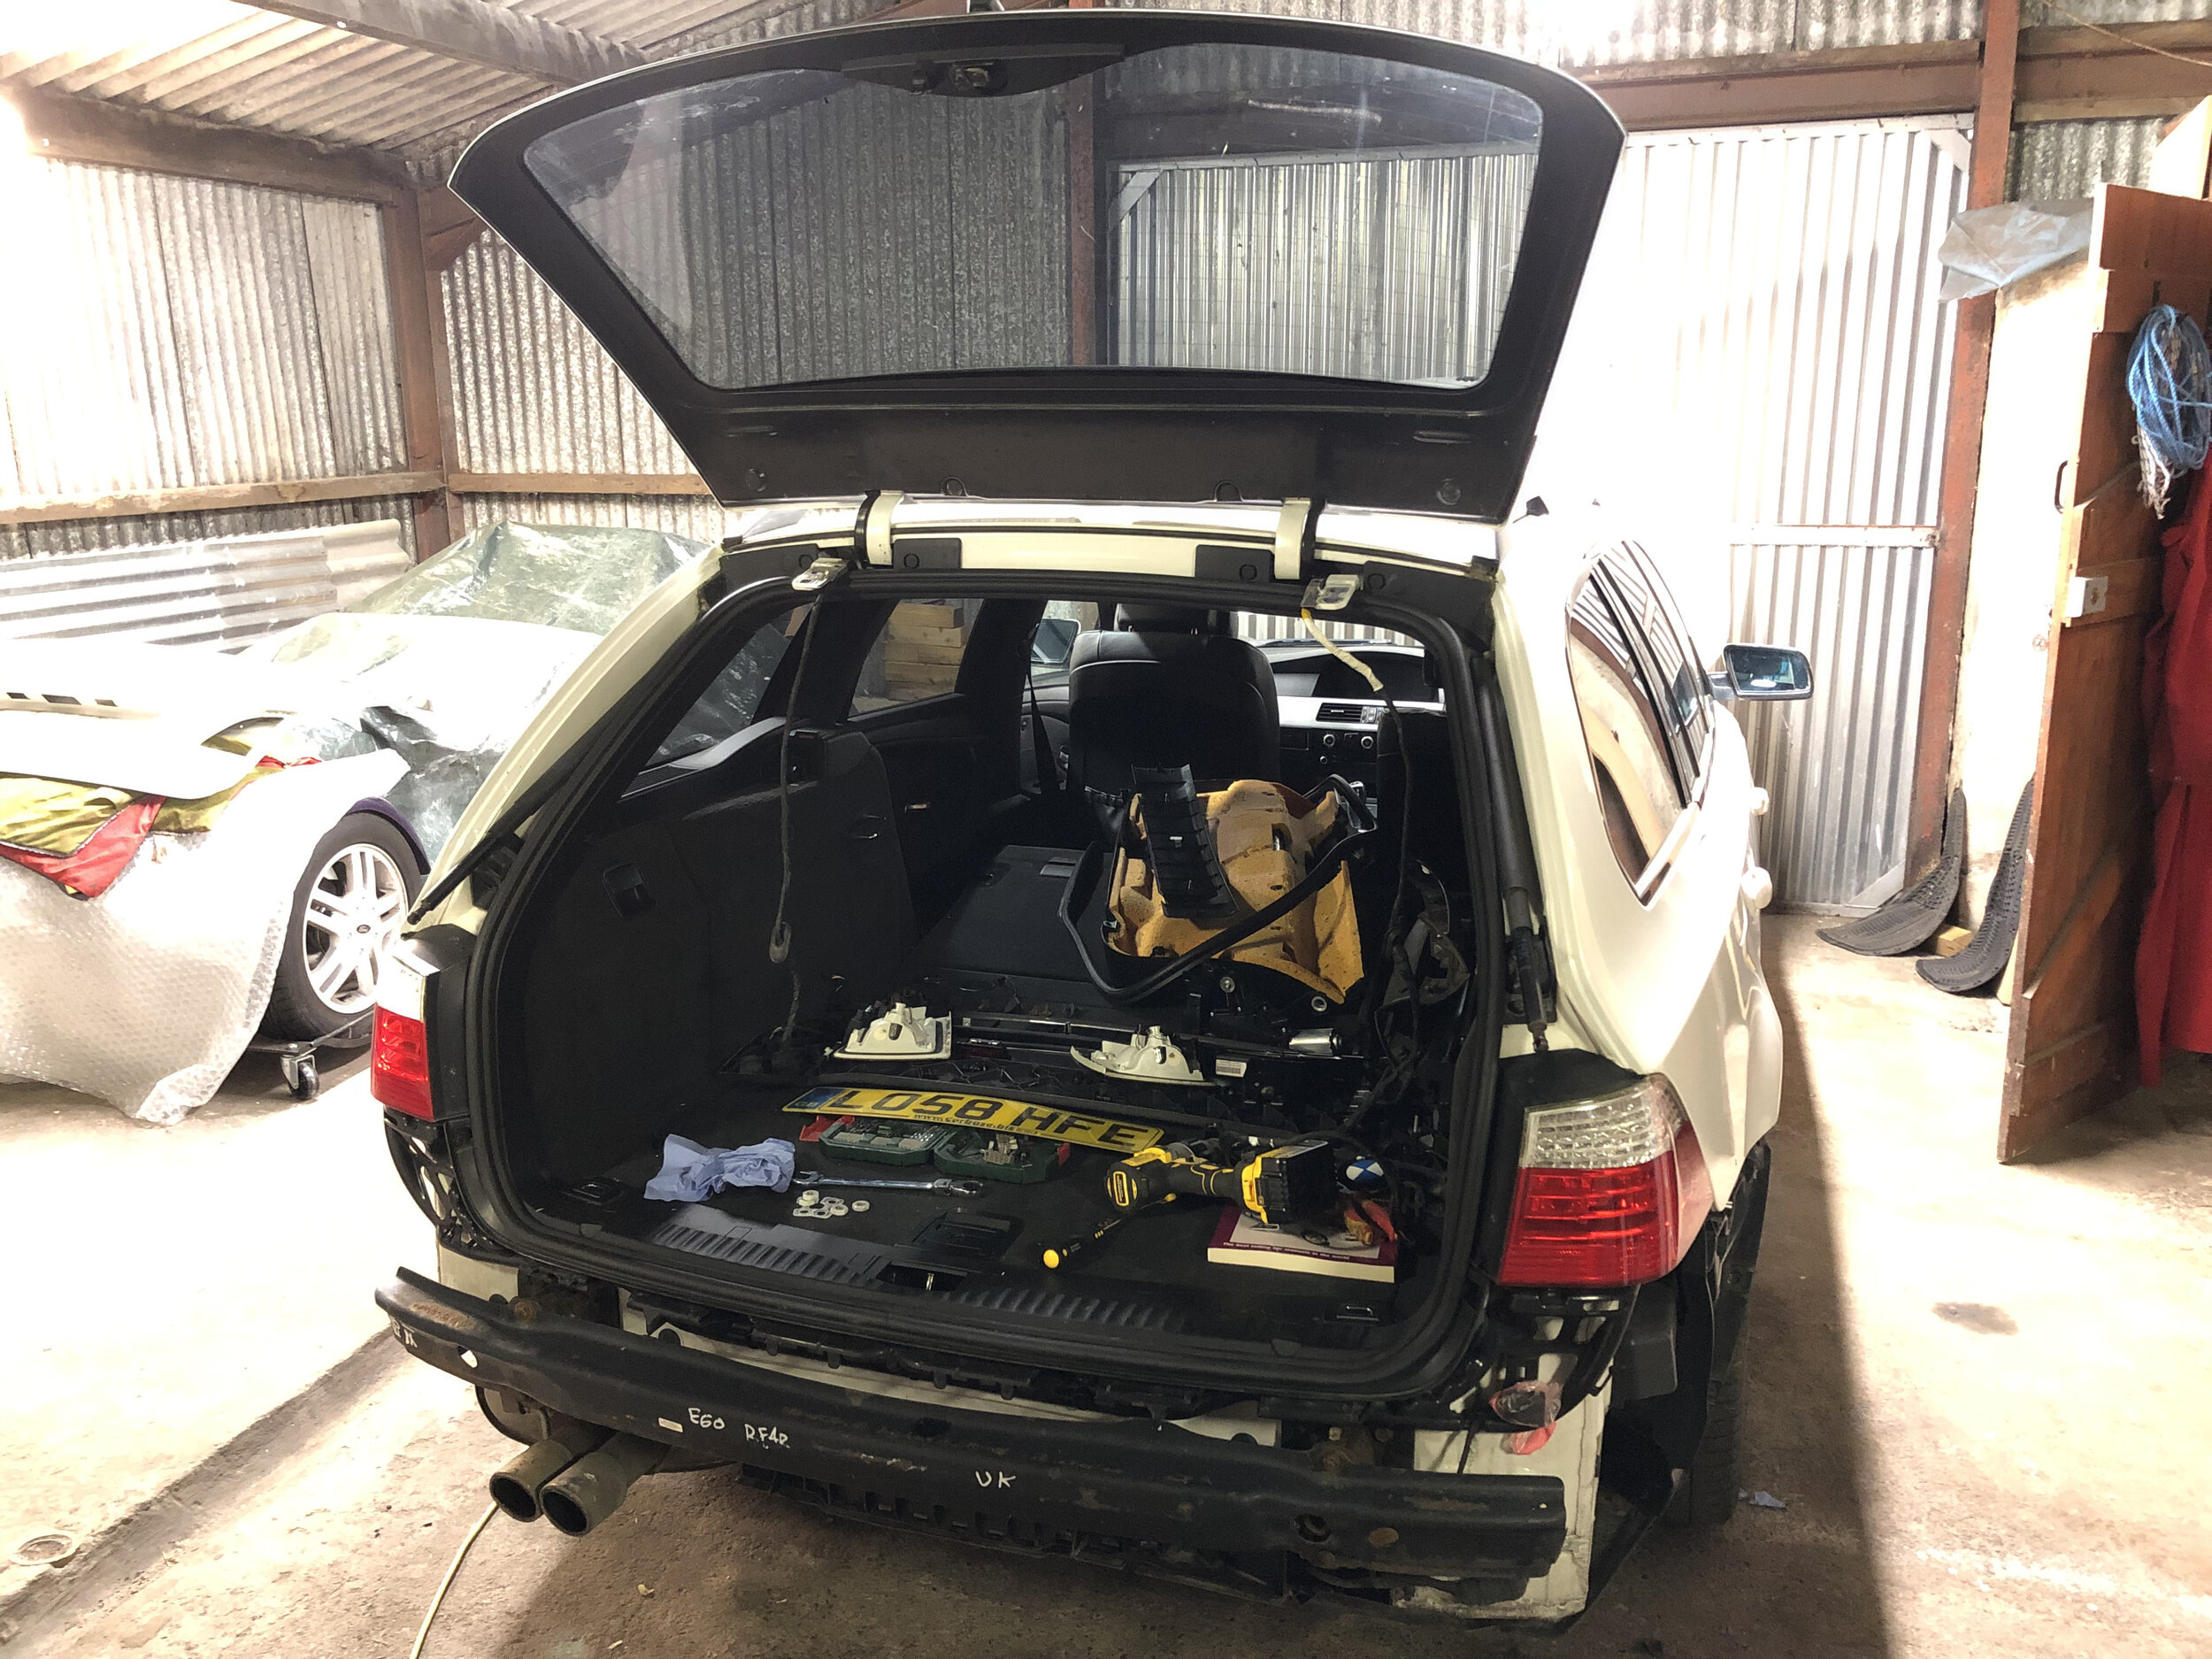
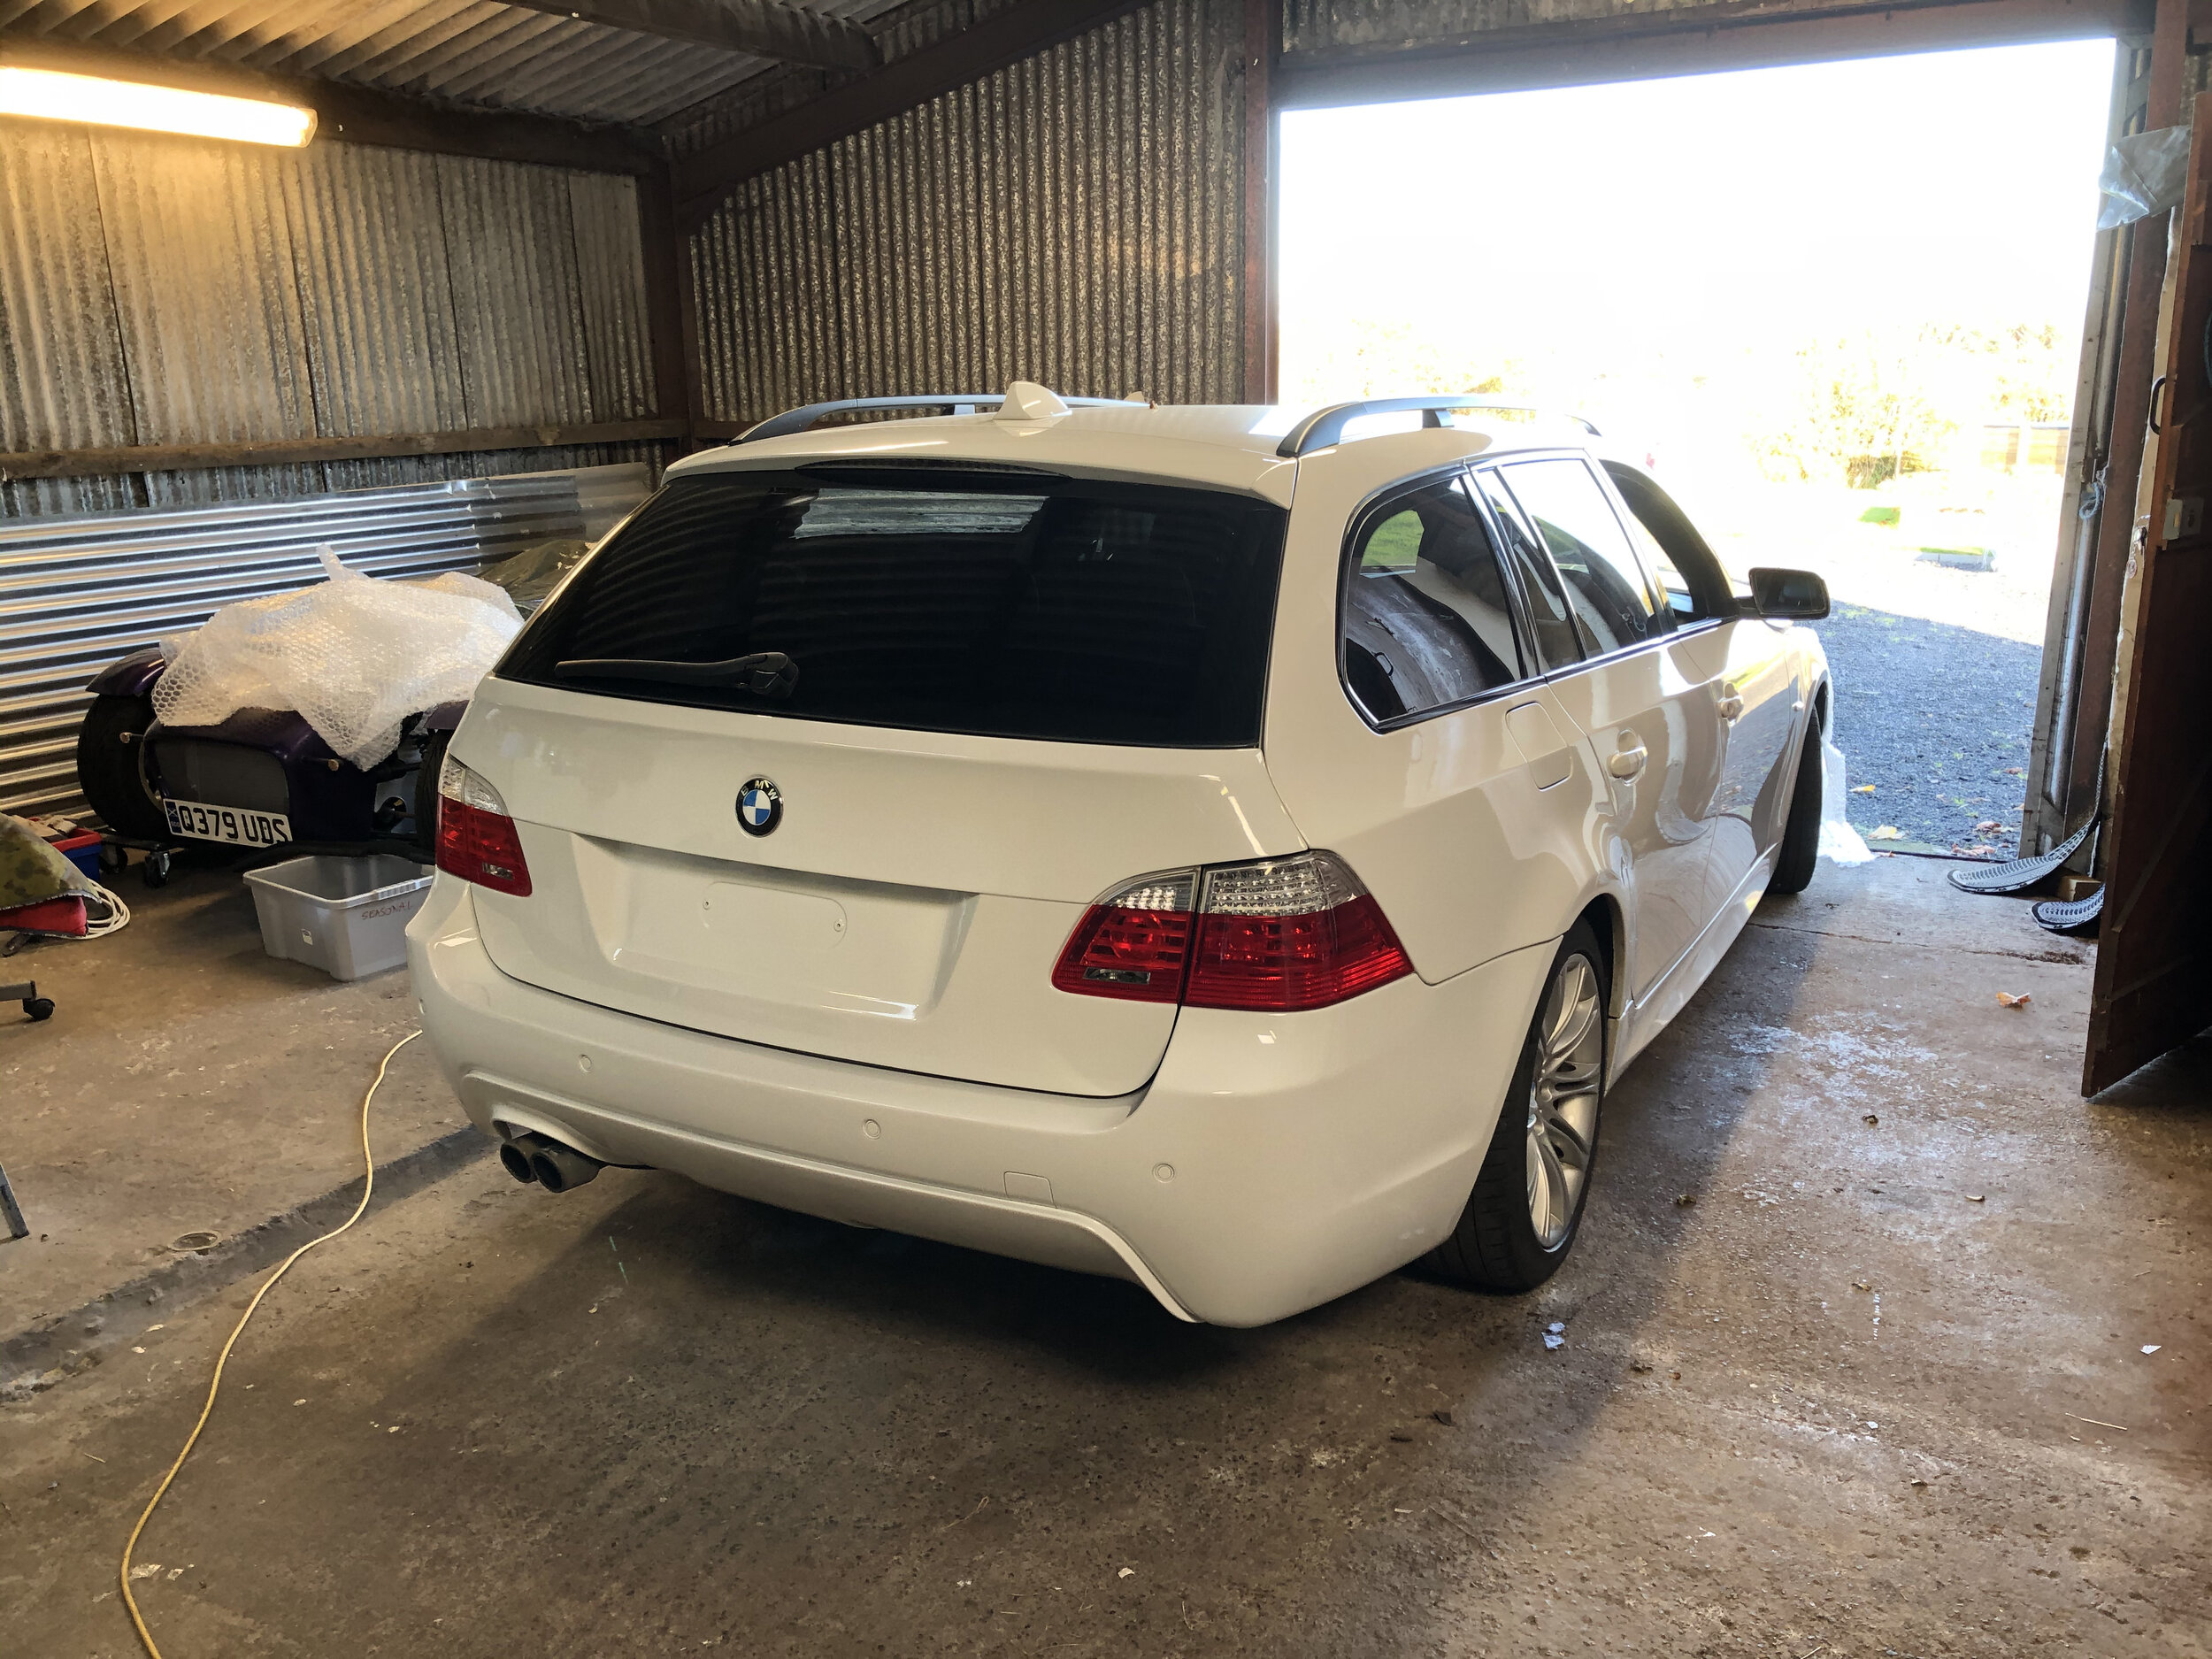
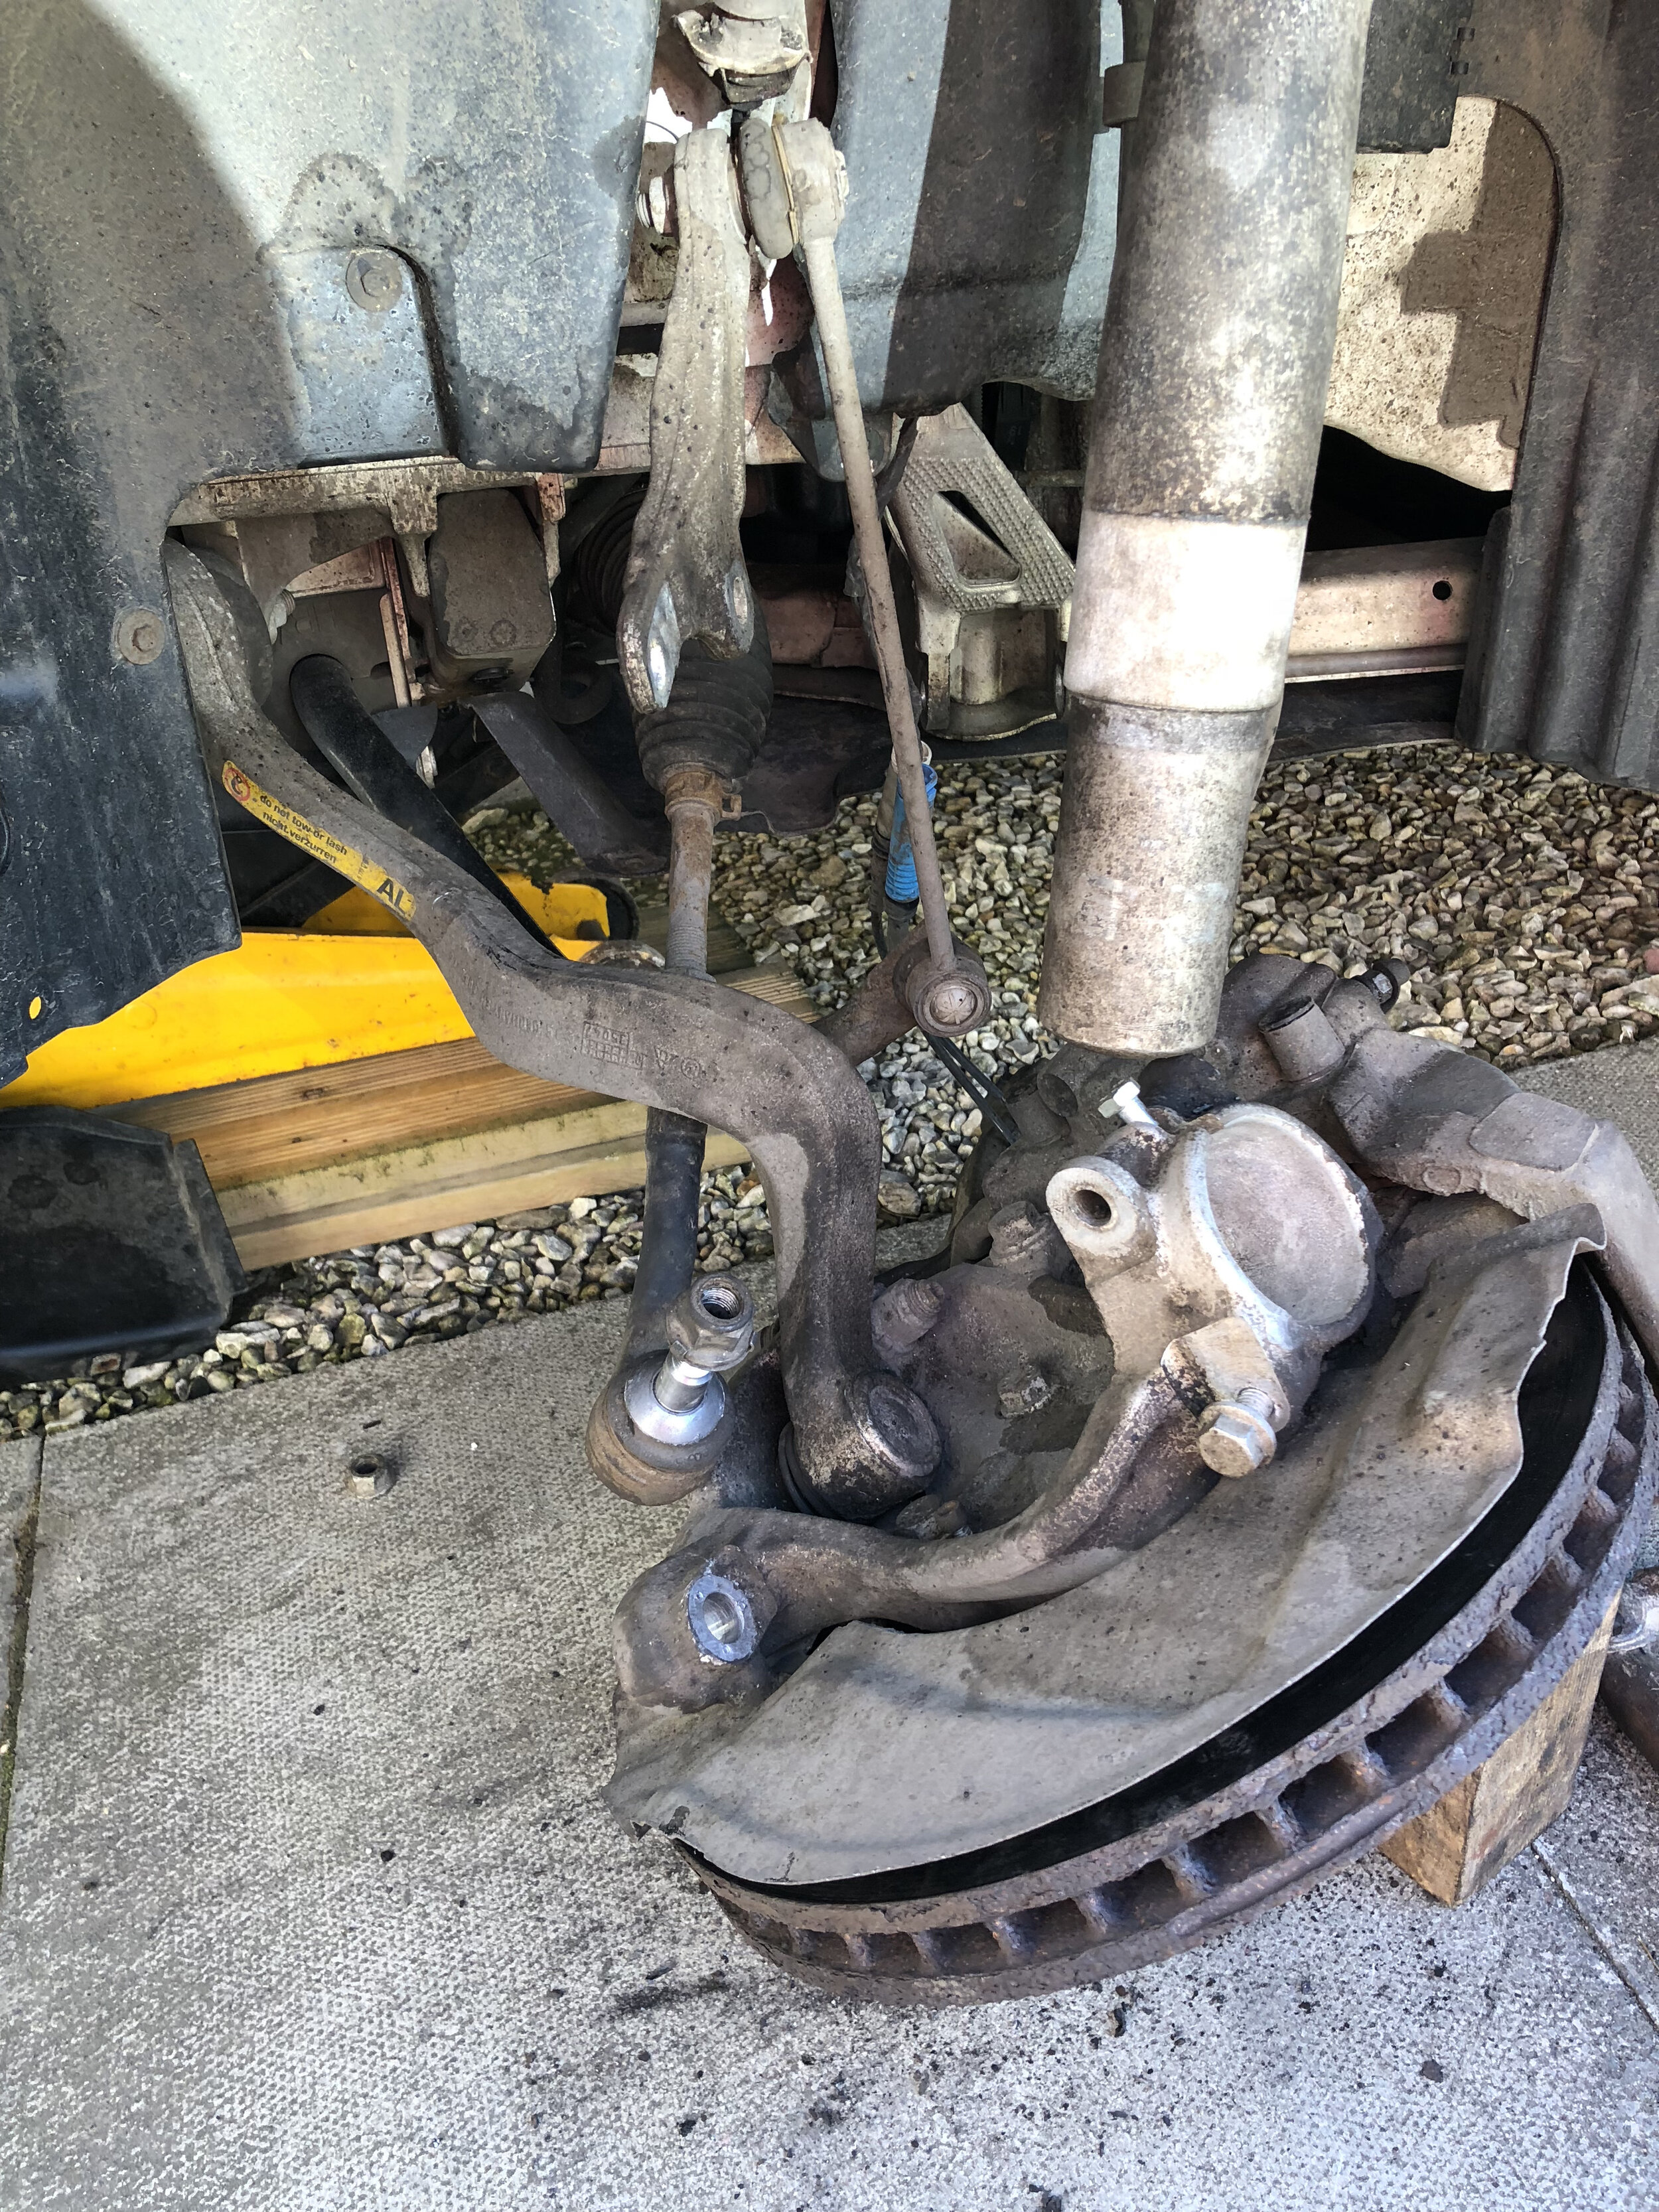
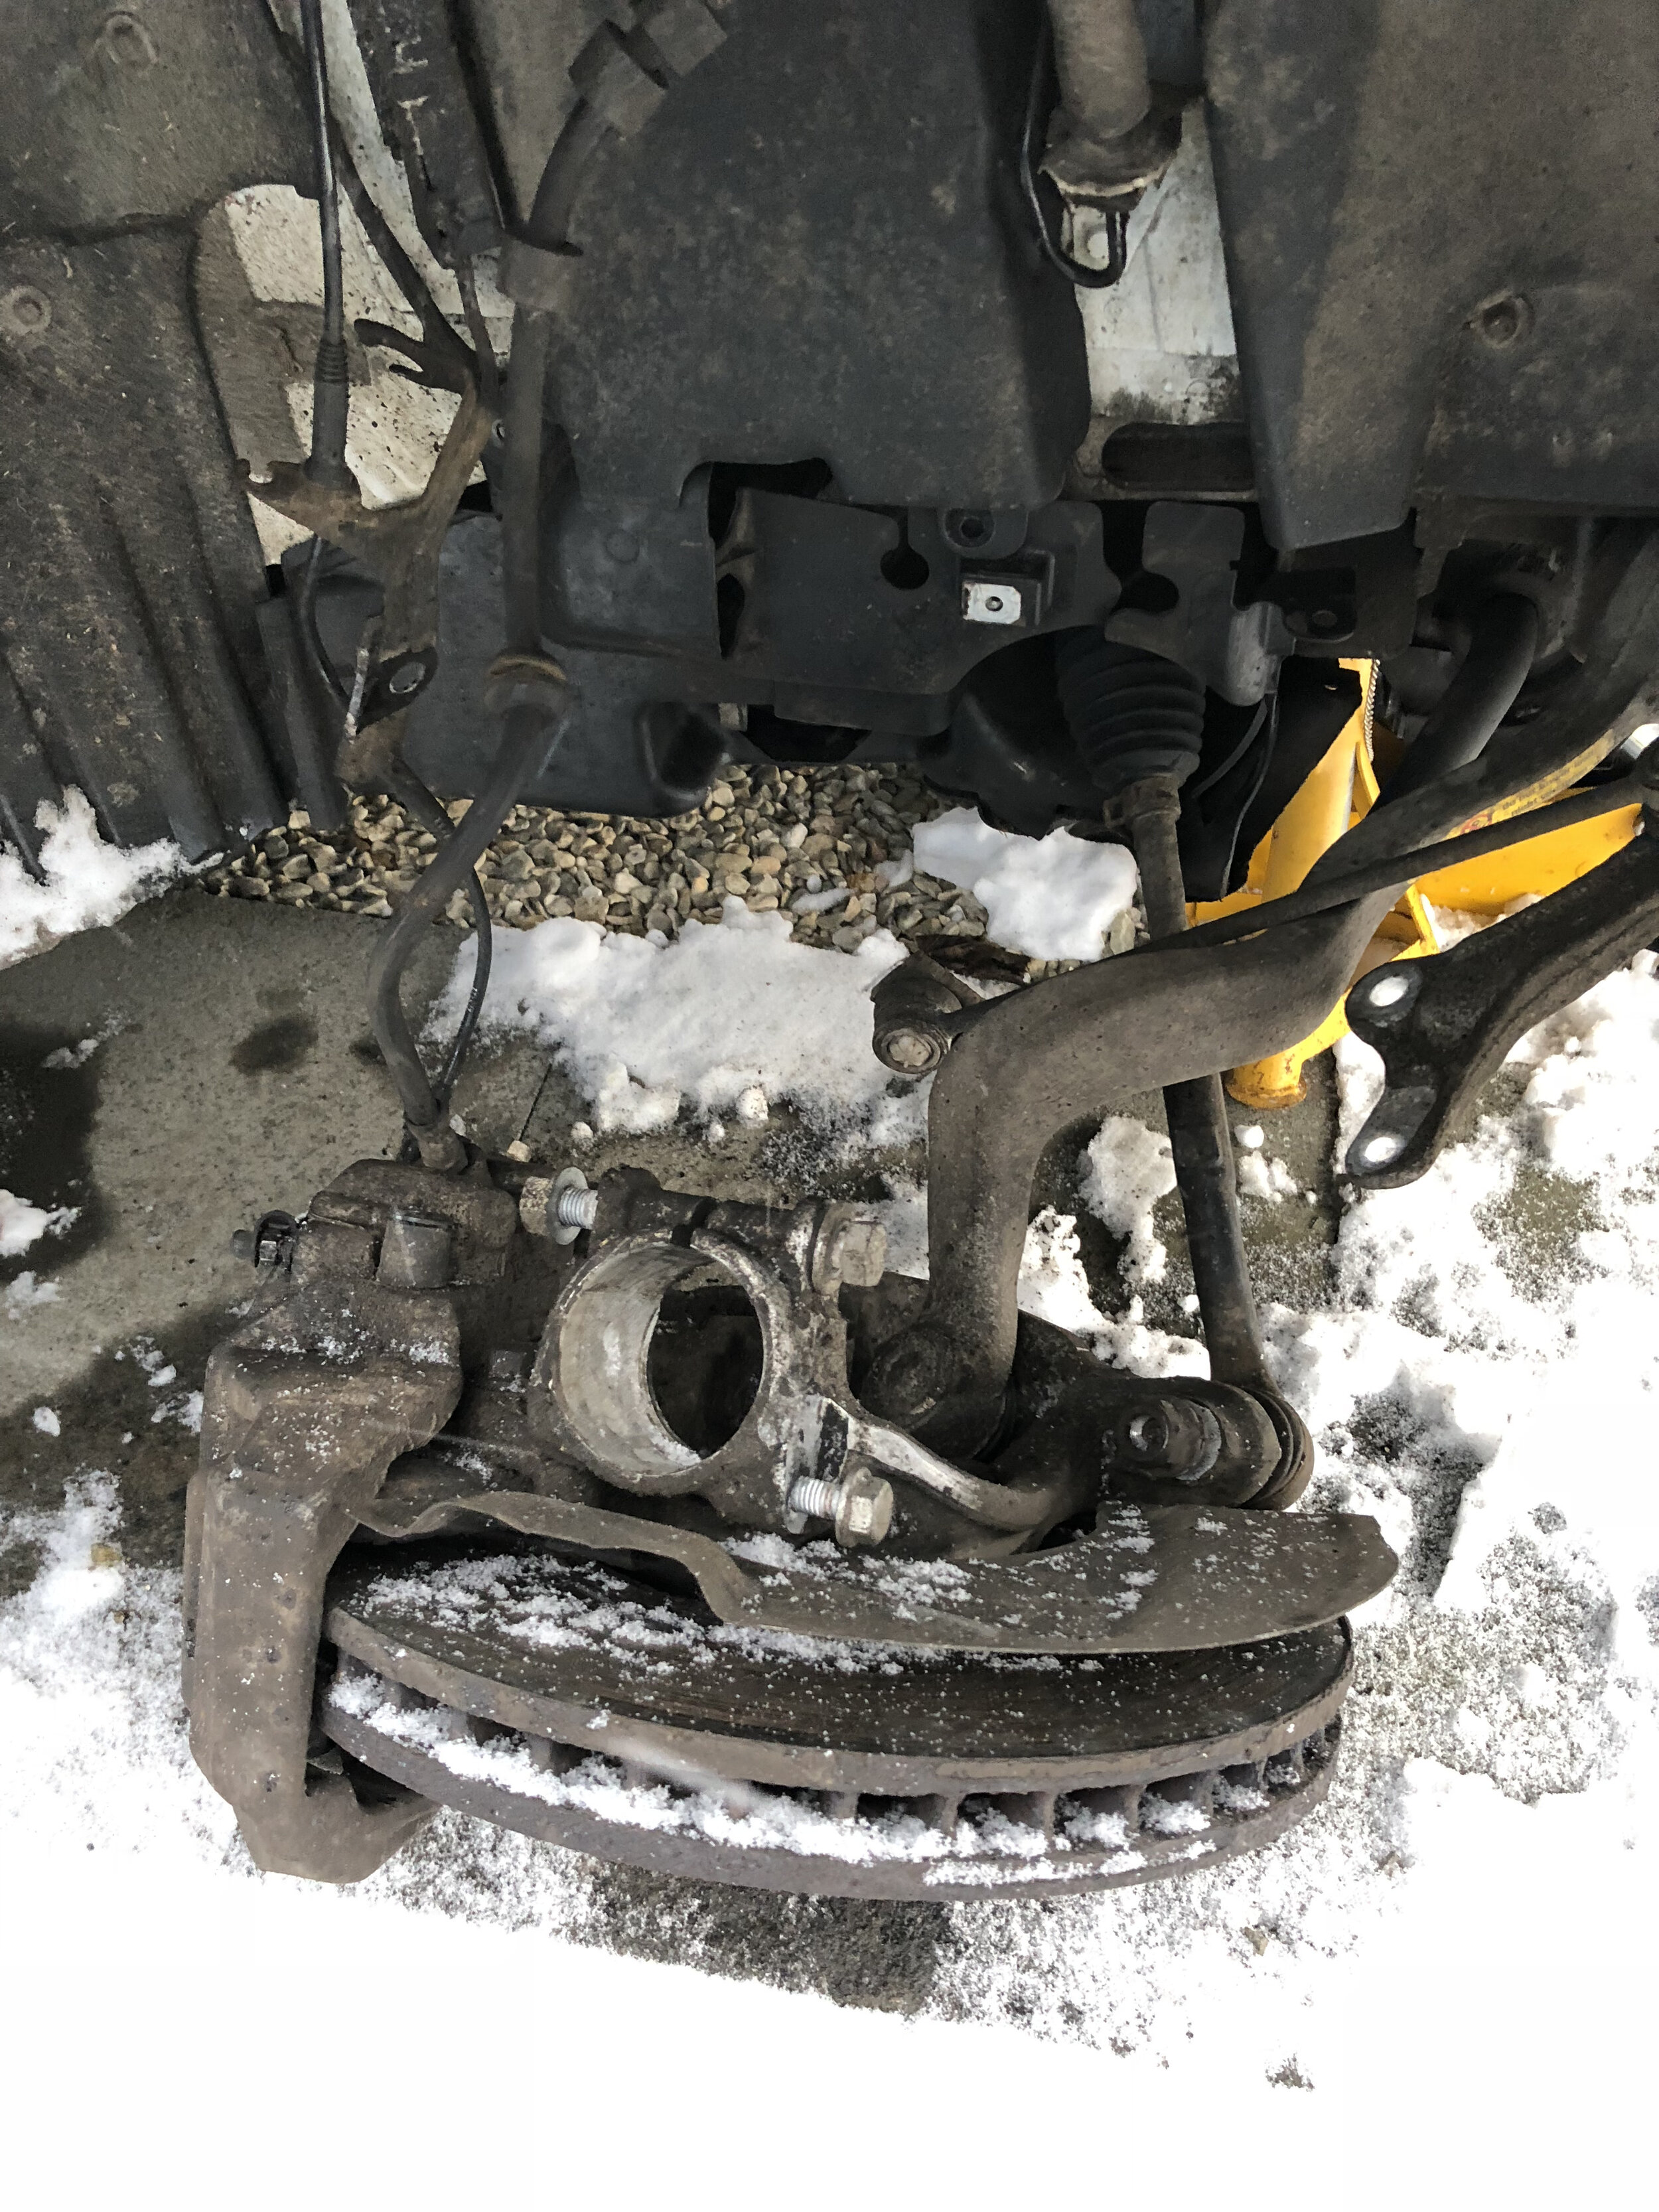
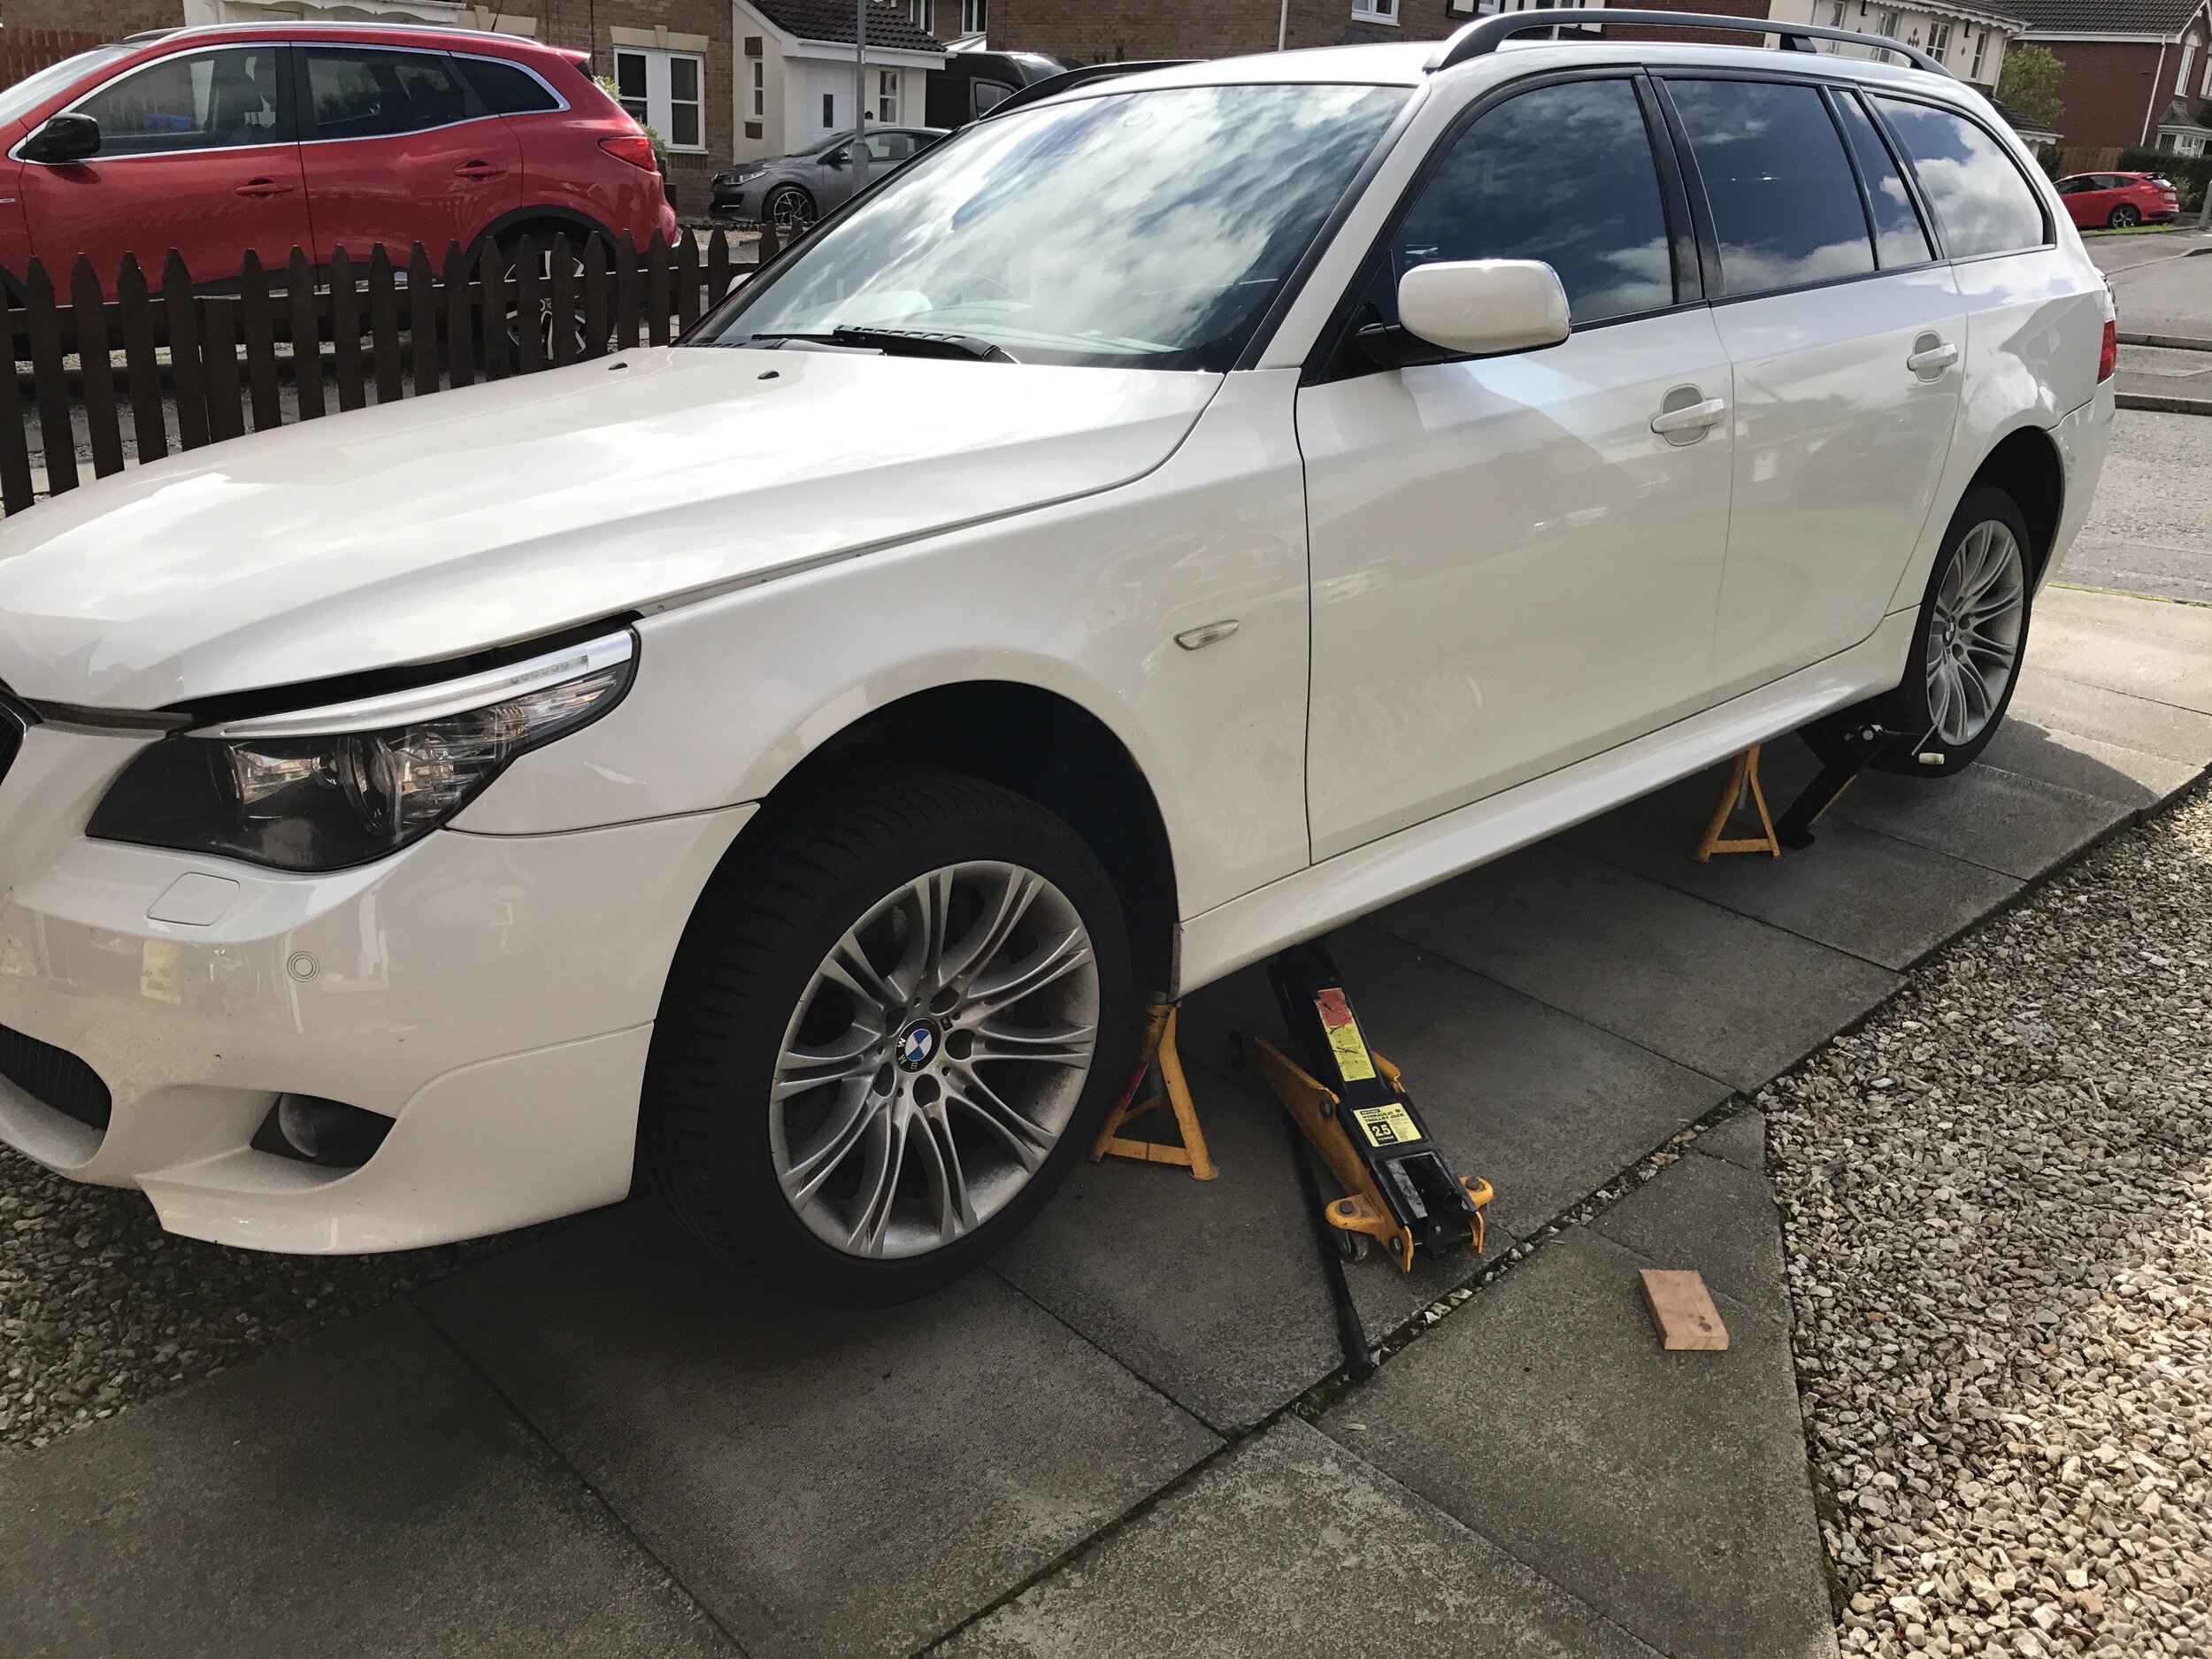
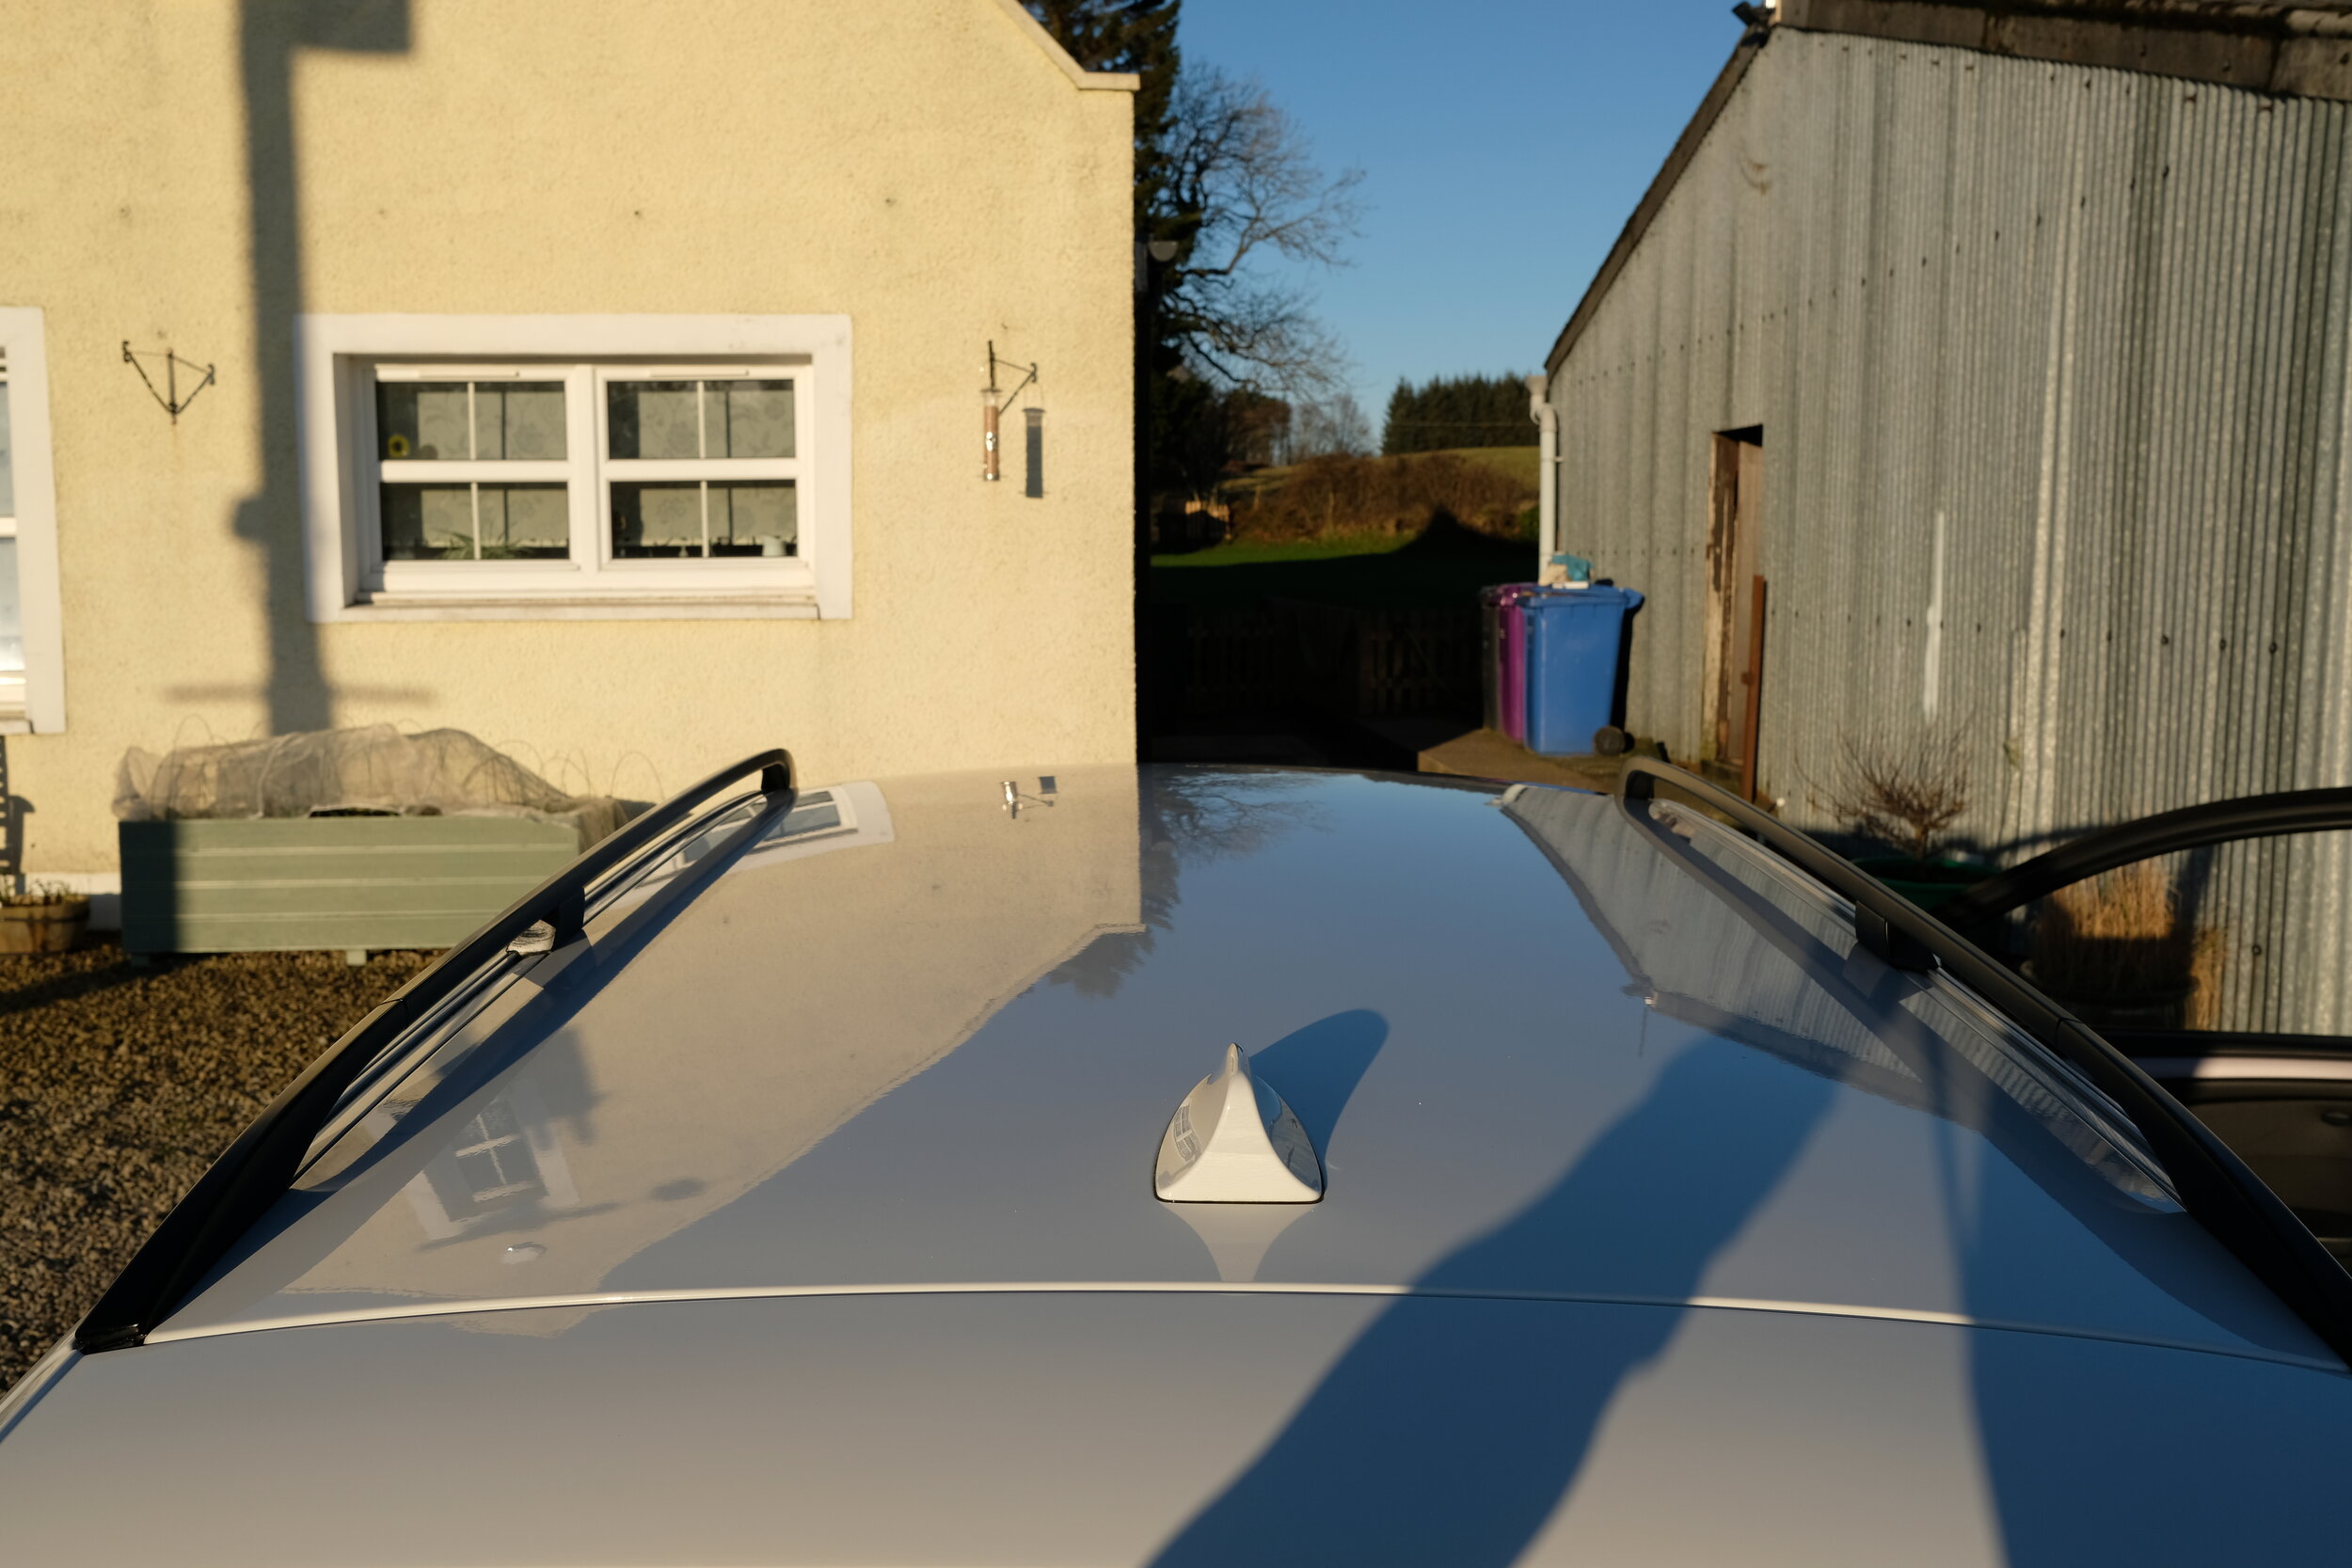
/Well it’s been quite a year in many ways so it was good to put the final touches to my 535d repair. These photos were taken on Christmas Eve when we finally got some sunshine but the low sun makes photographs a bit challenging so apologies for the shadows and odd lighting.
For Sale - SOLD! (subject to collection)
Originally I was planning to rebuild the car for my Dad who has always really liked this car. However, my Mum has intervened because she feels the last thing an 86 year old needs is a larger, faster car than what he already has! Maybe she has a good point! :)
So the car will be going up for sale shortly, probably on Auto Trader and I’ll be looking for what I think is a very fair £4950 for a car which without the CAT S marker would be valued close to £7000. I’ve tried to be as transparent as possible with the repair and am happy to answer any questions.
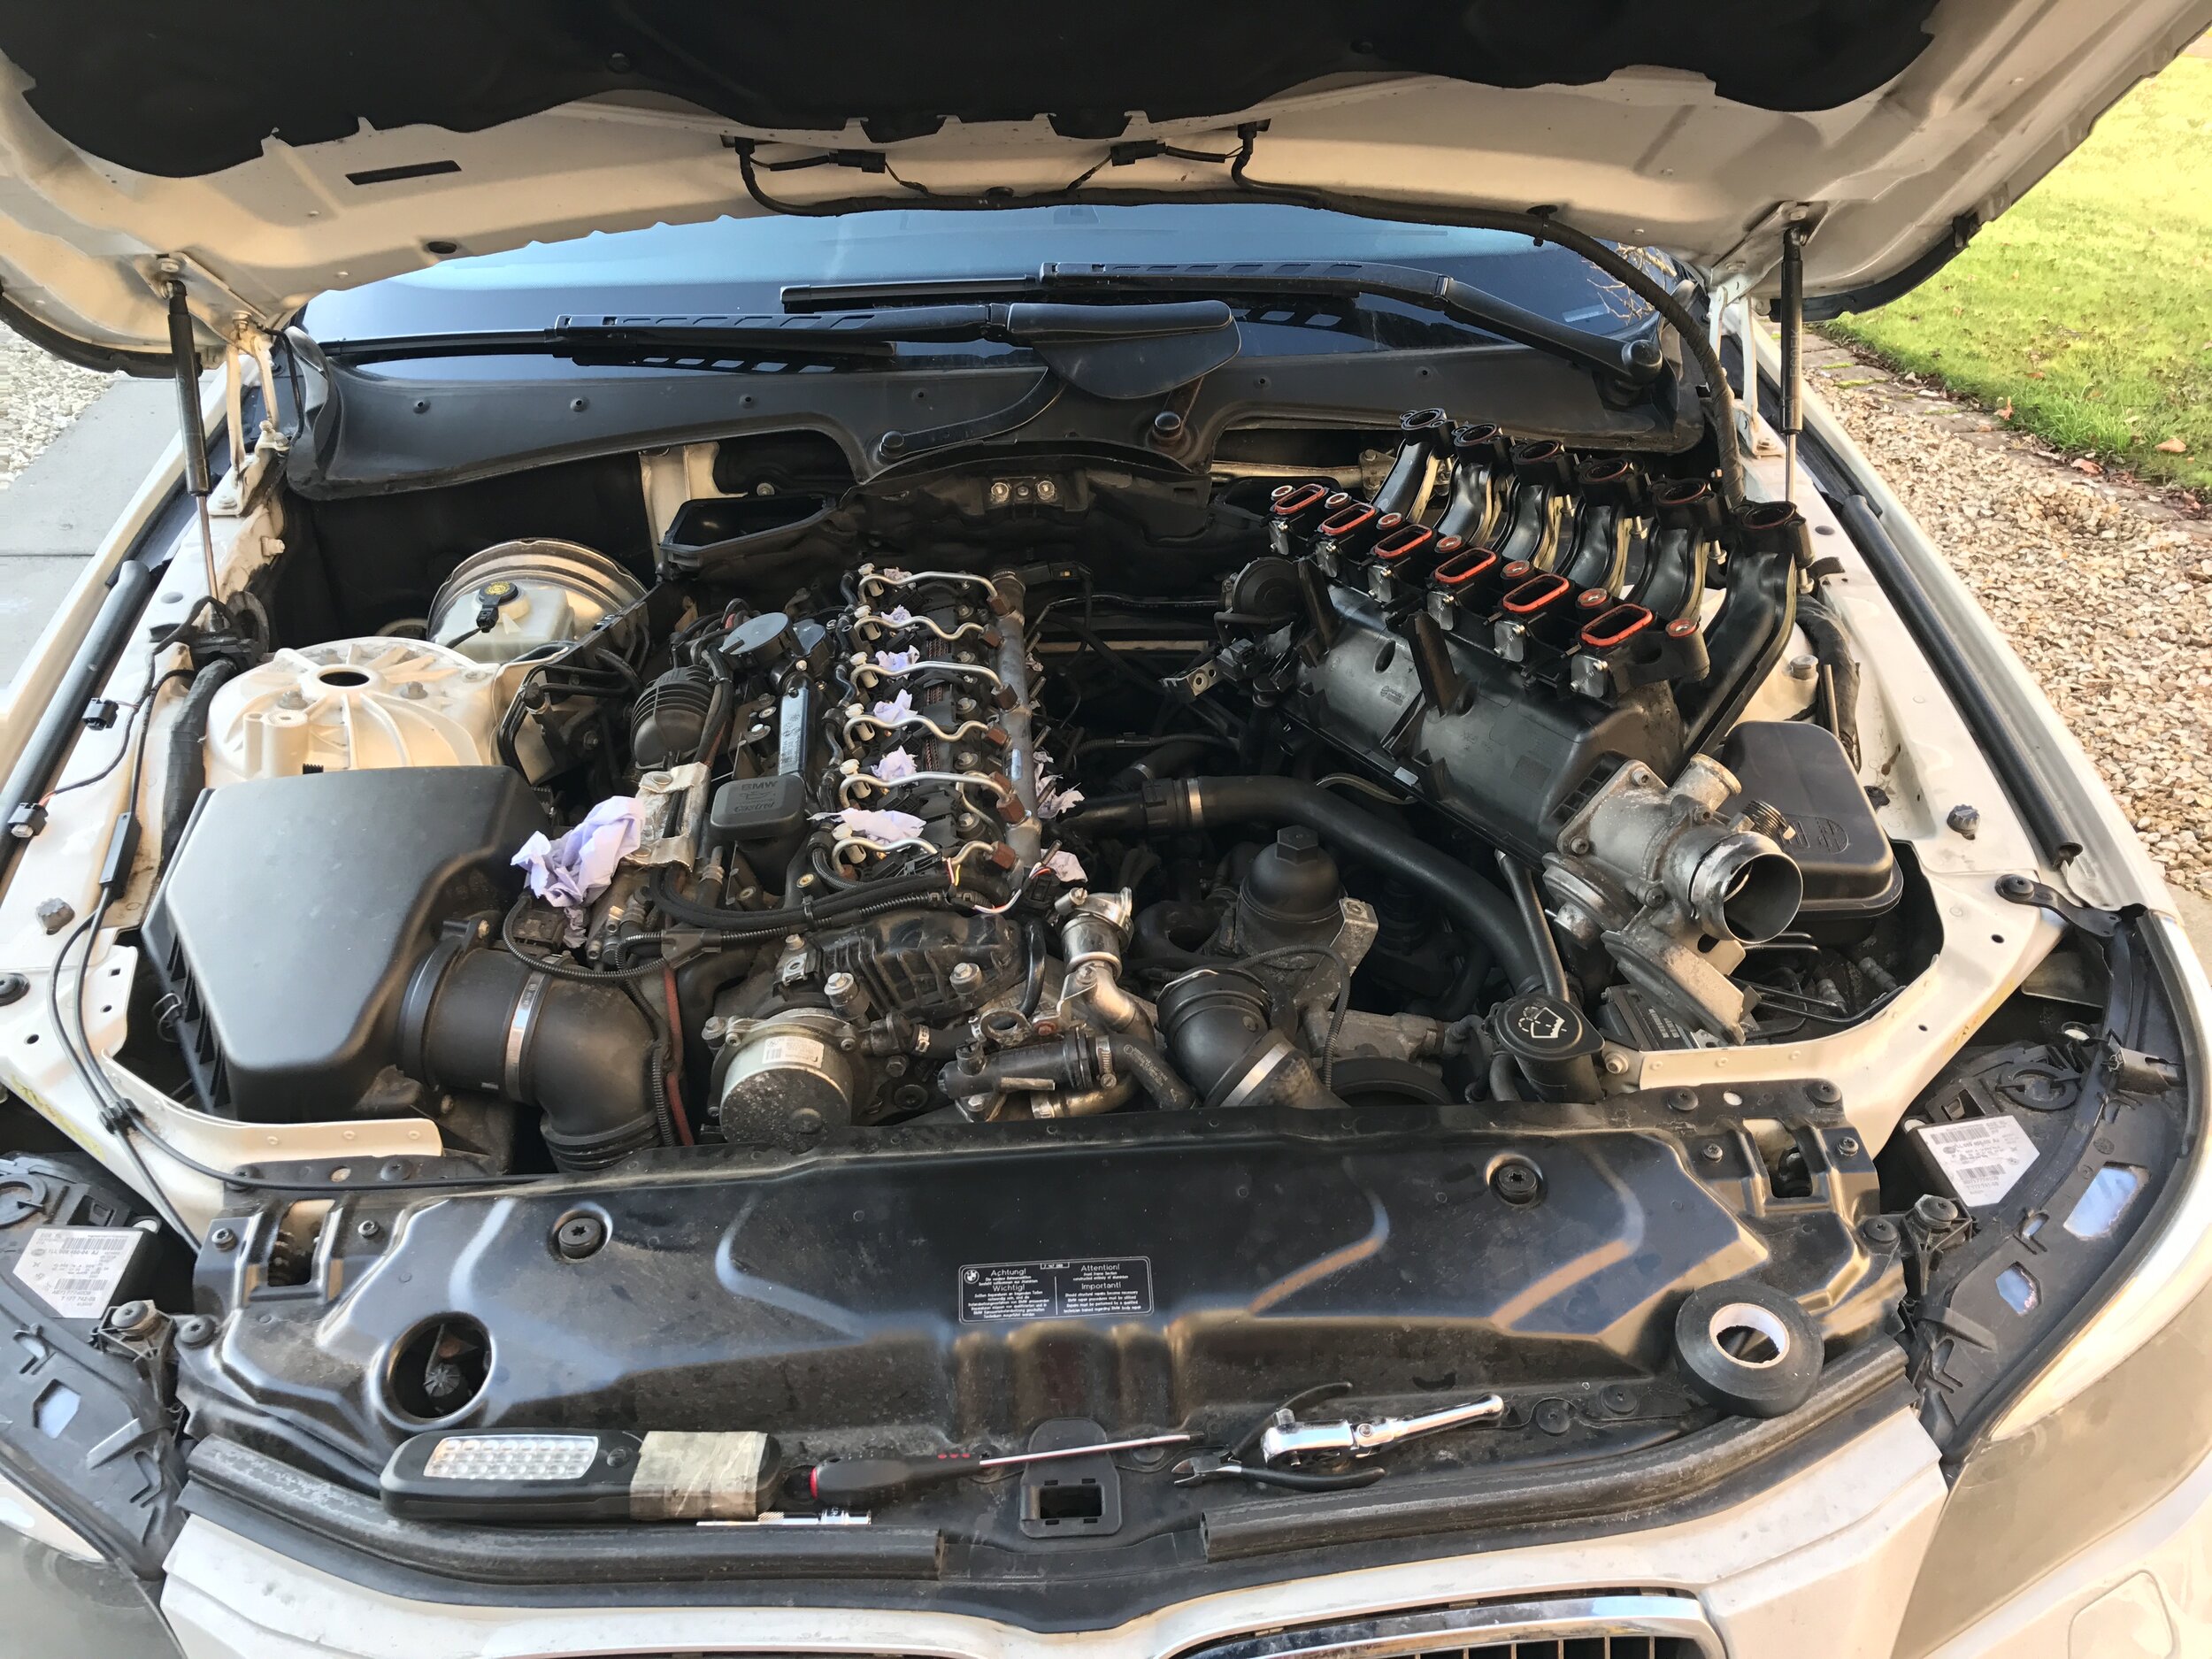
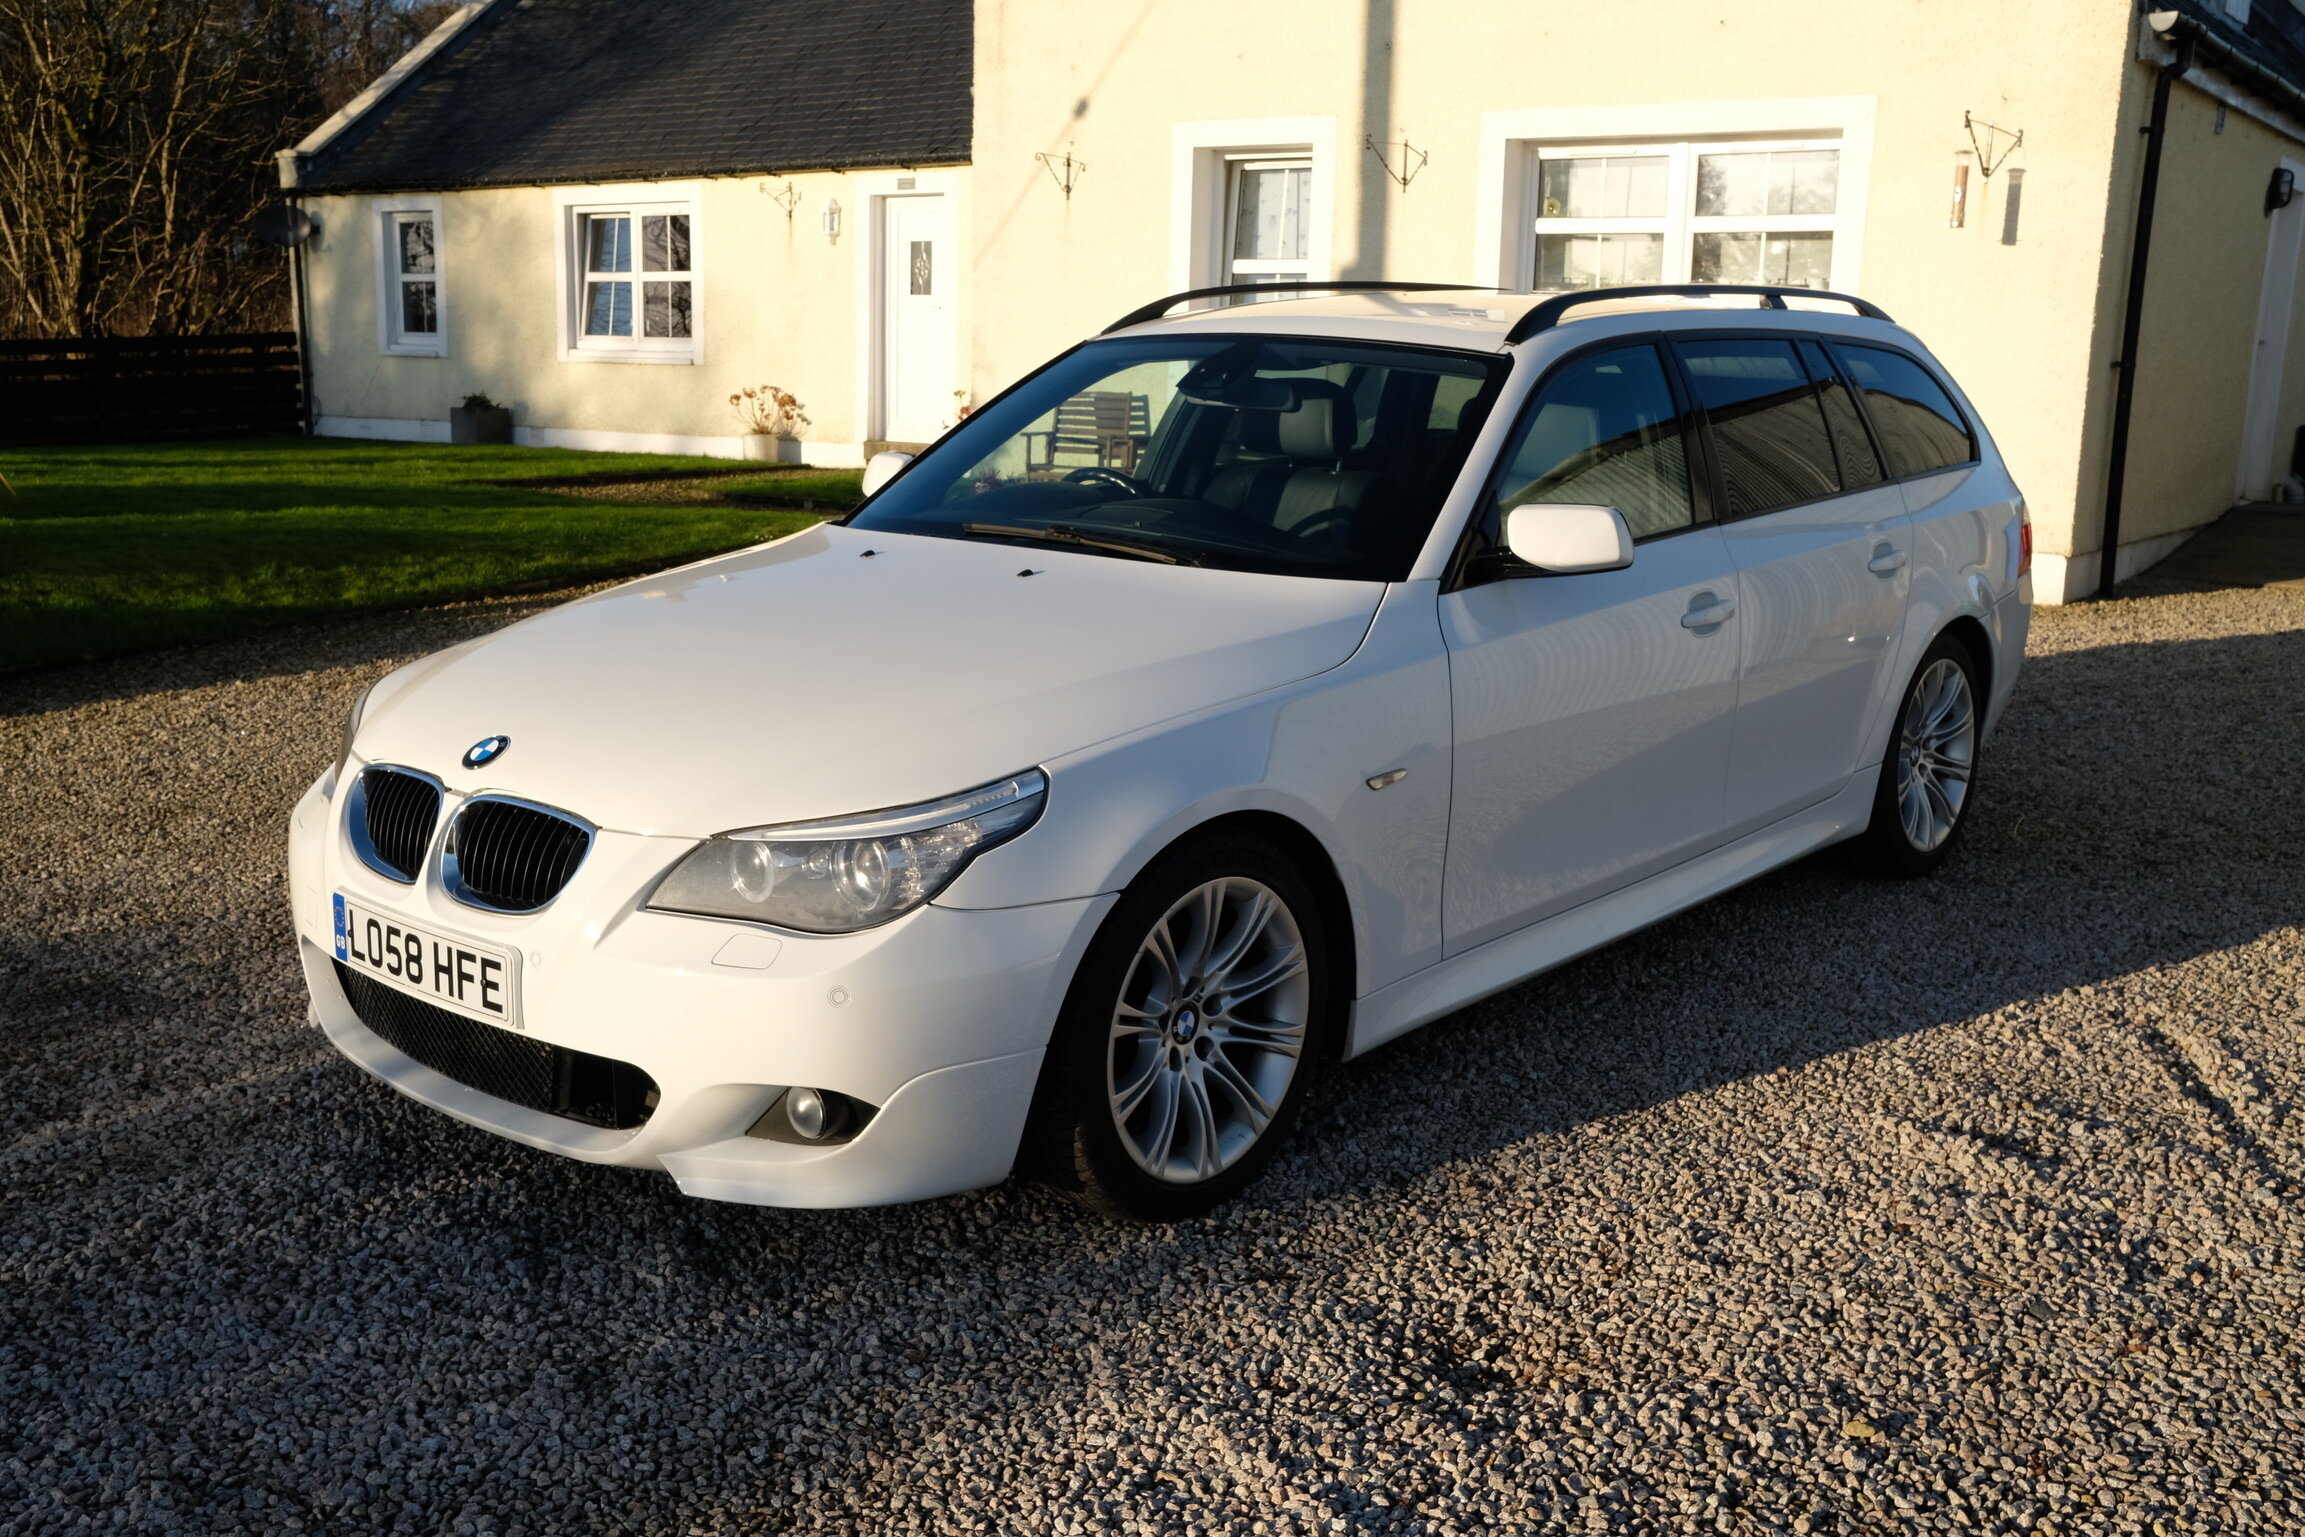
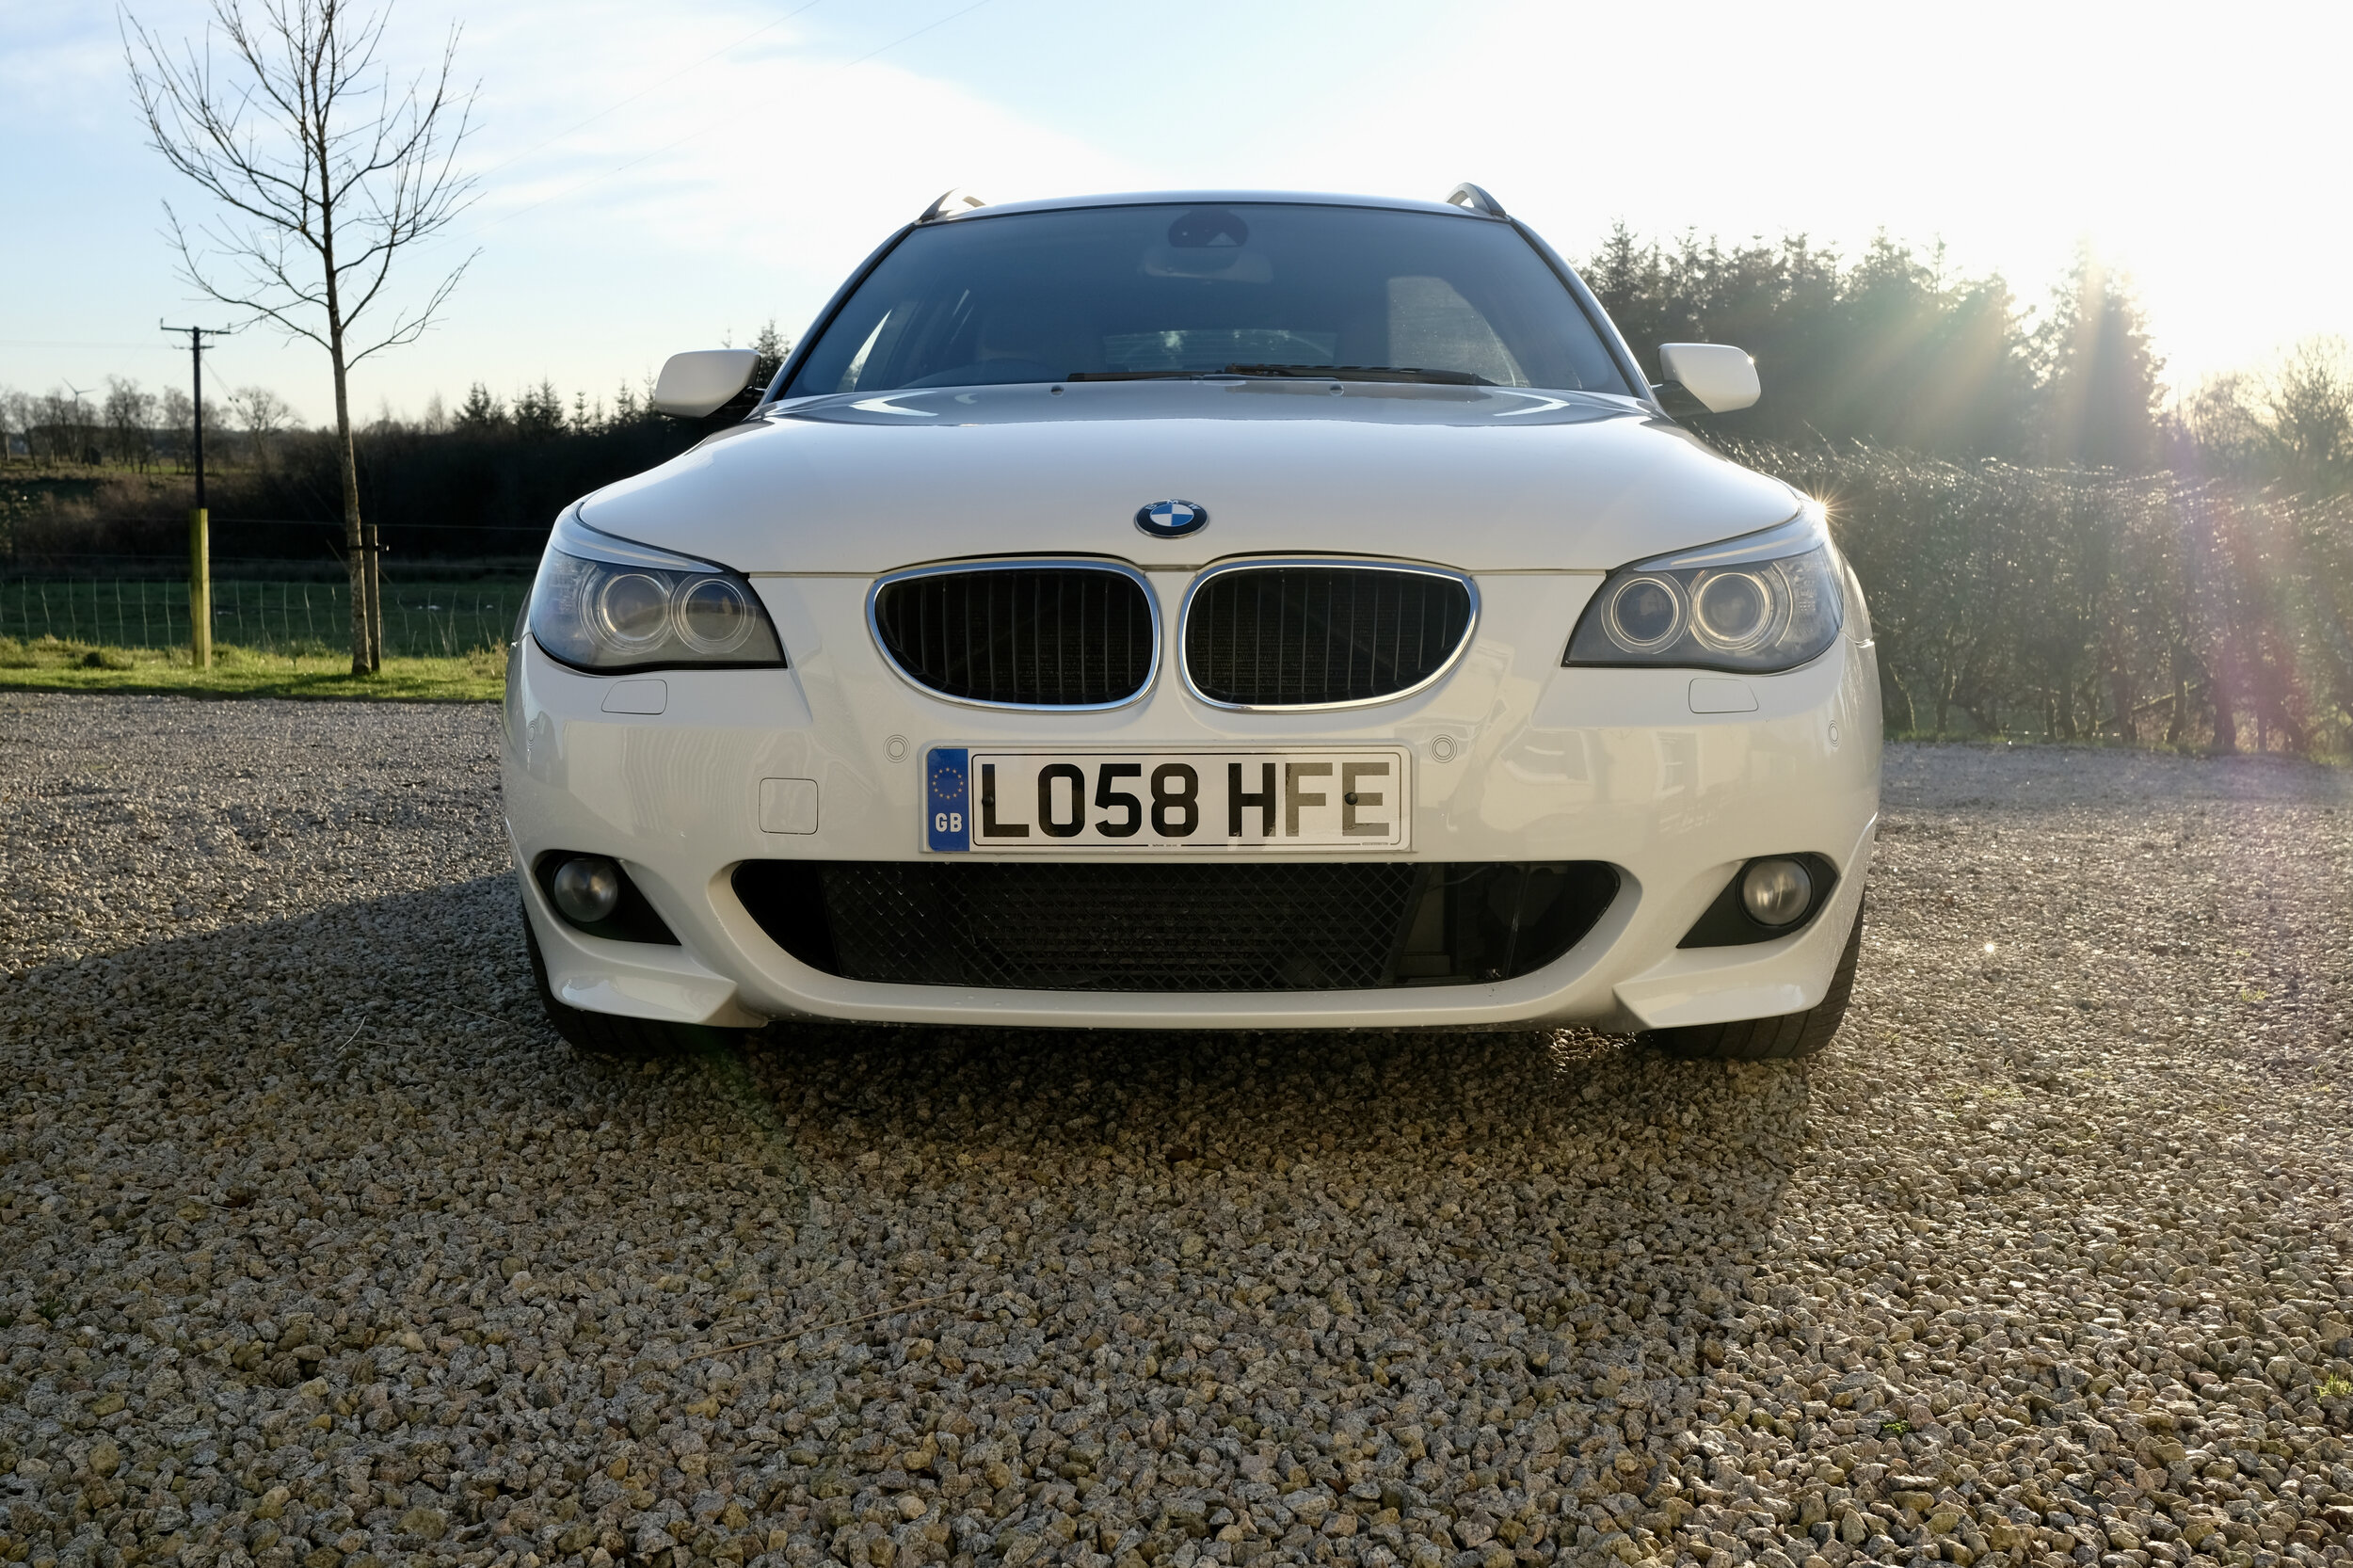
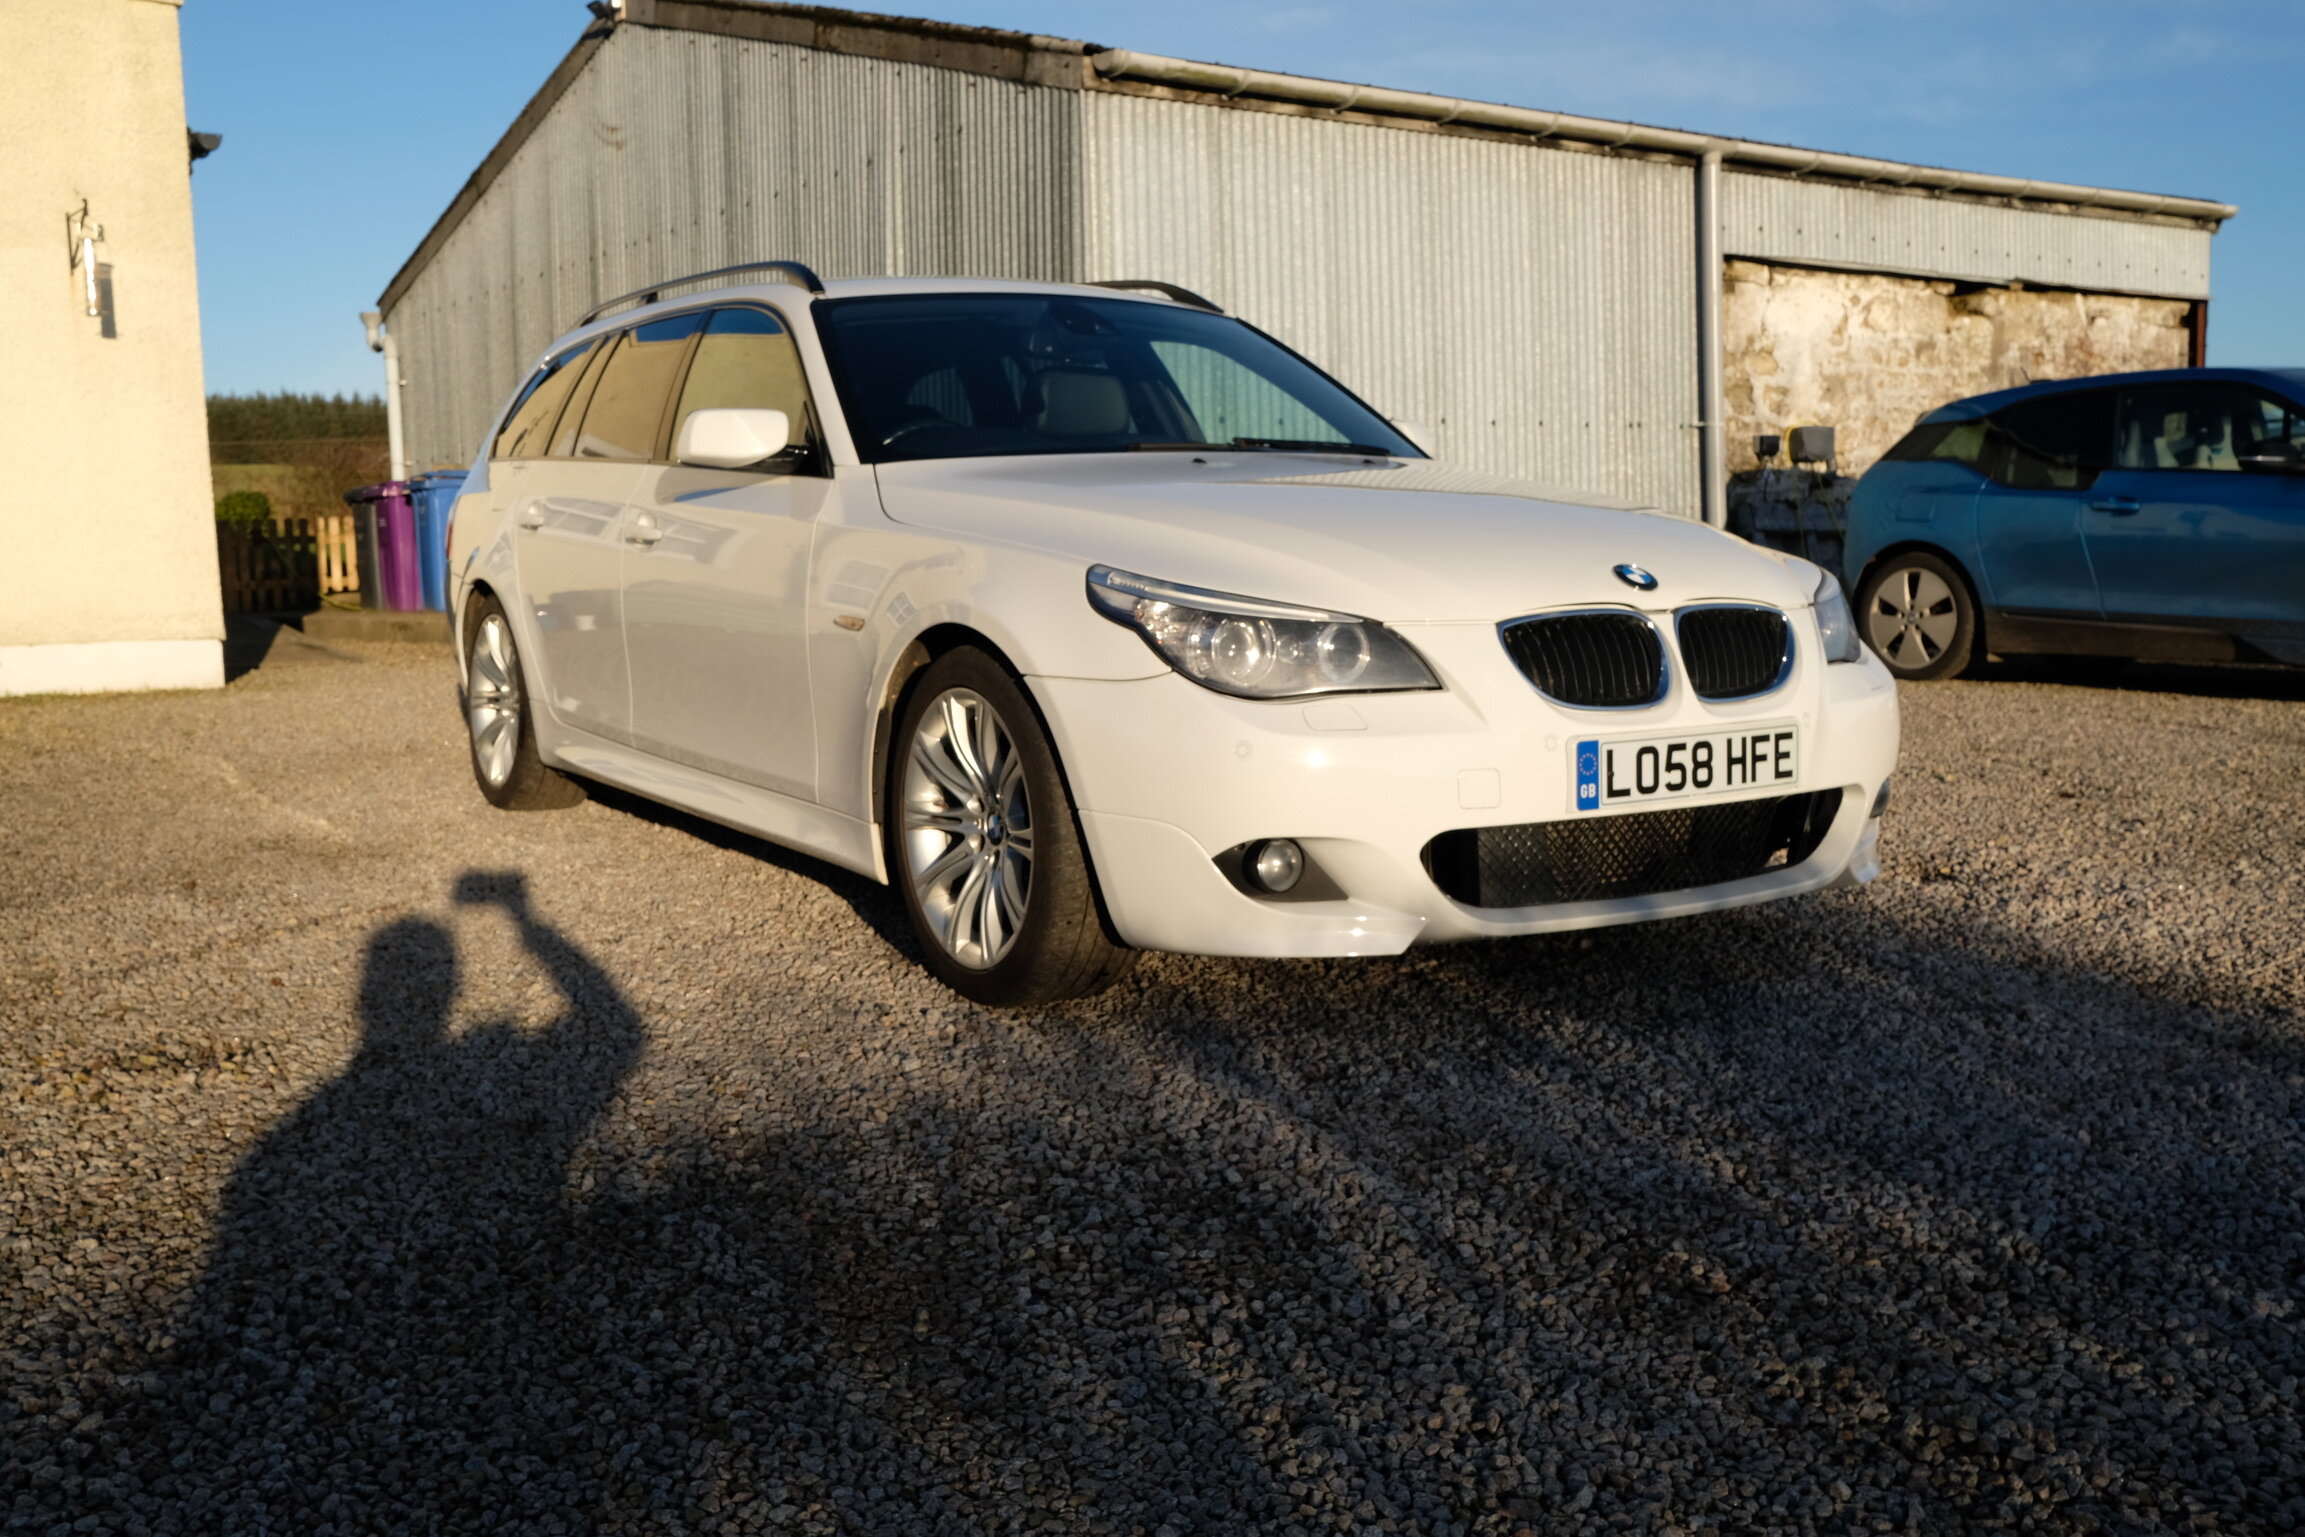
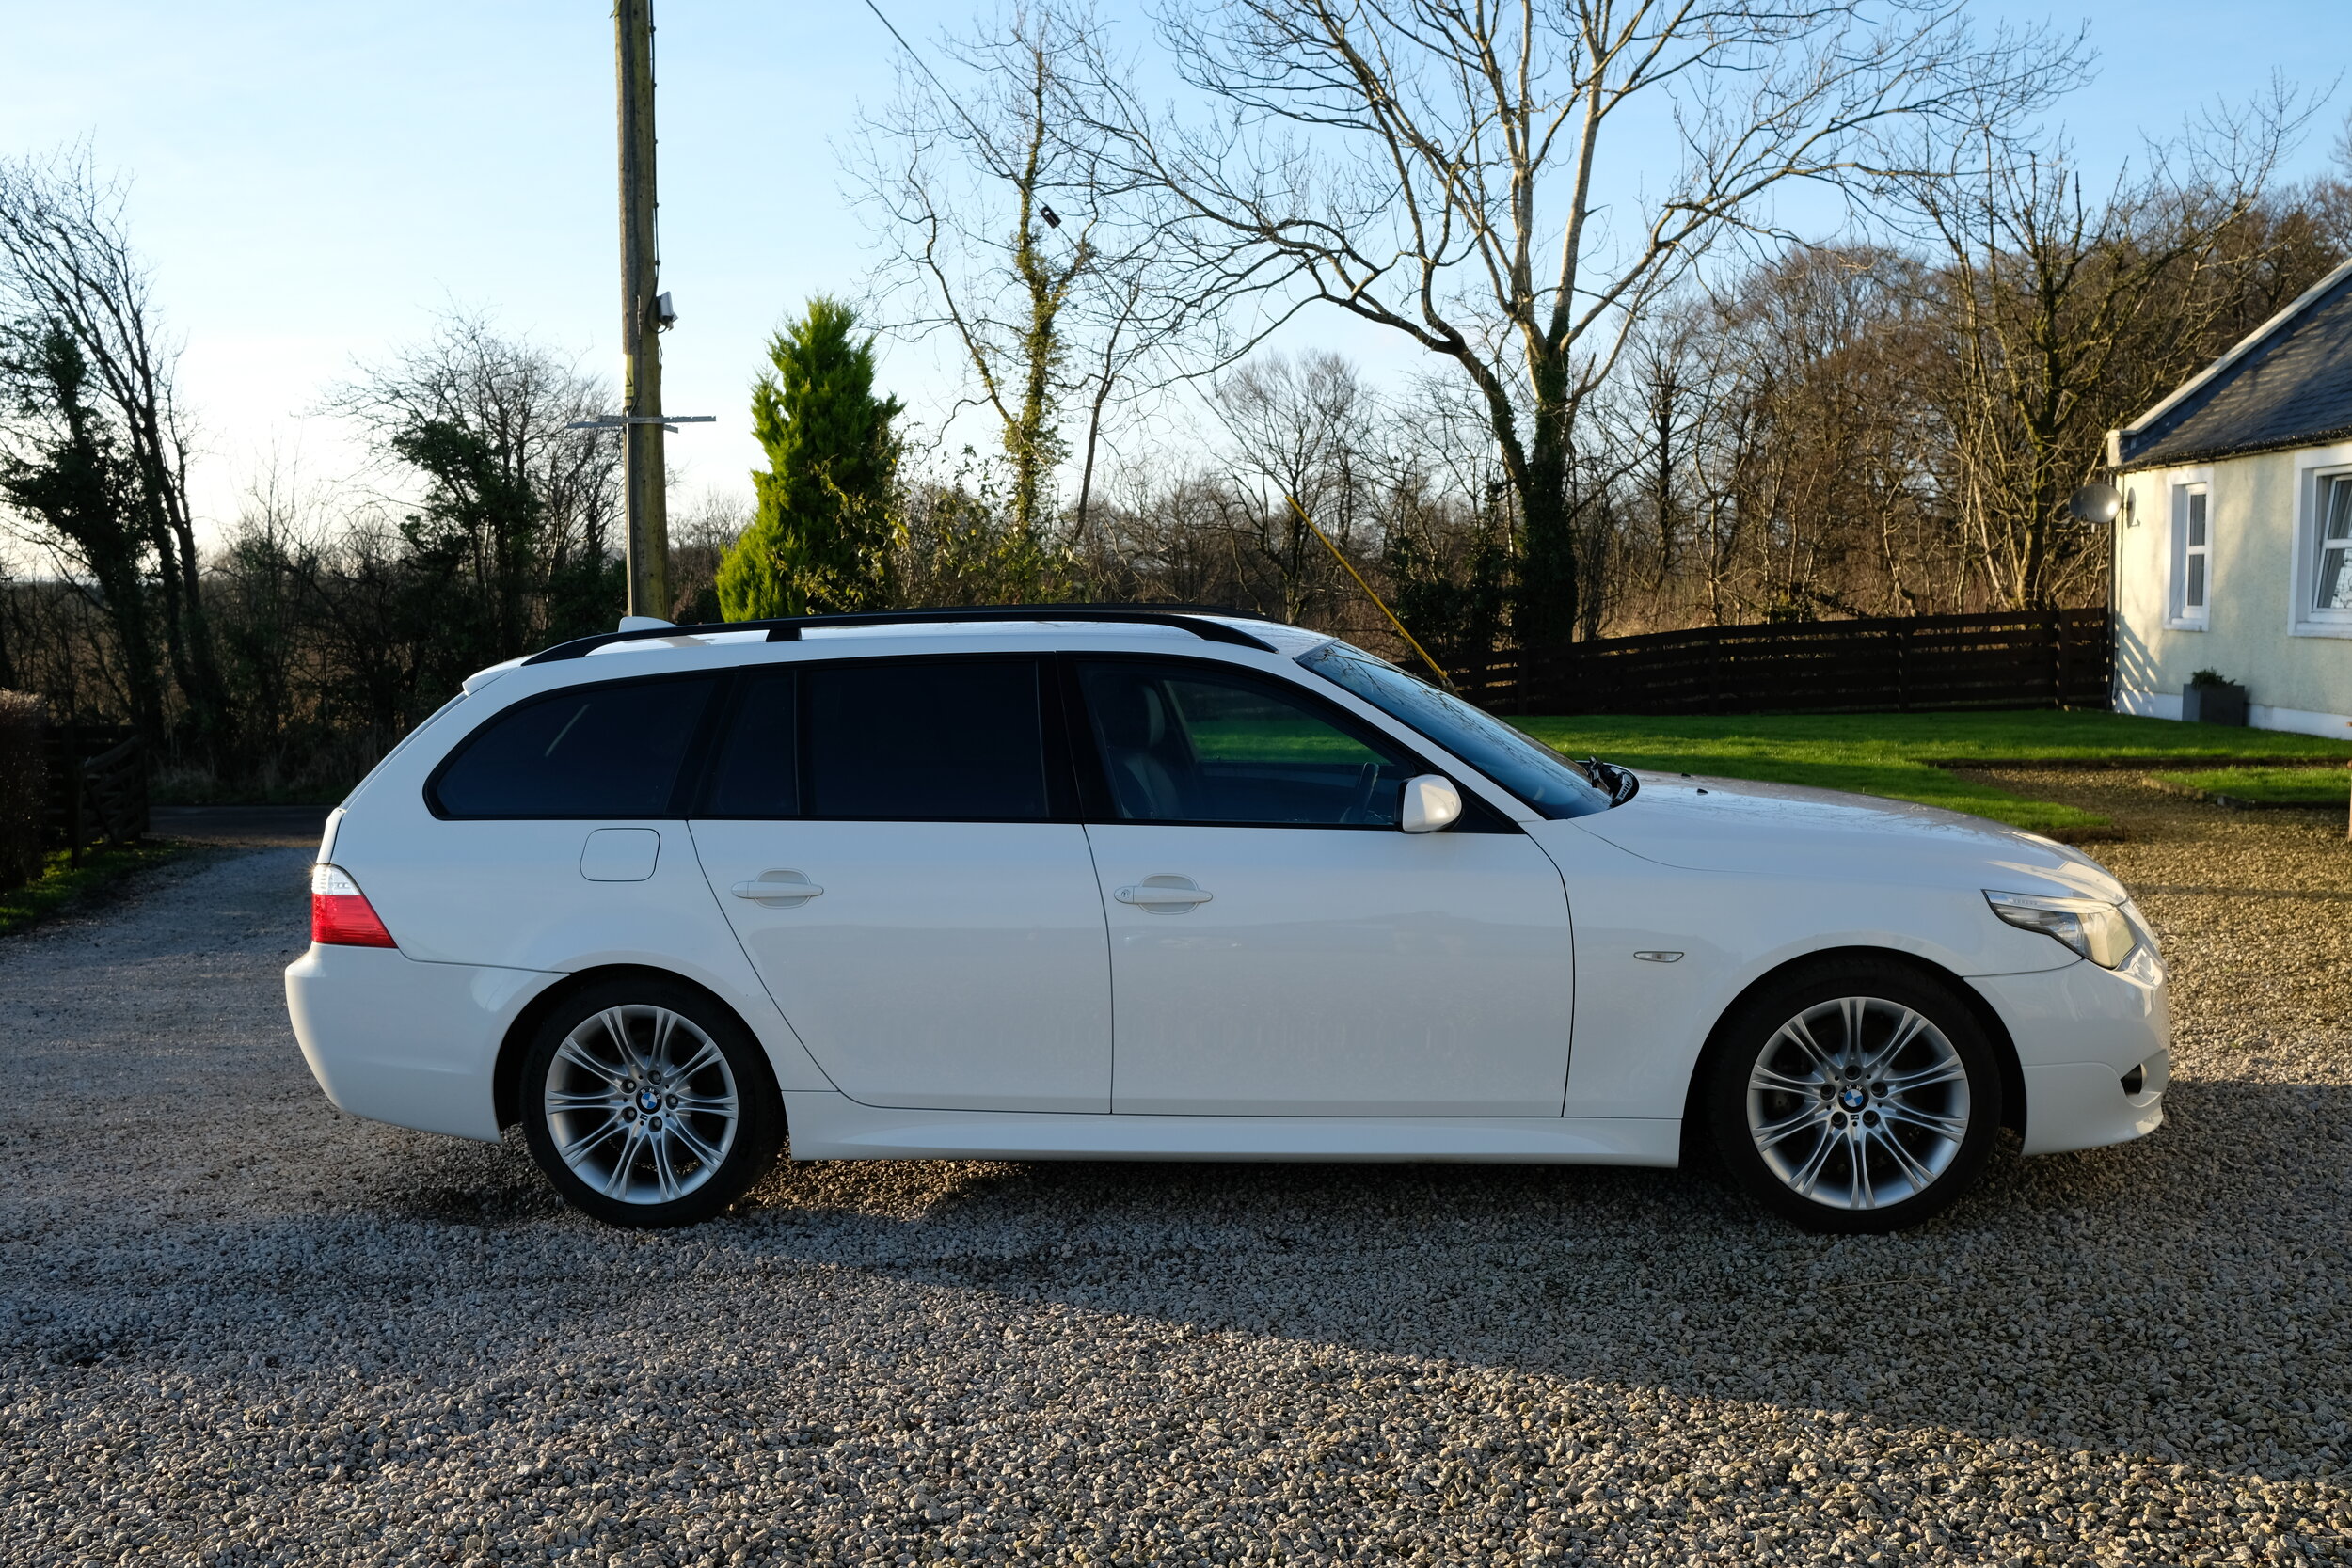
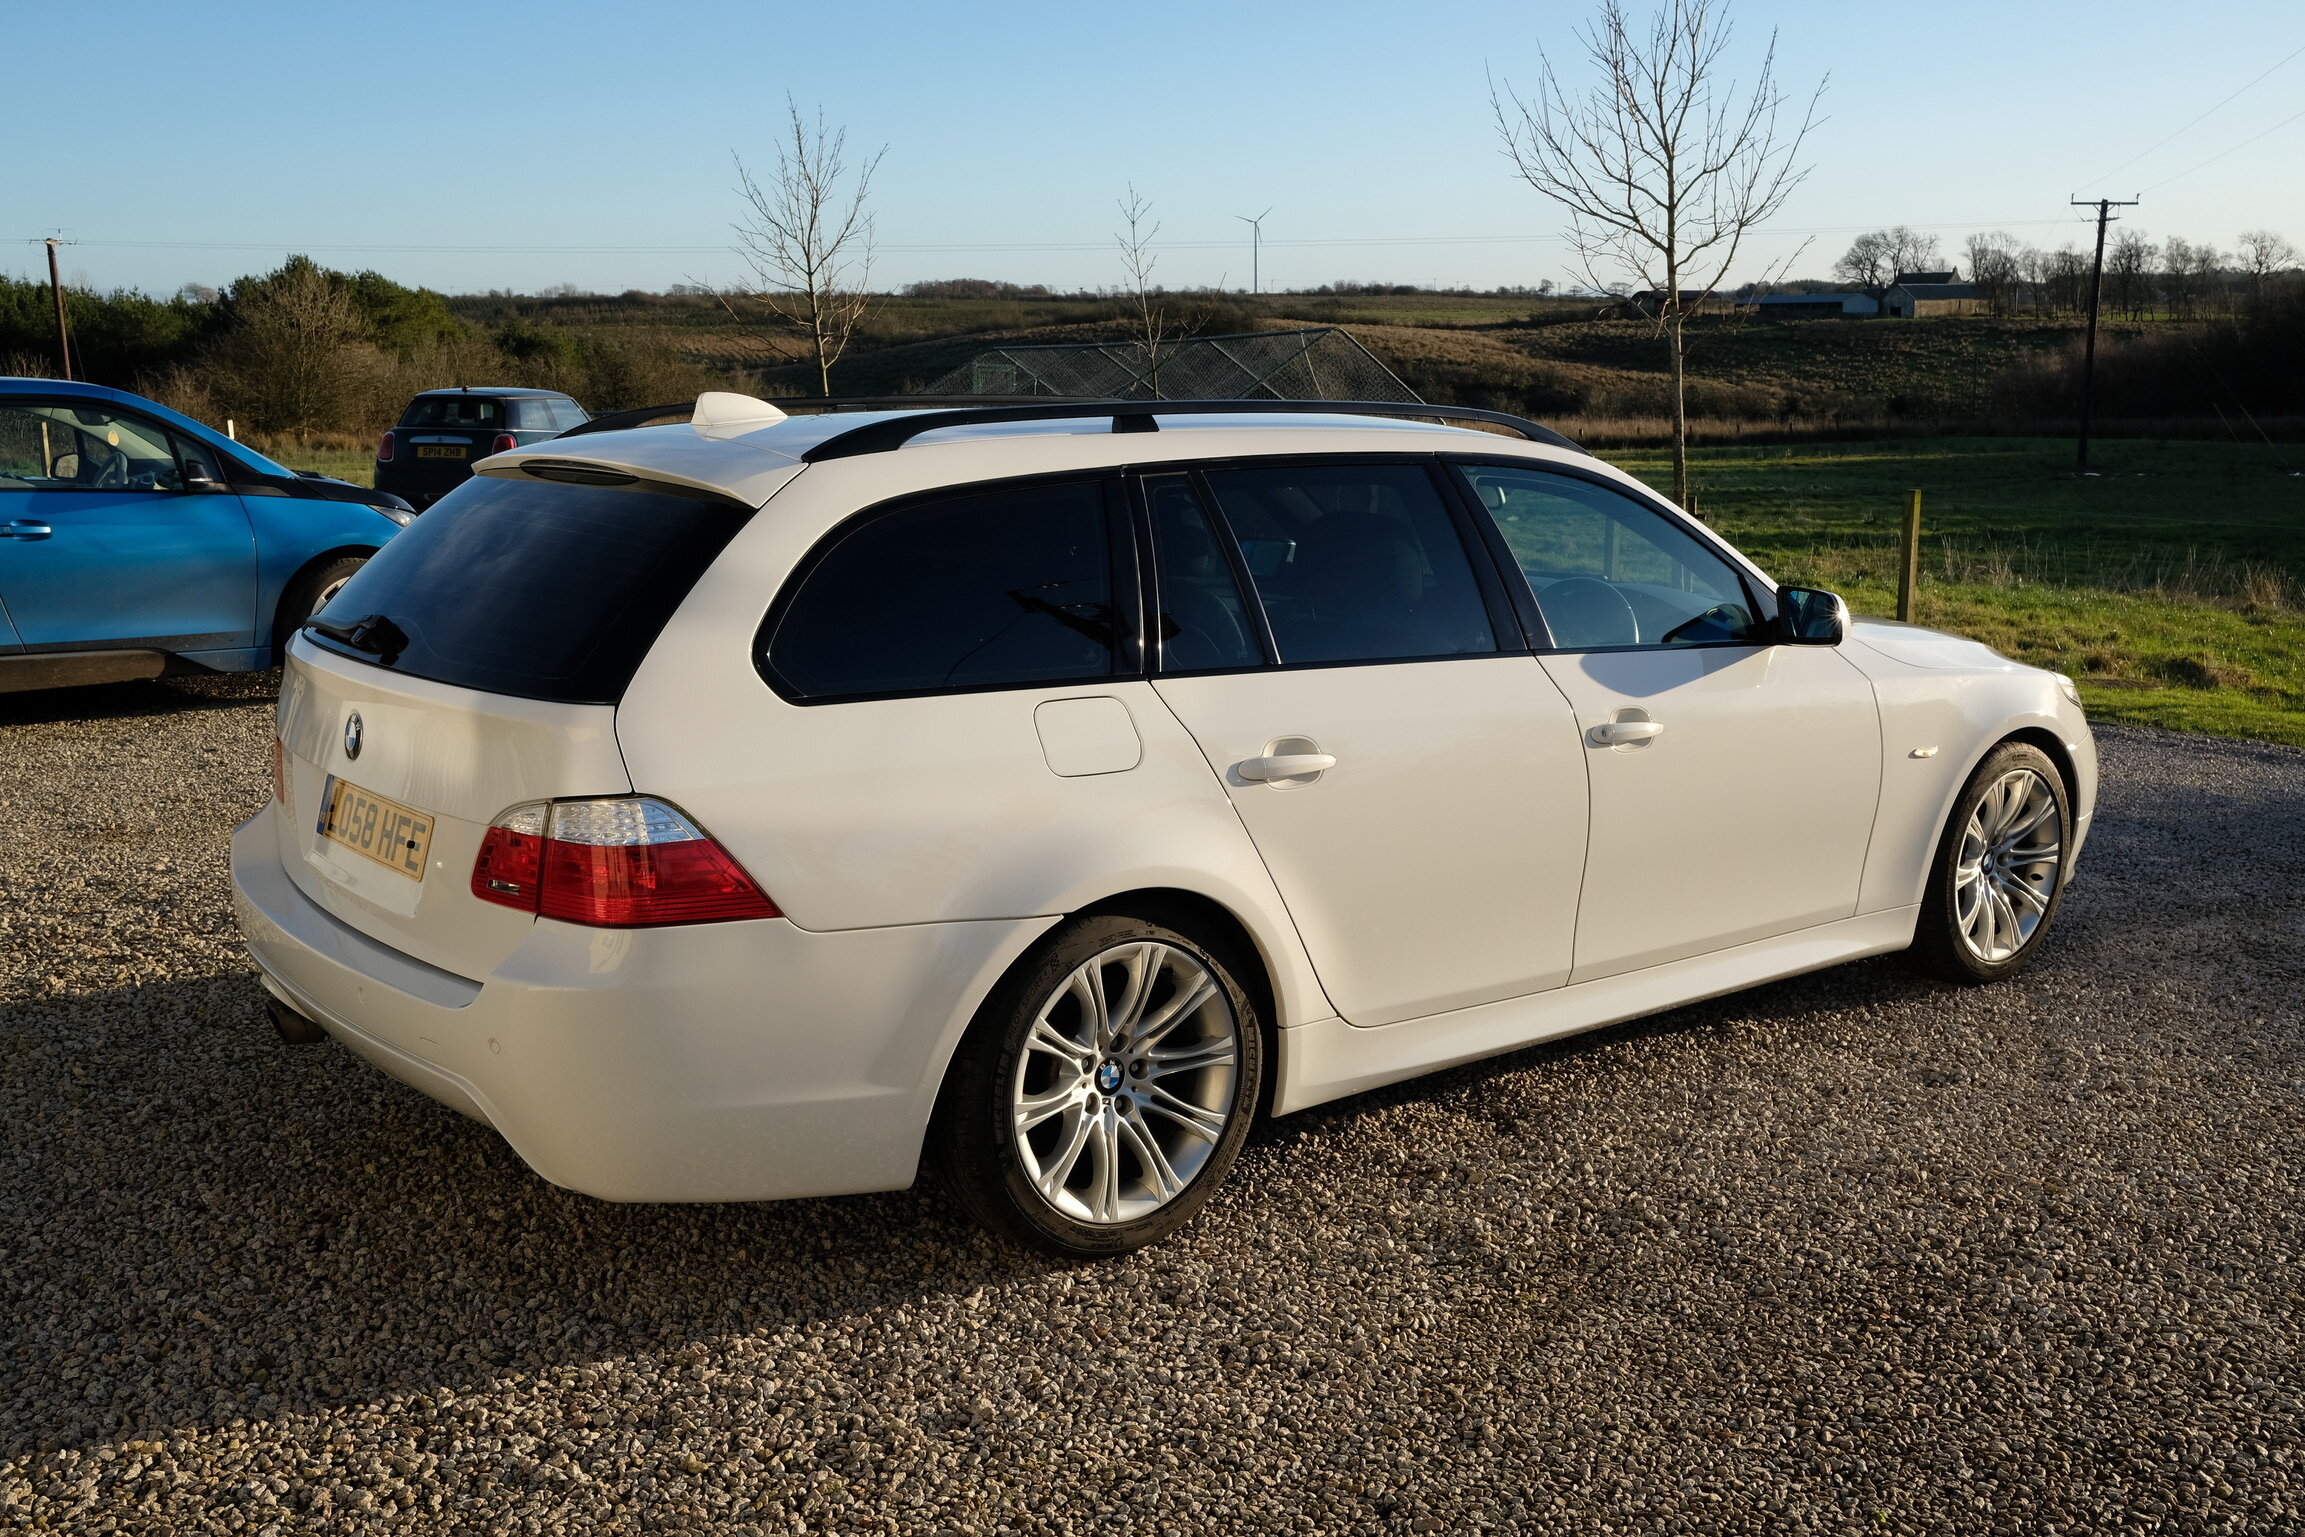
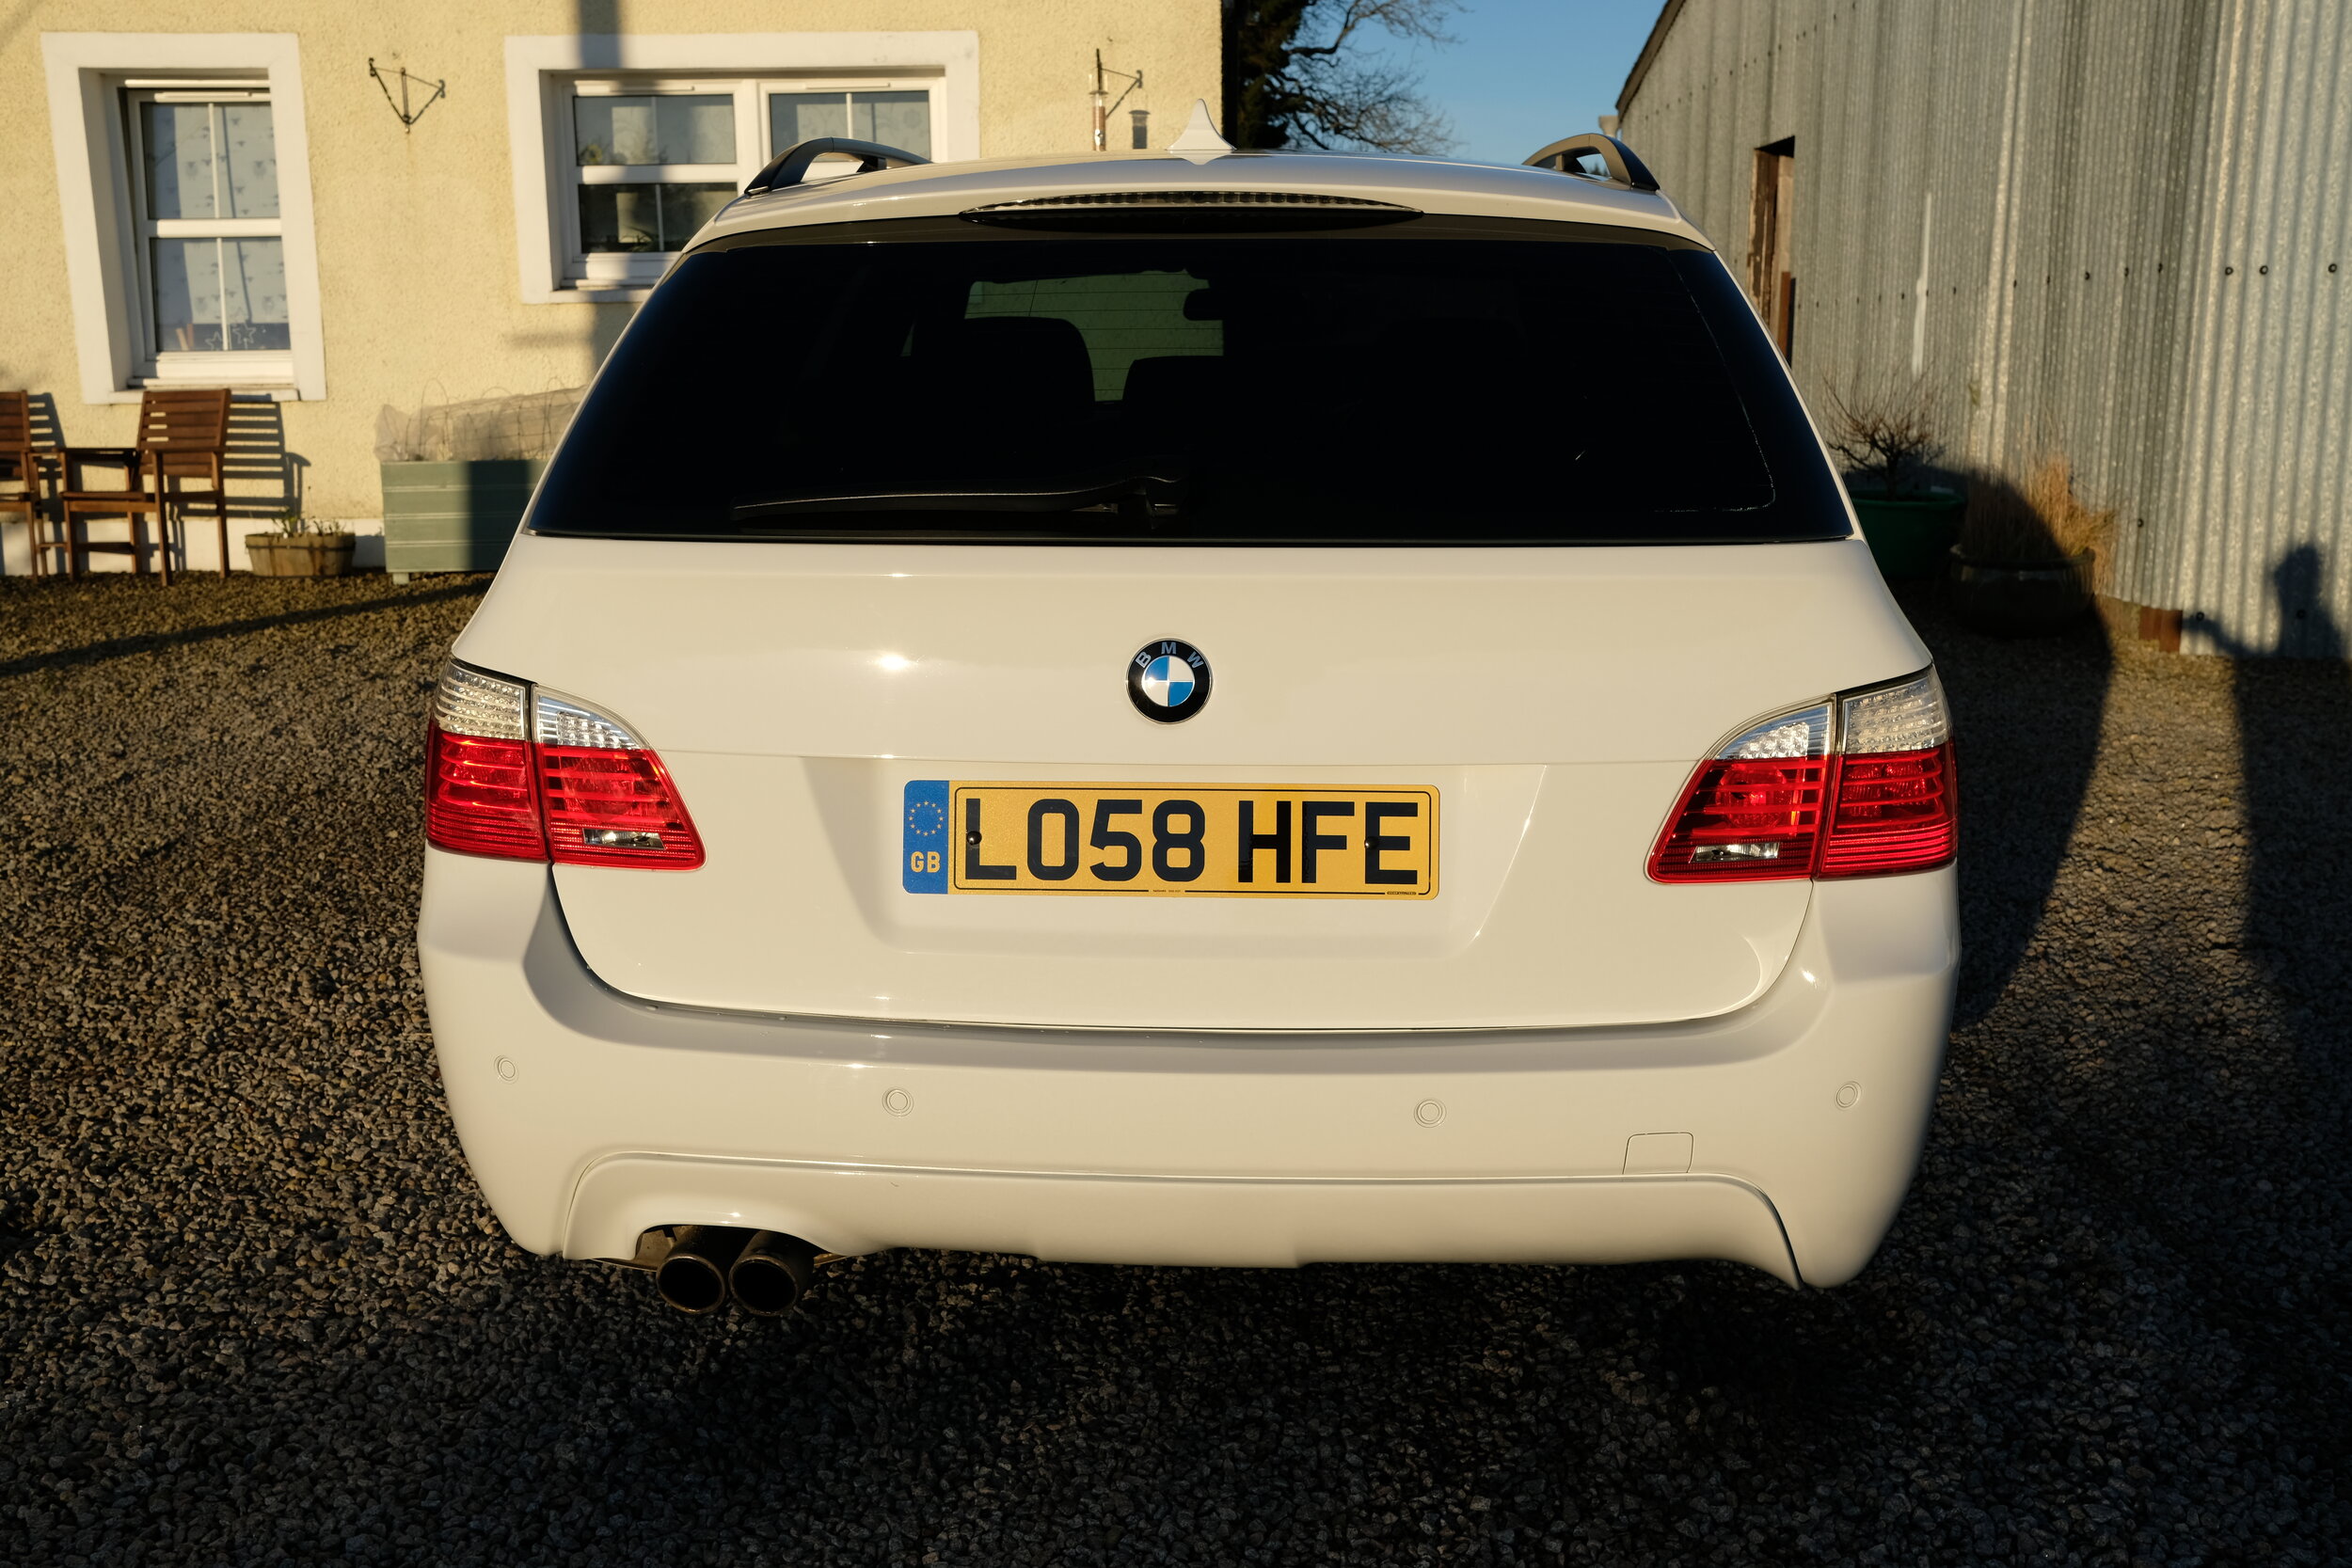
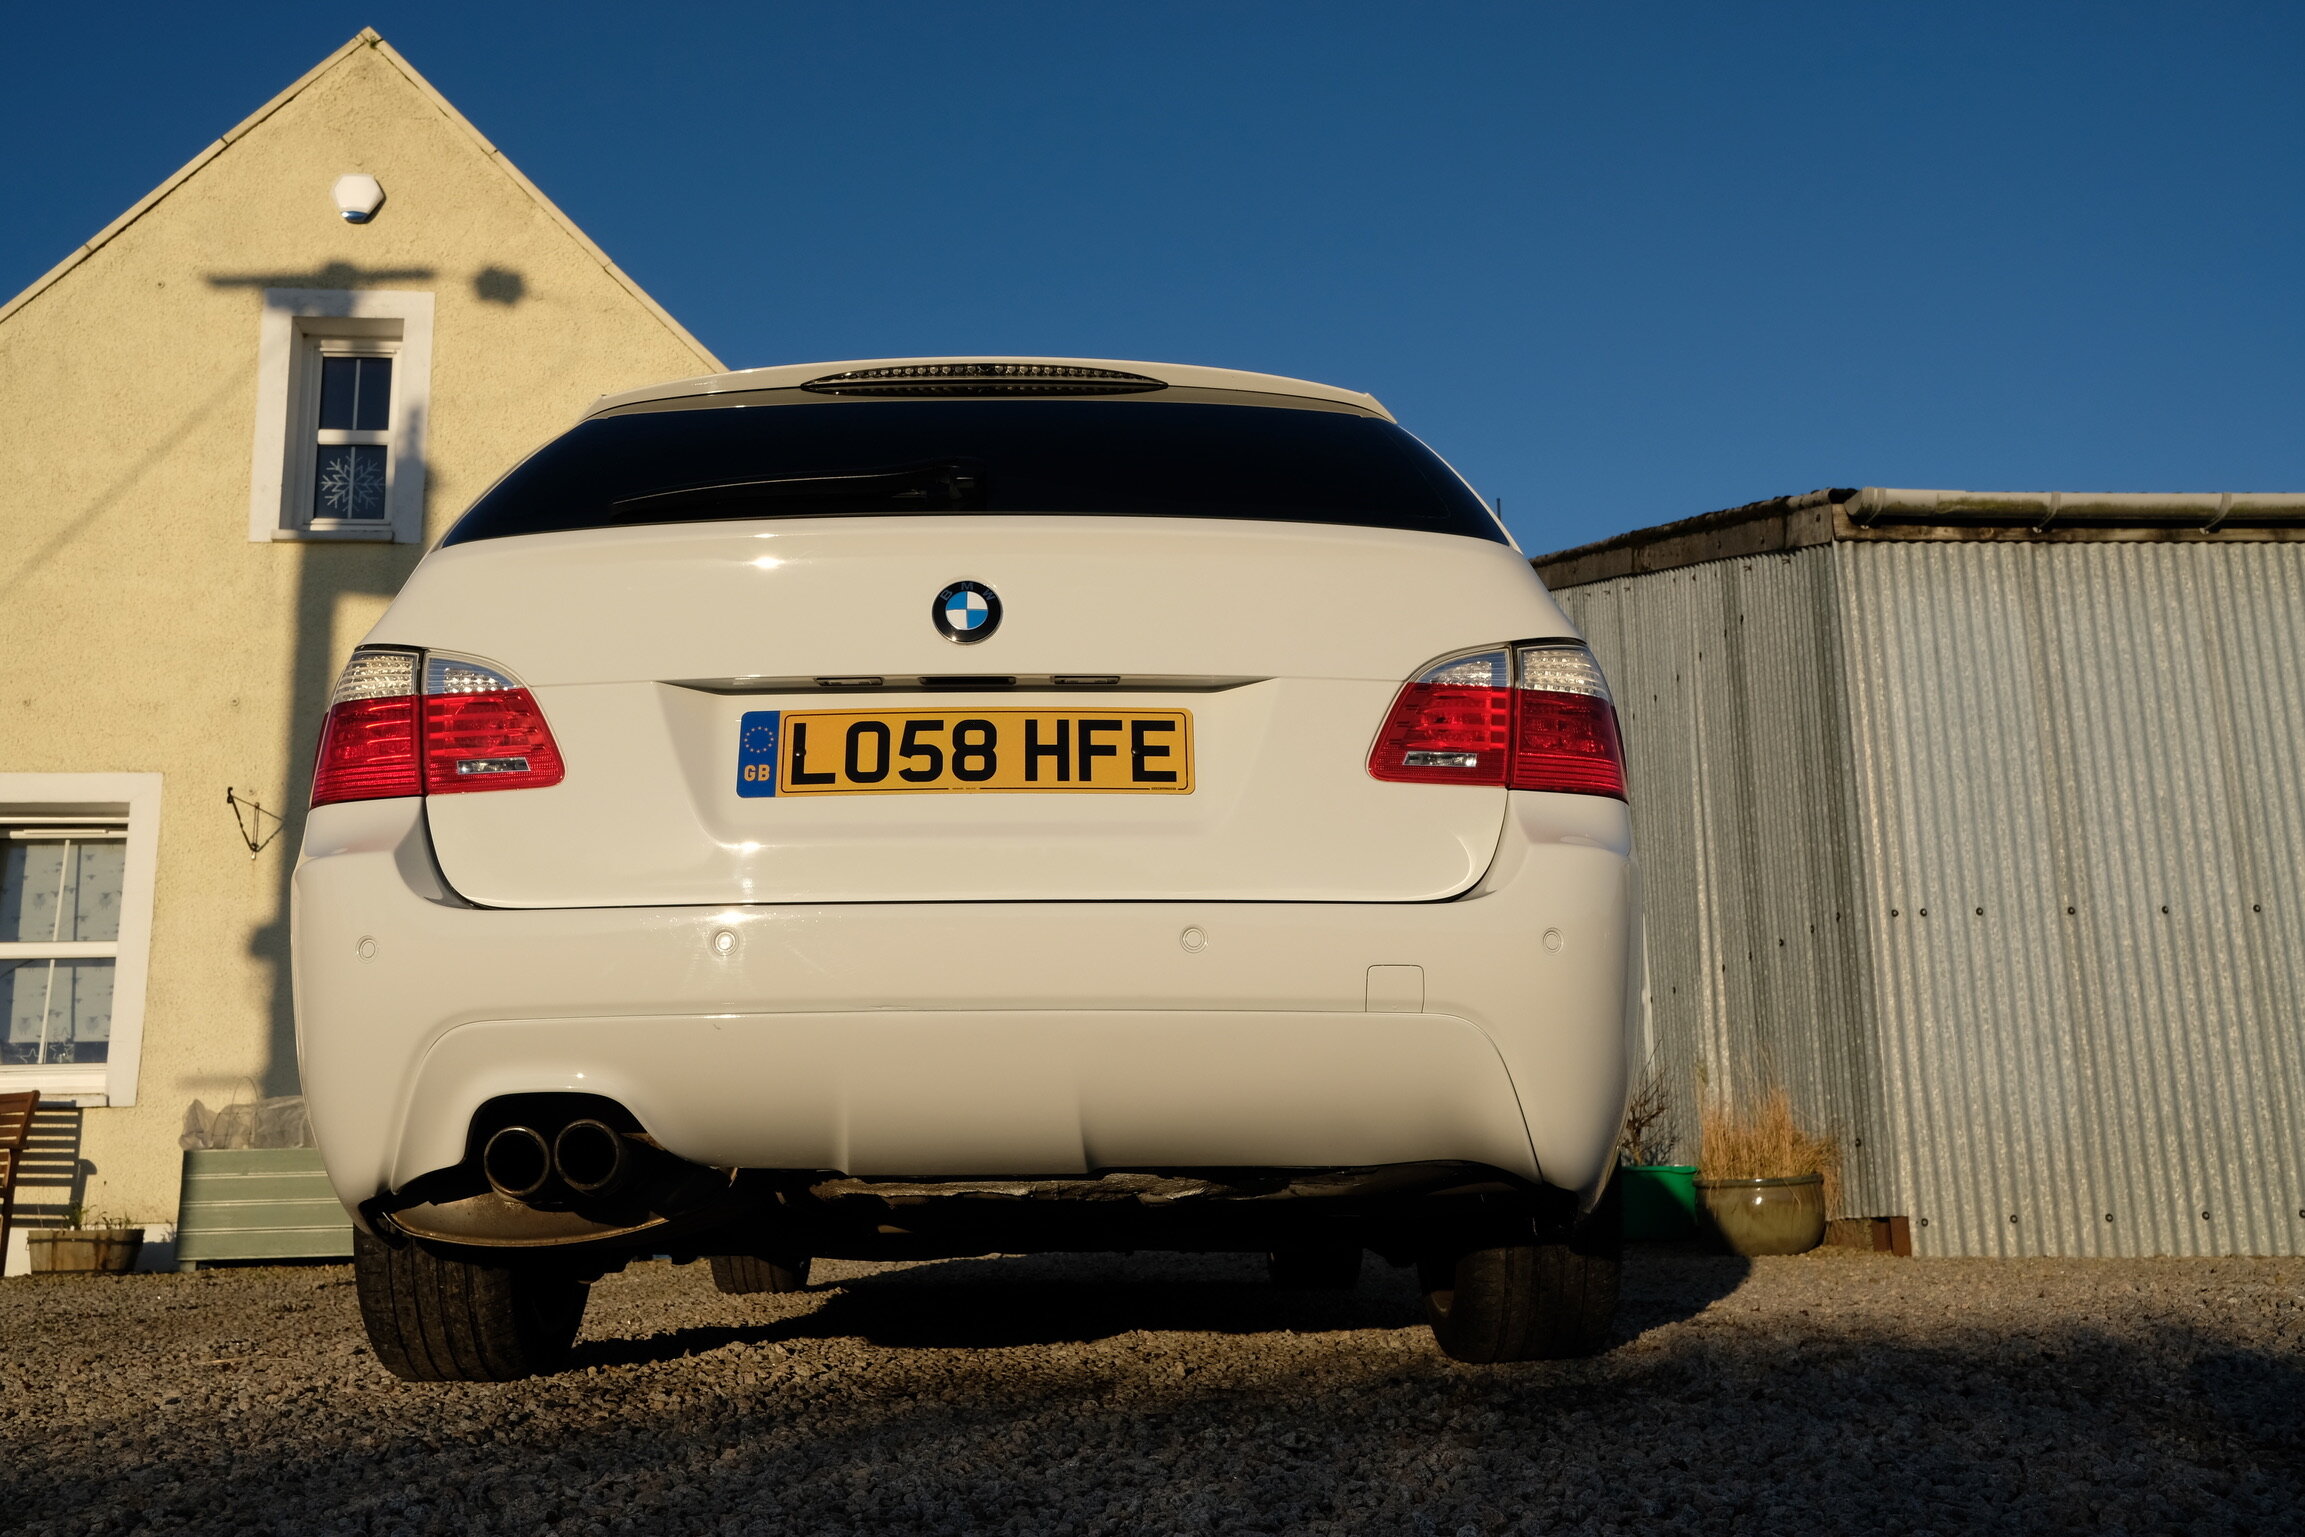
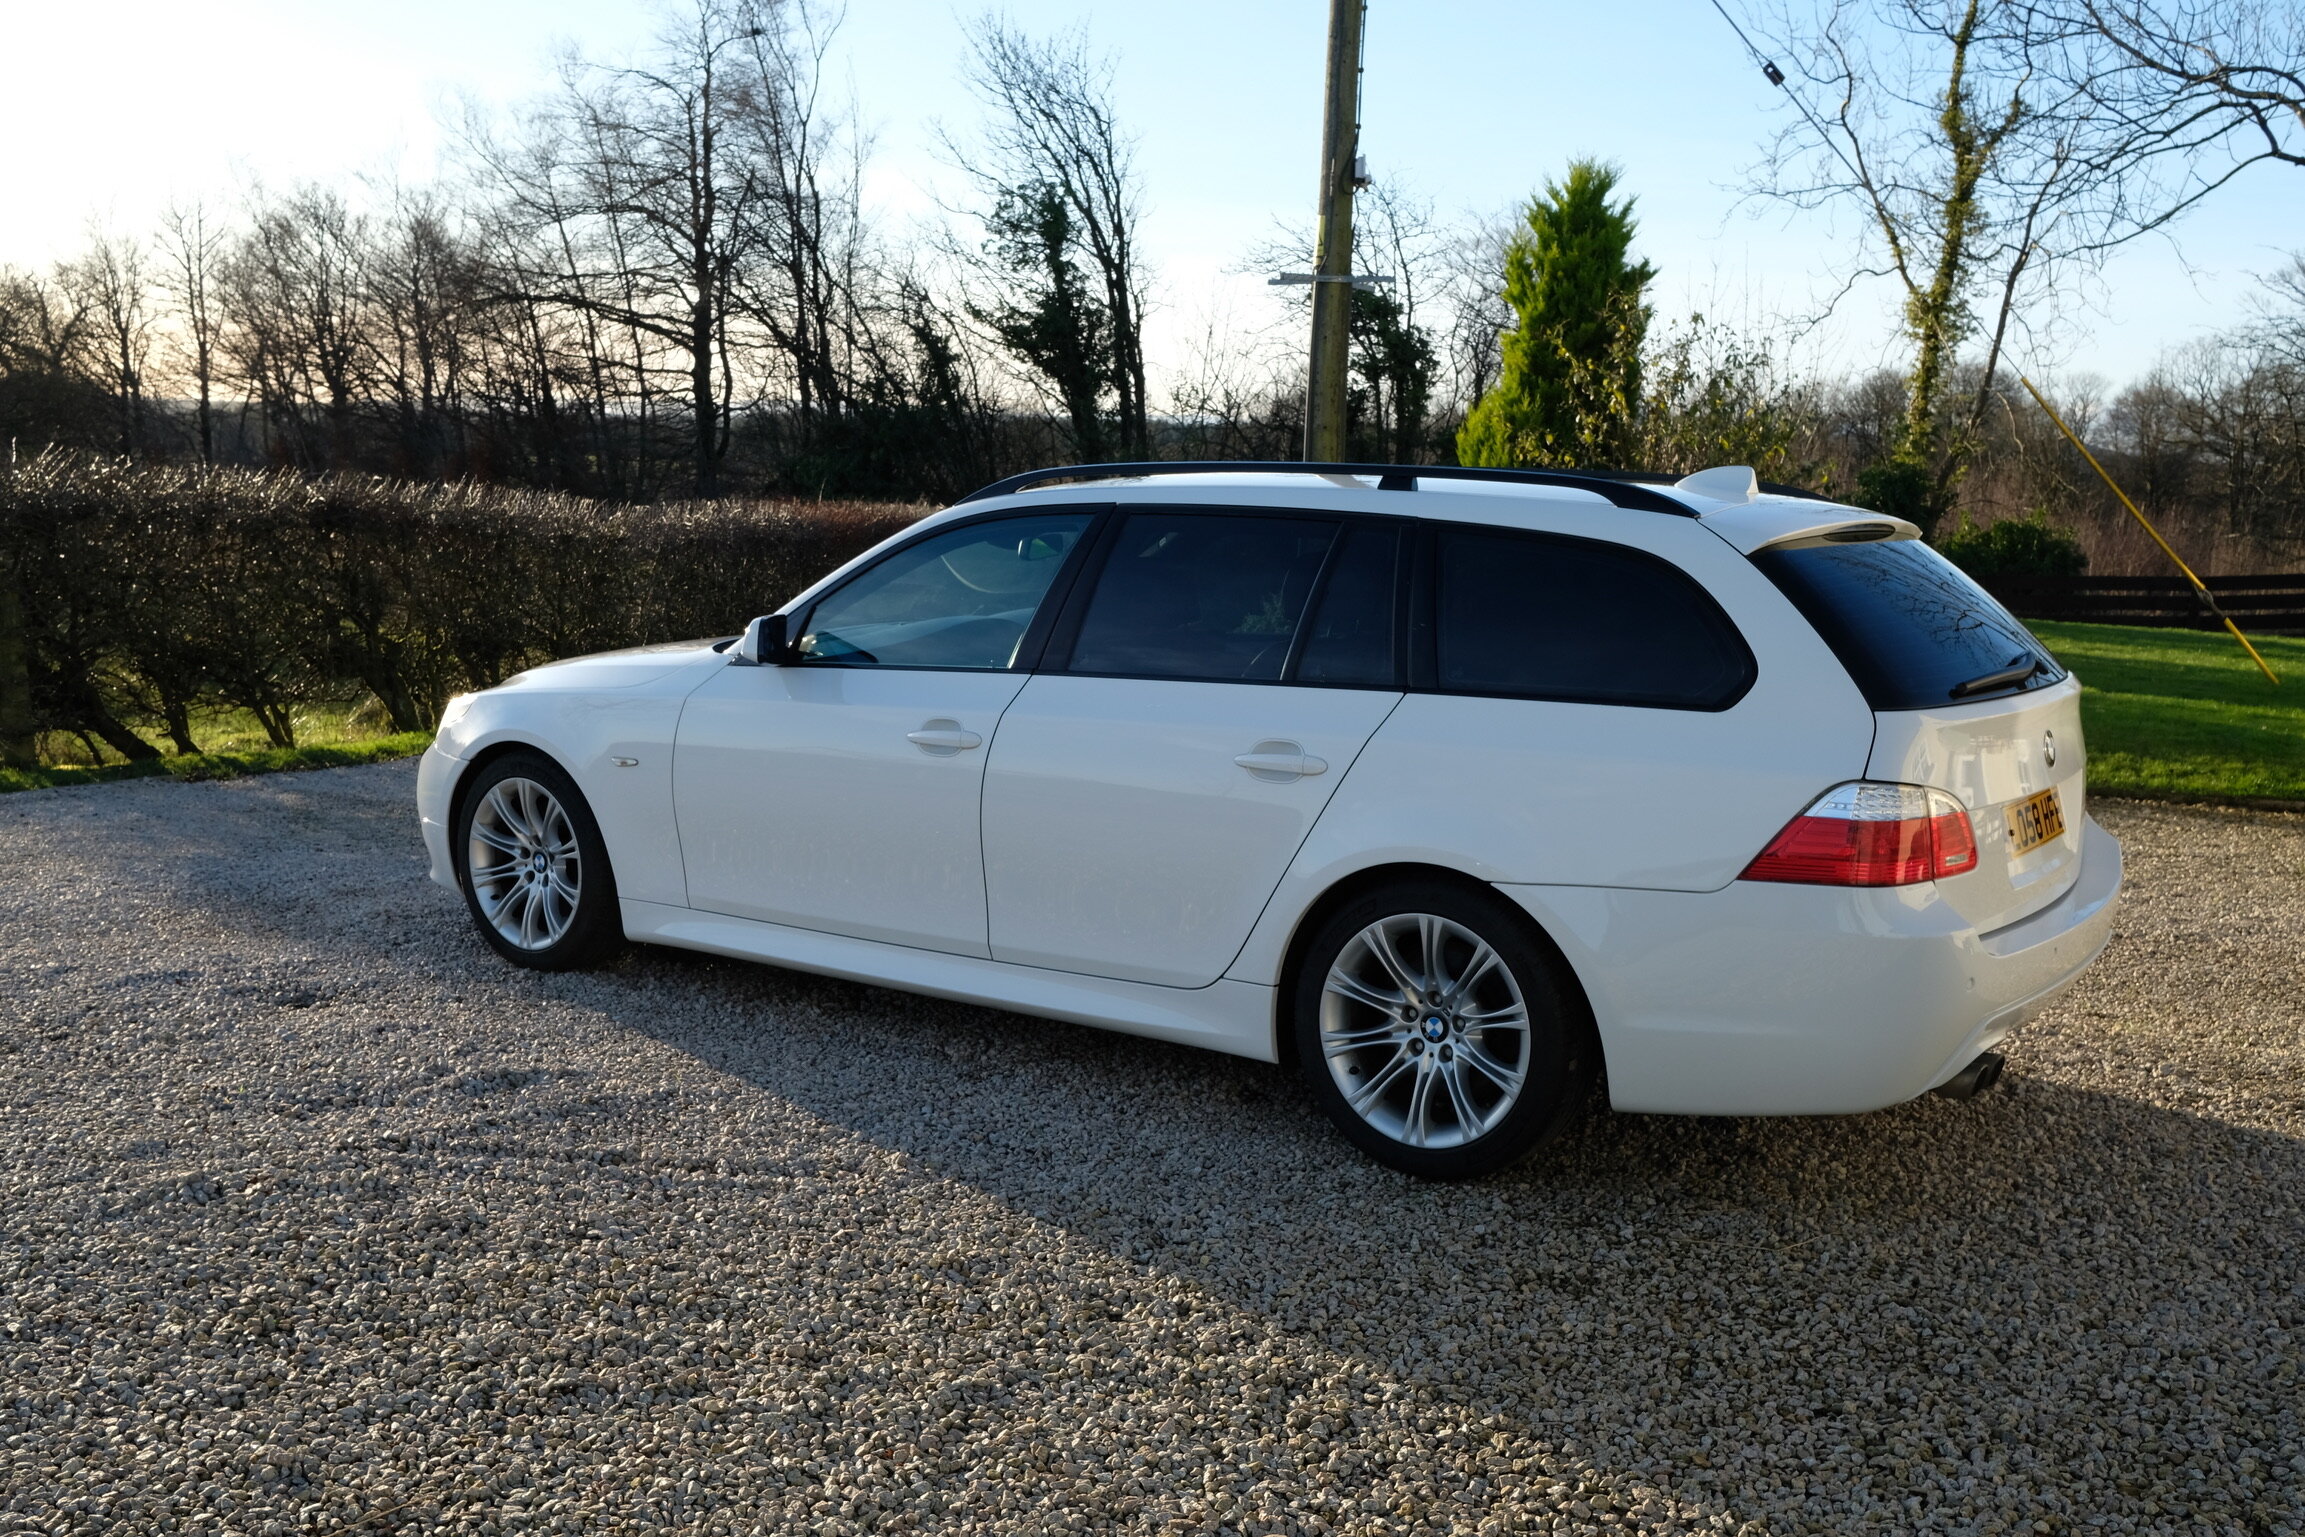
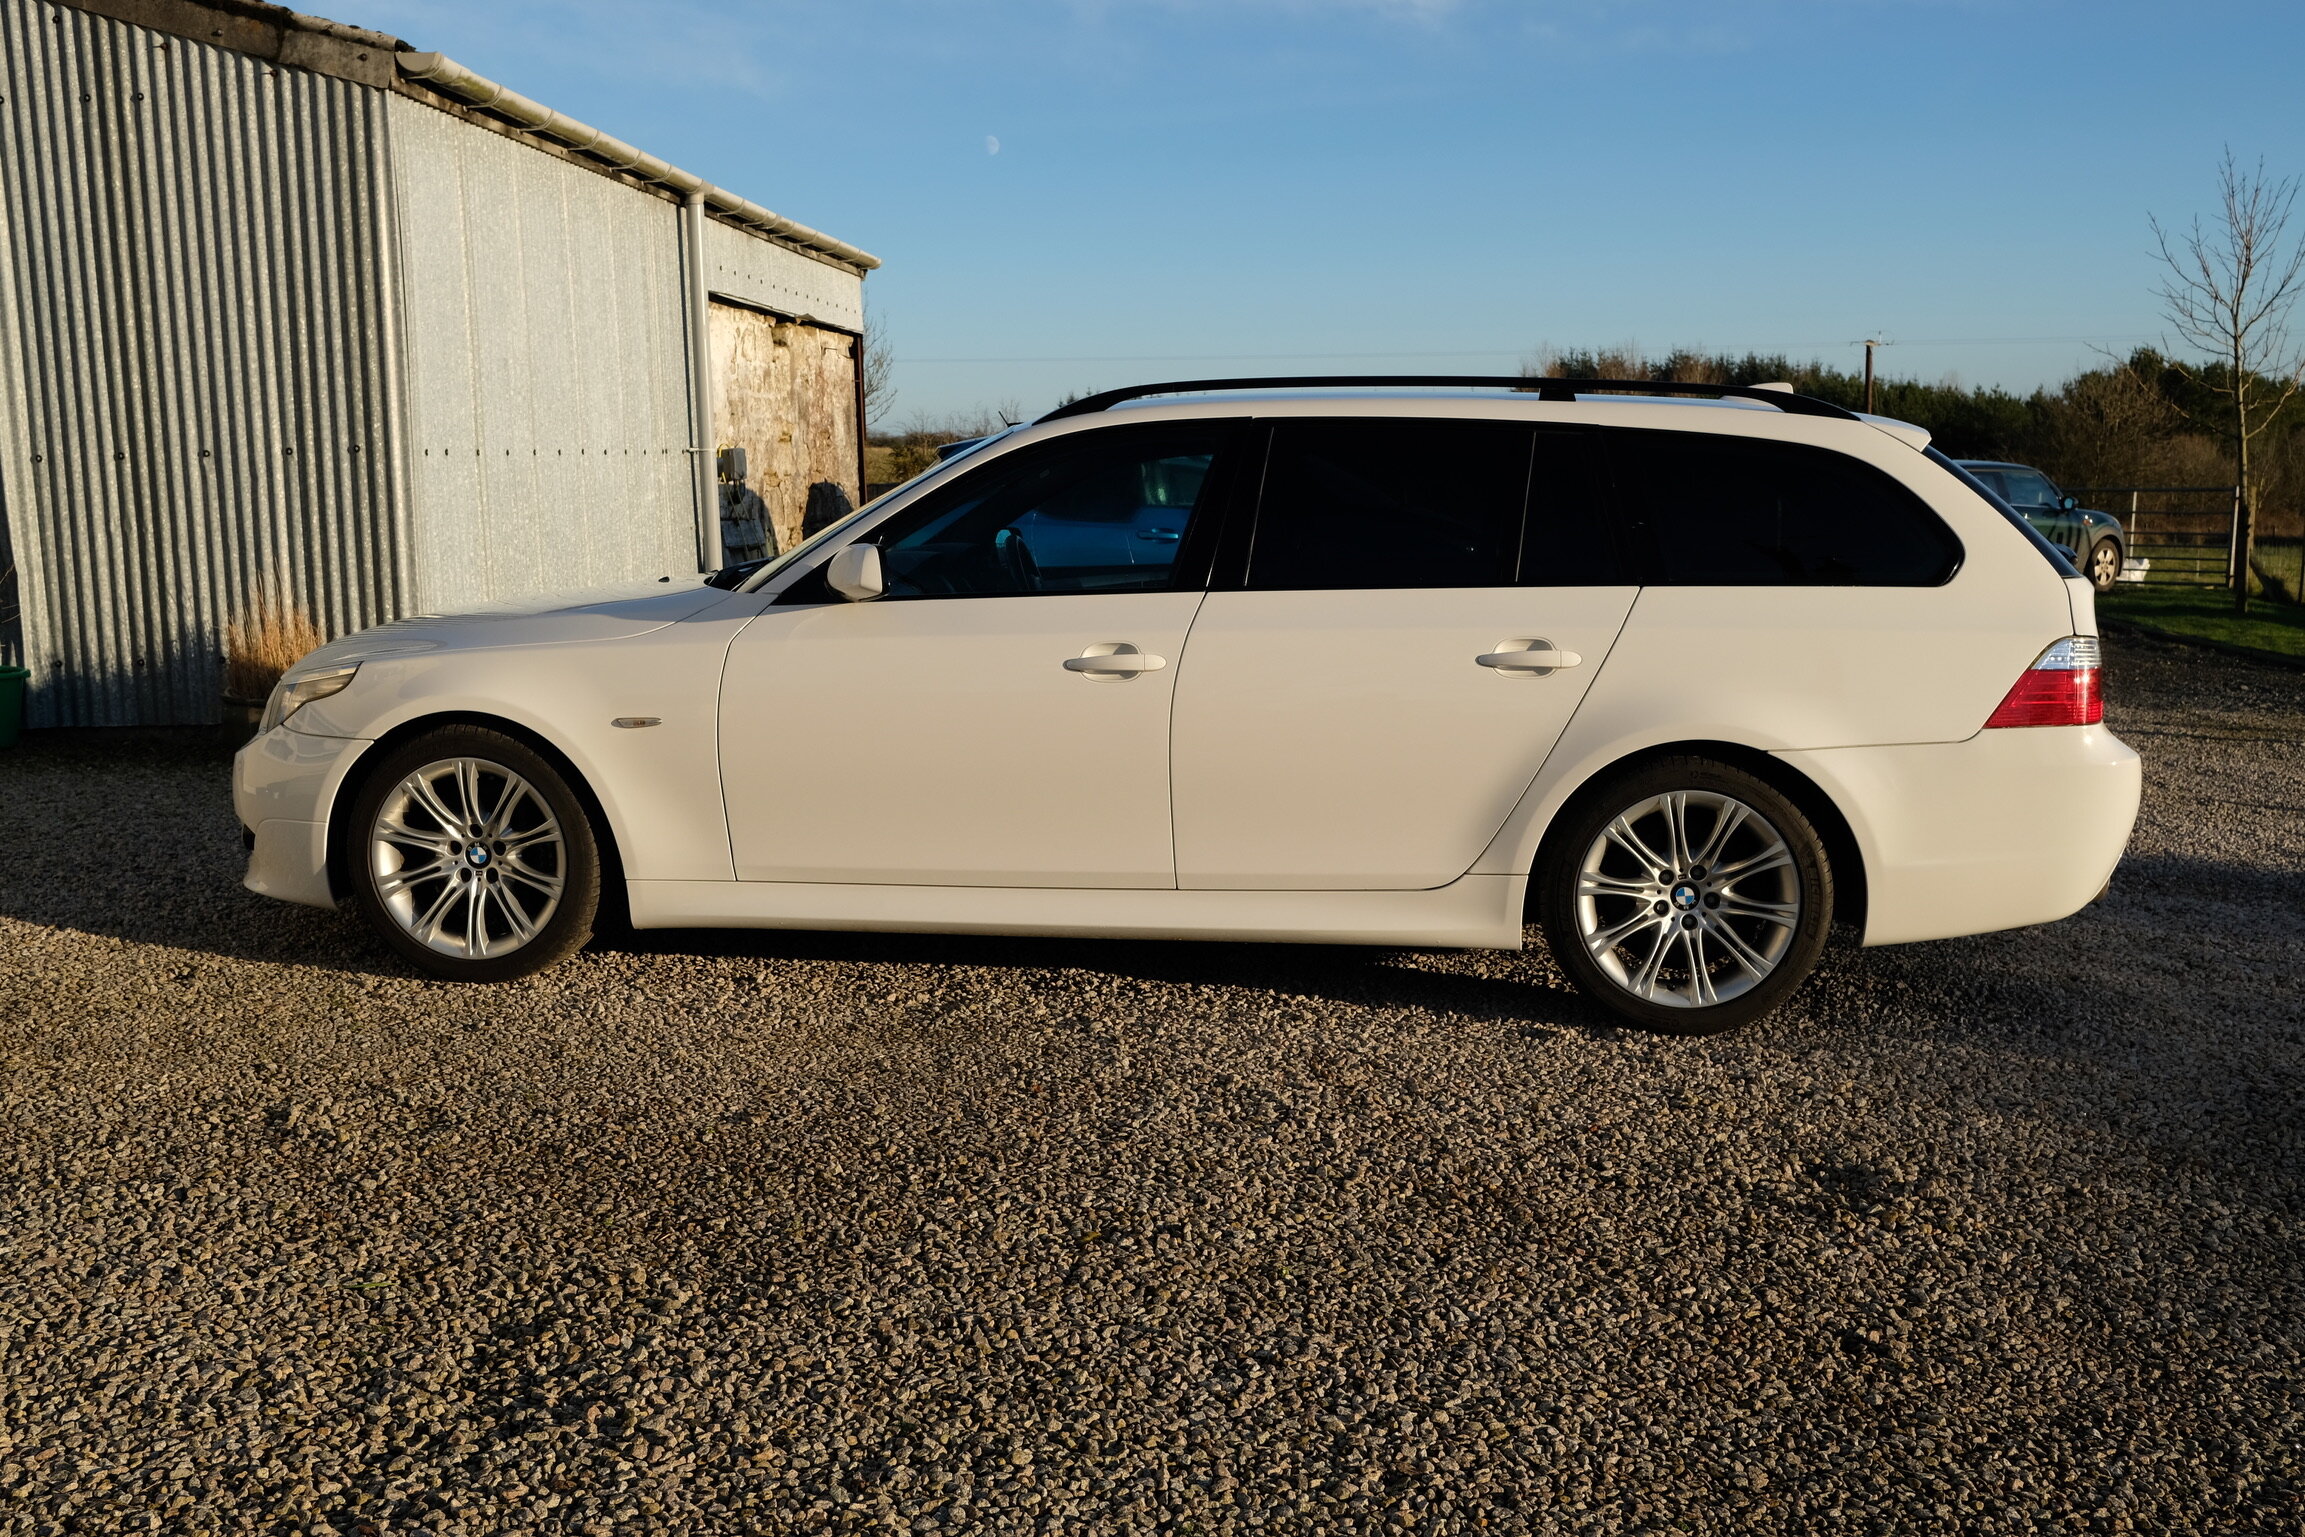
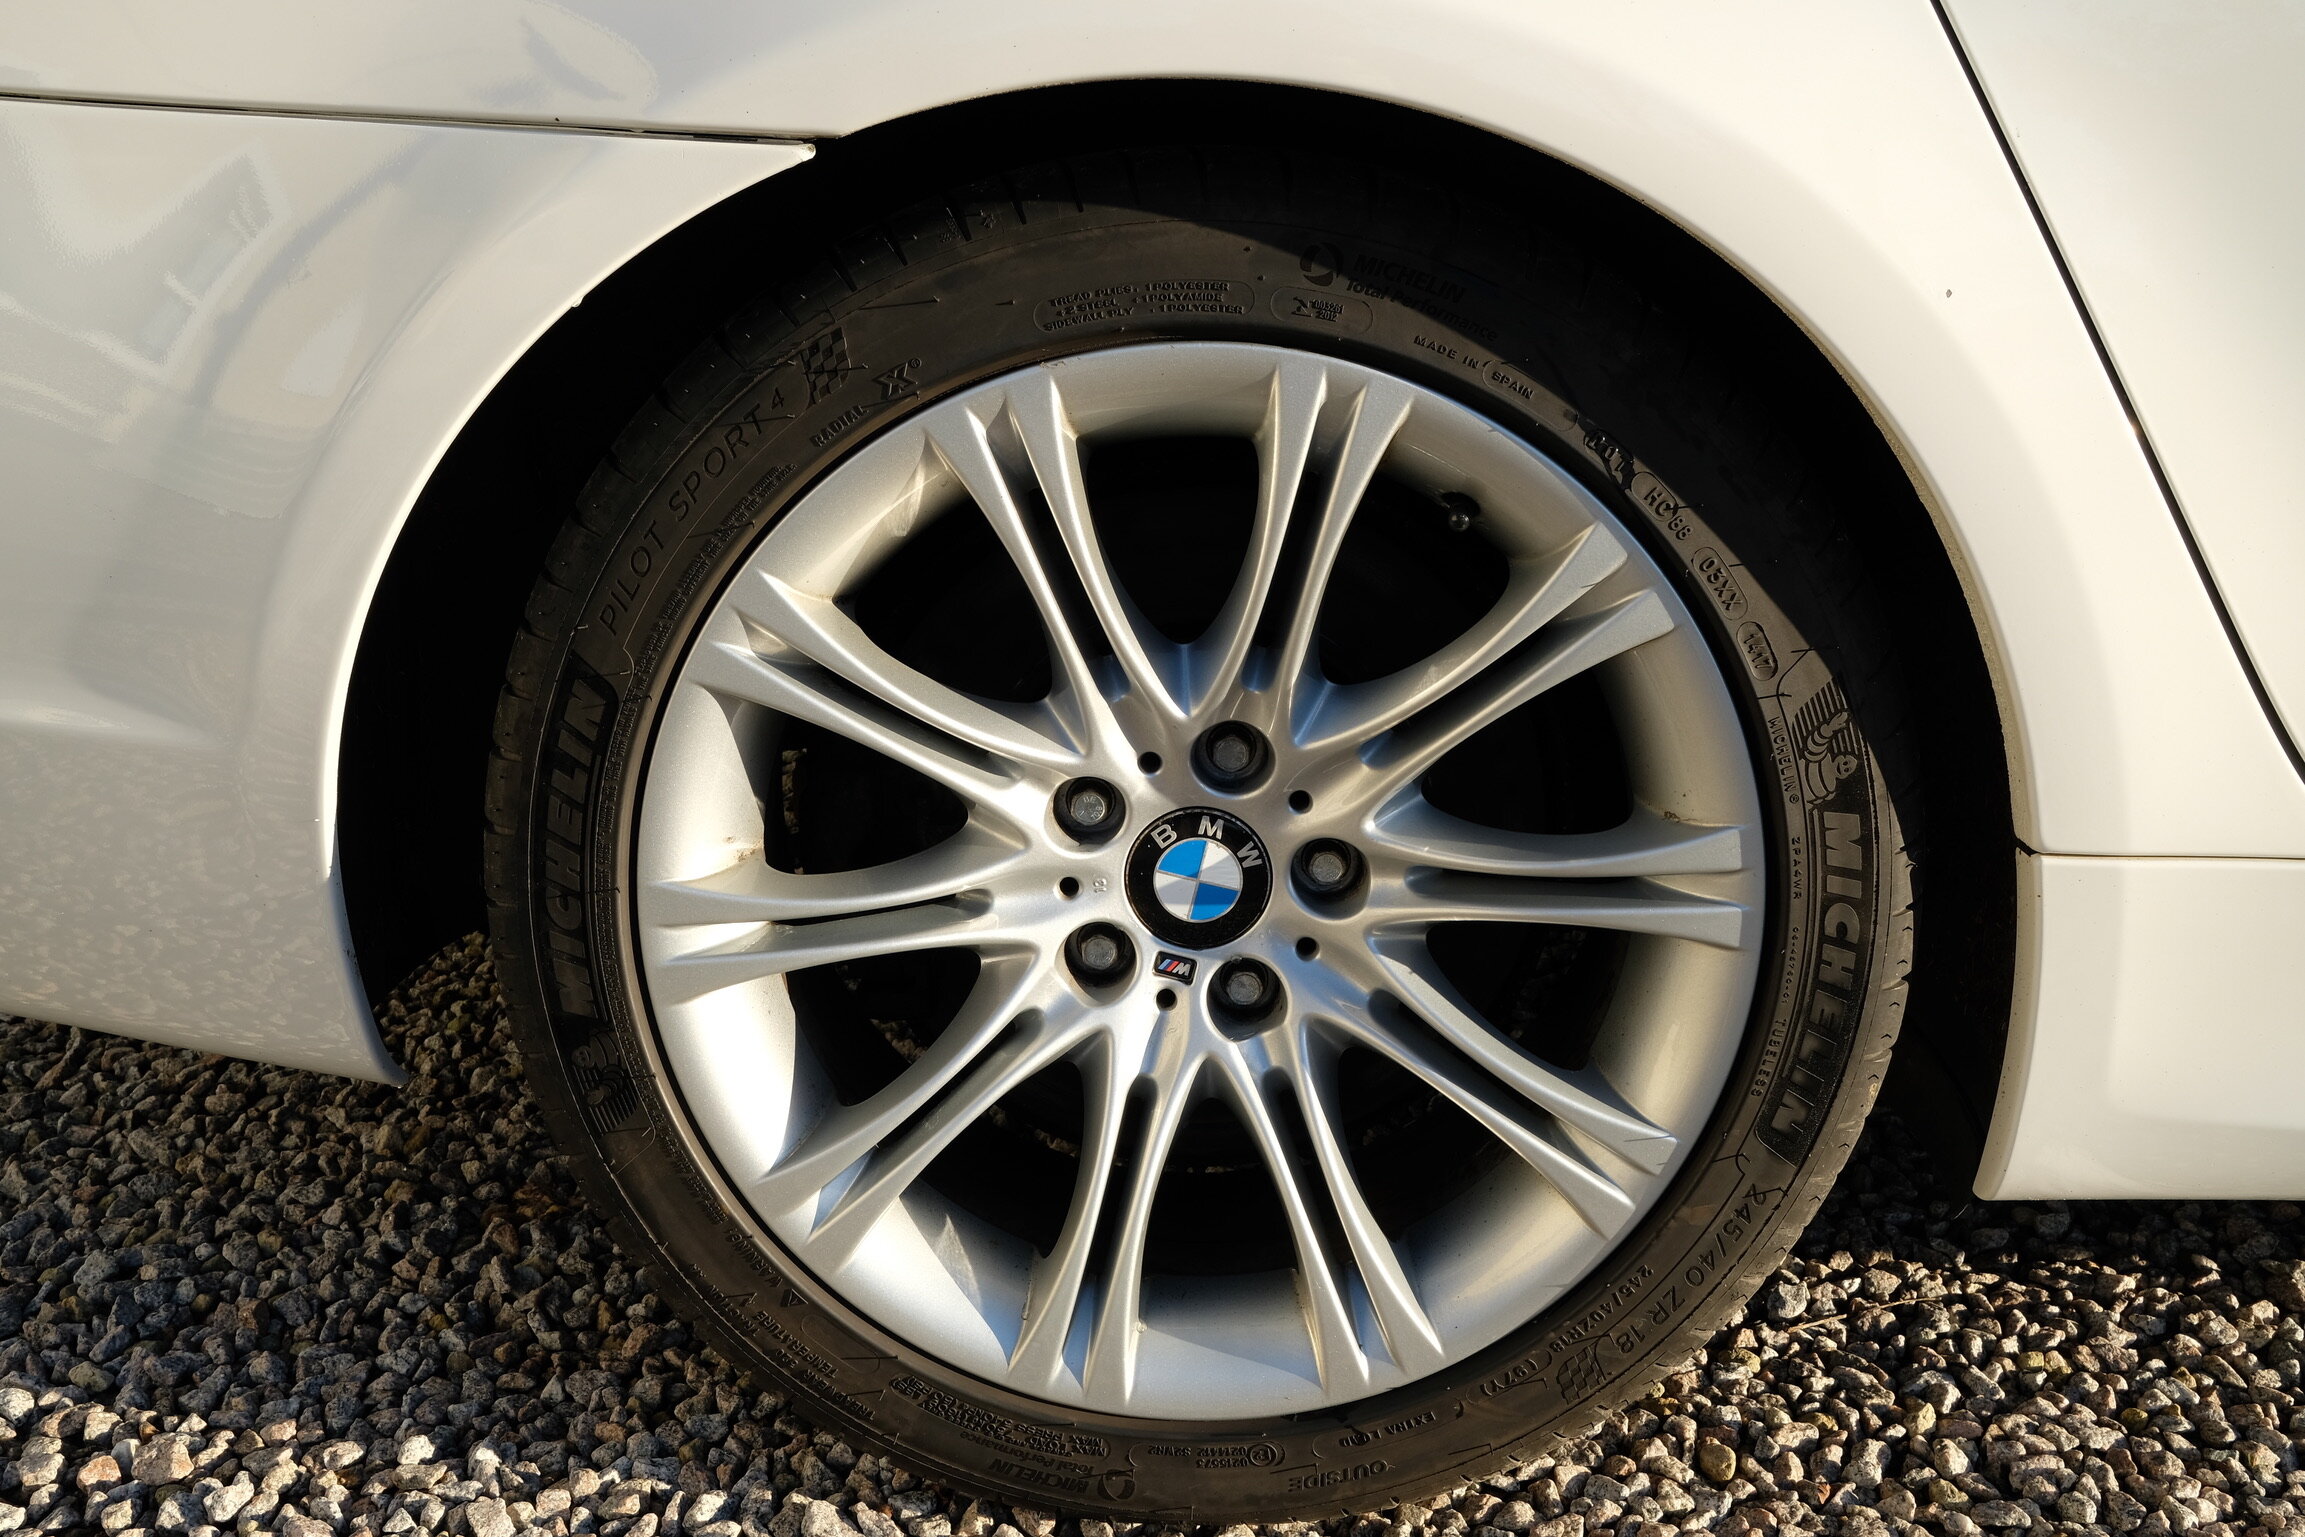
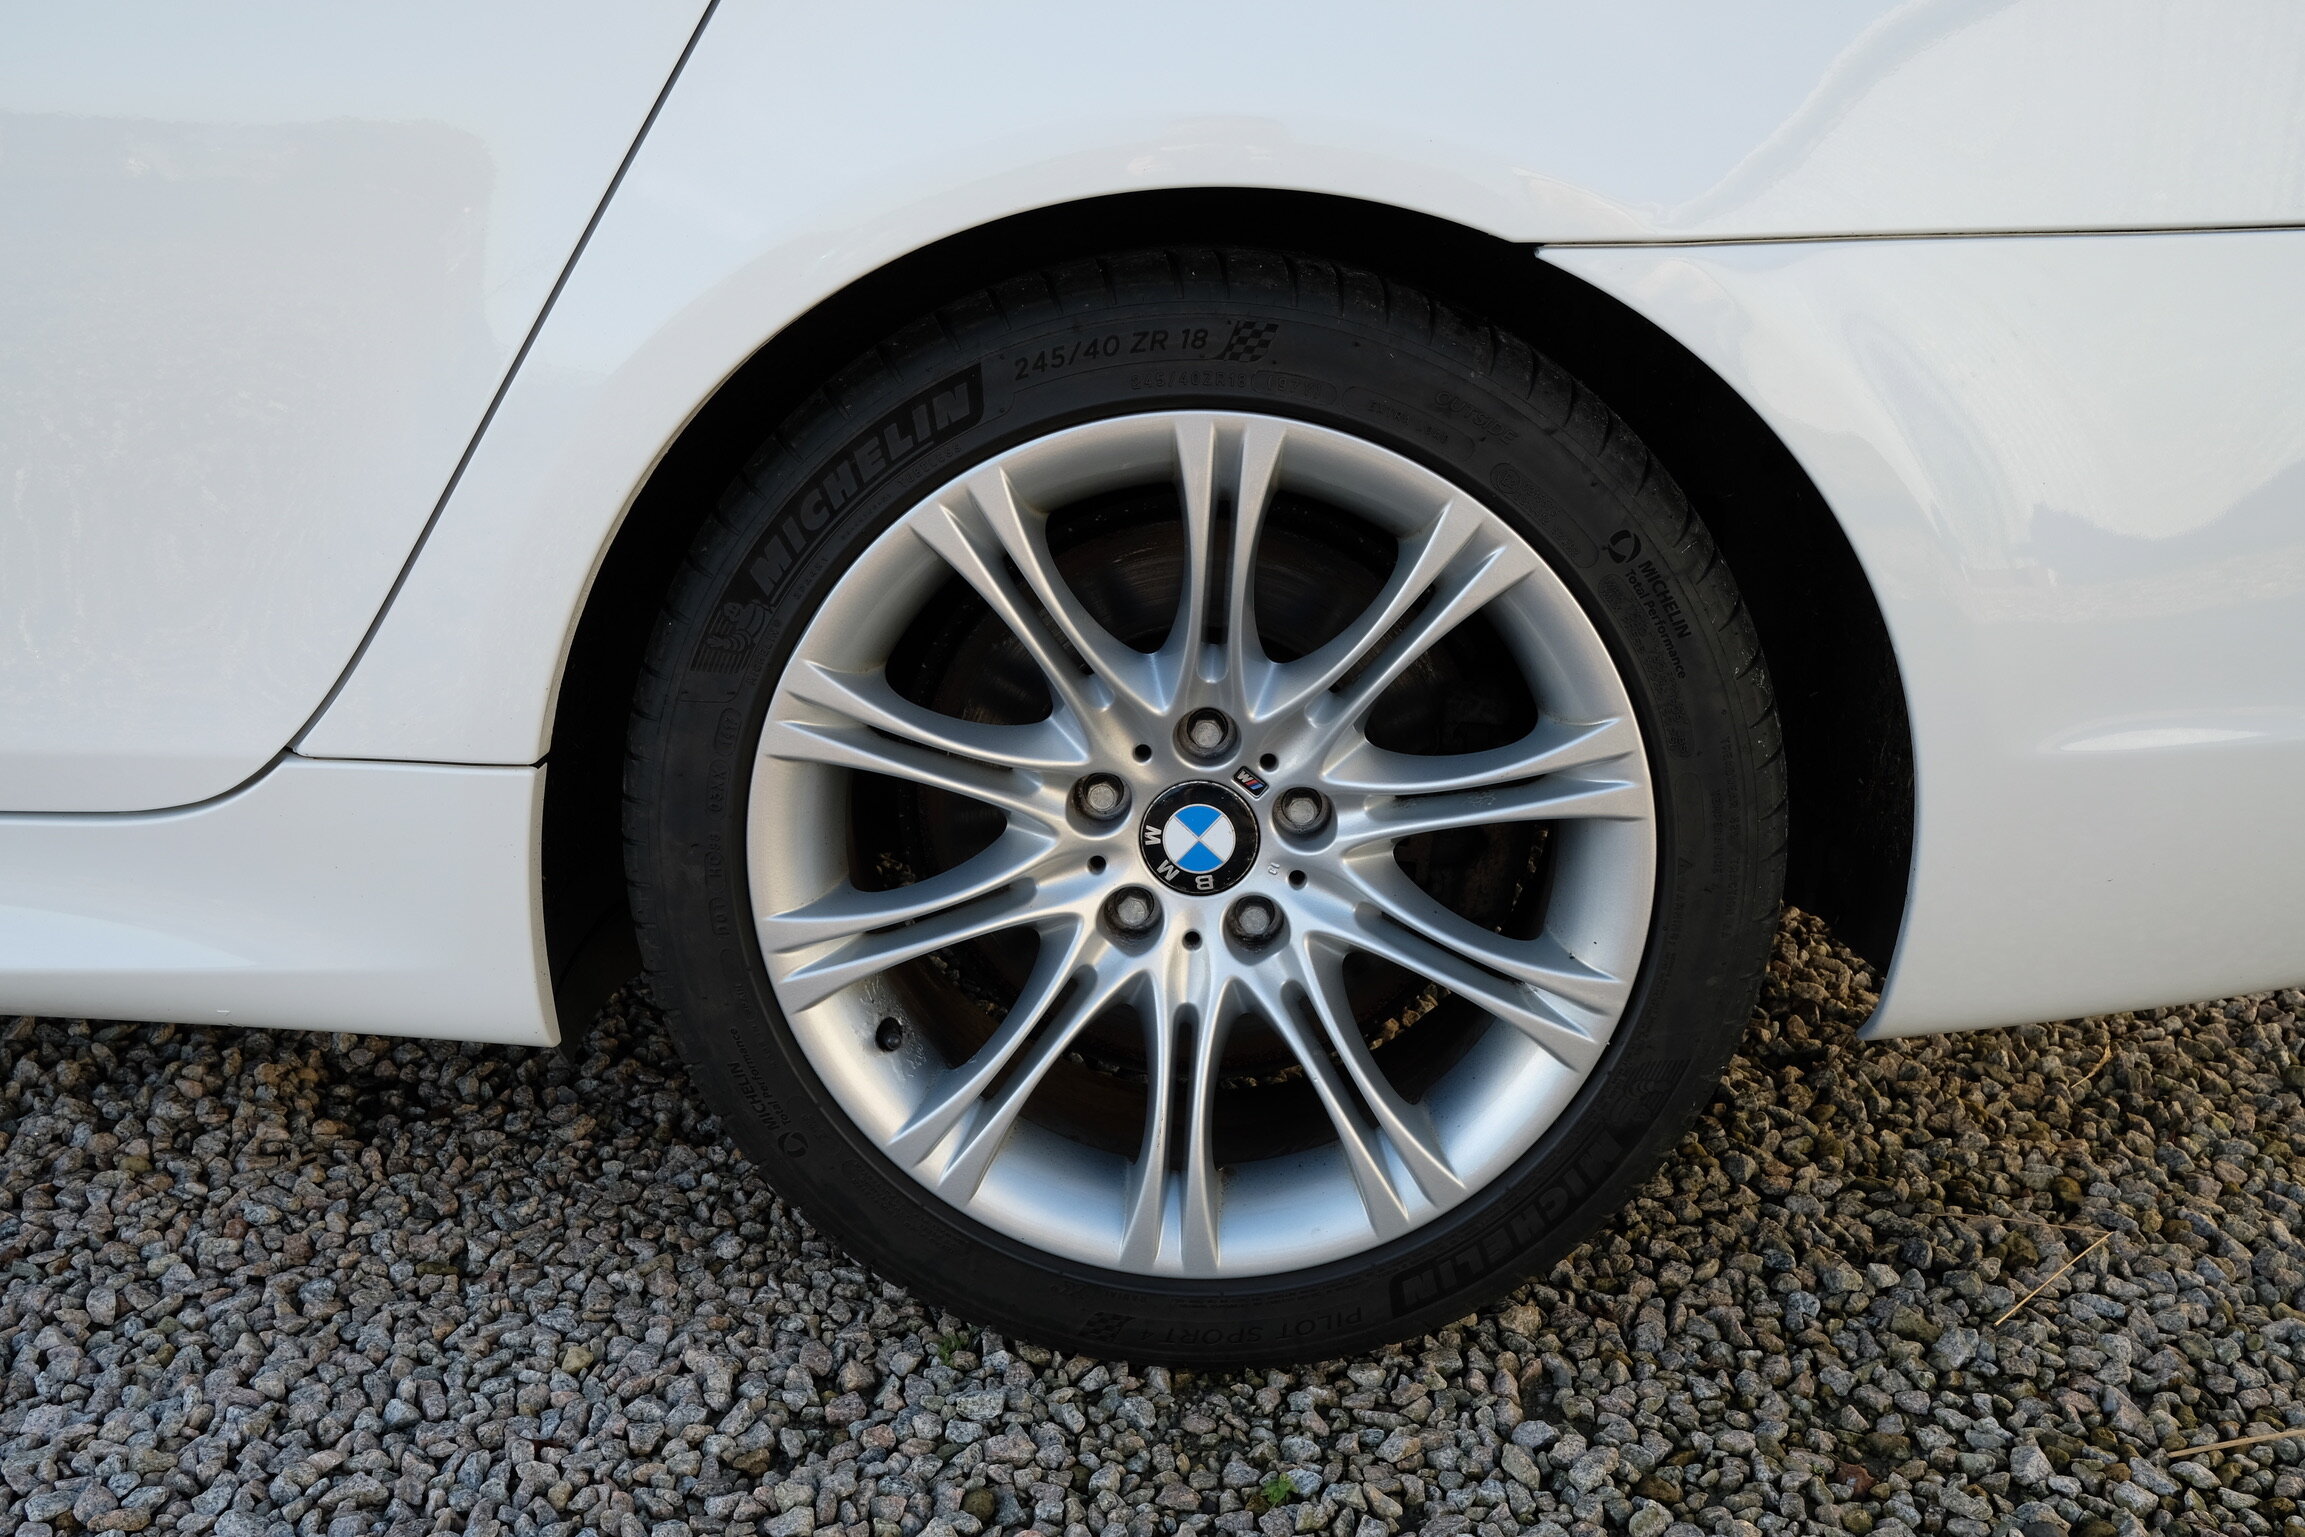
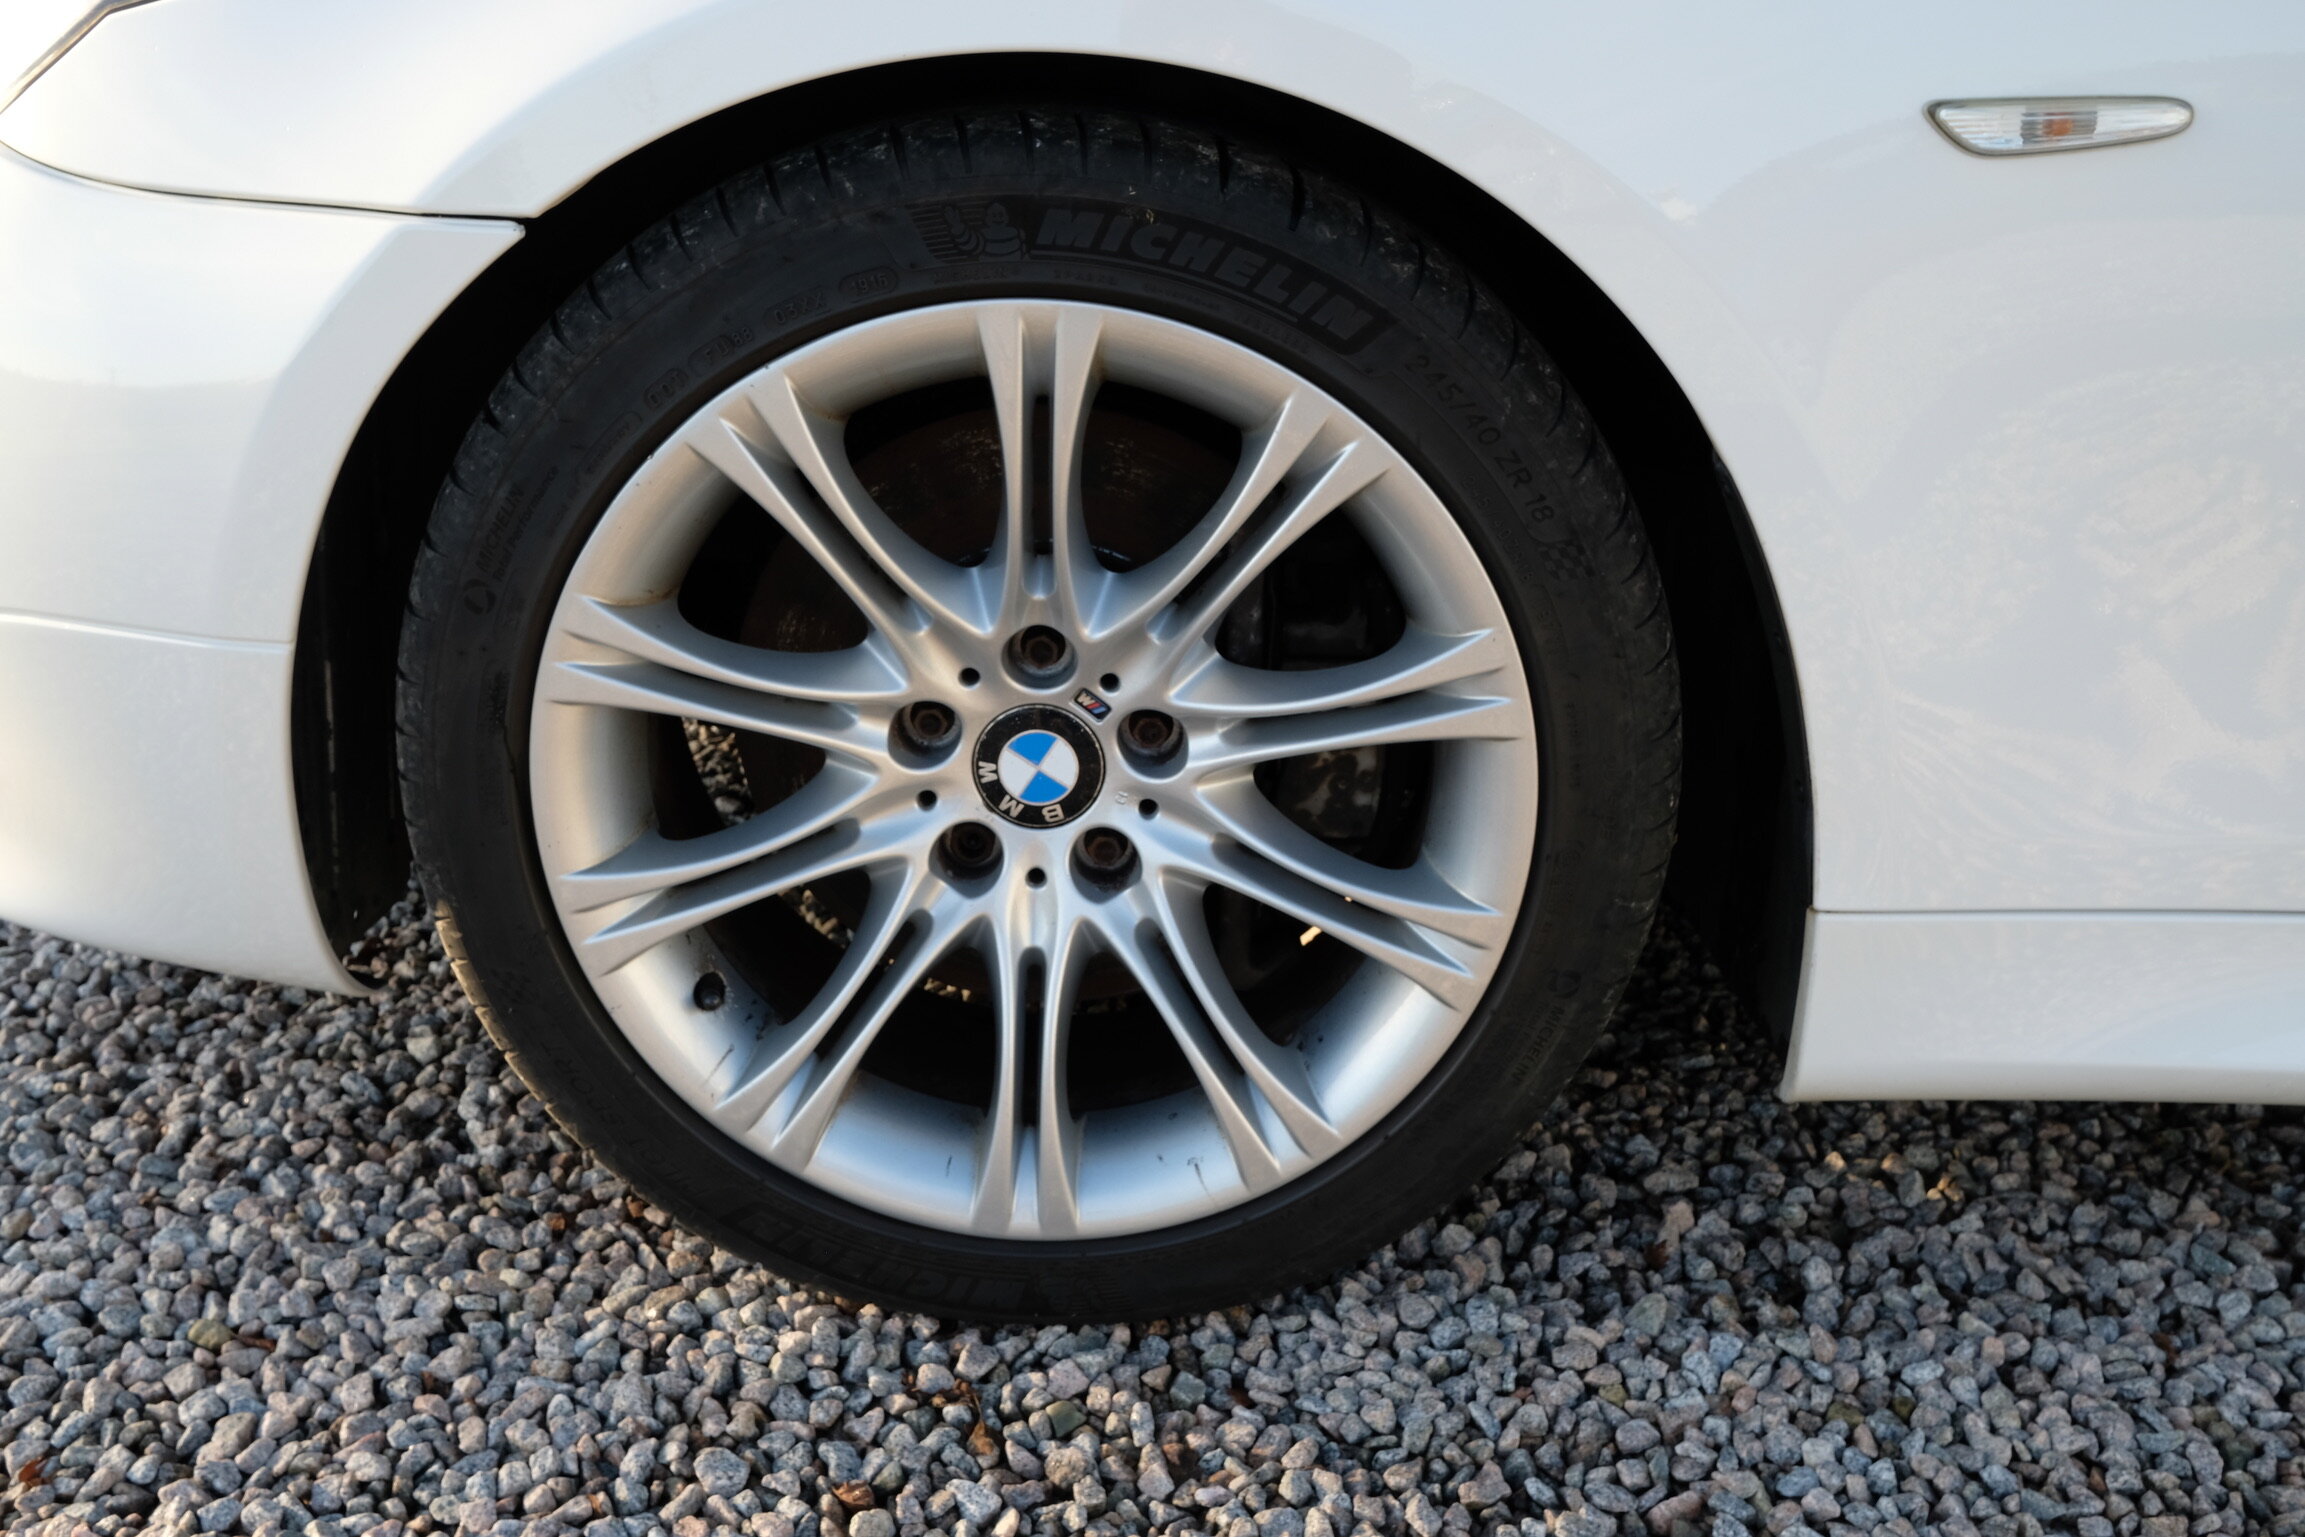
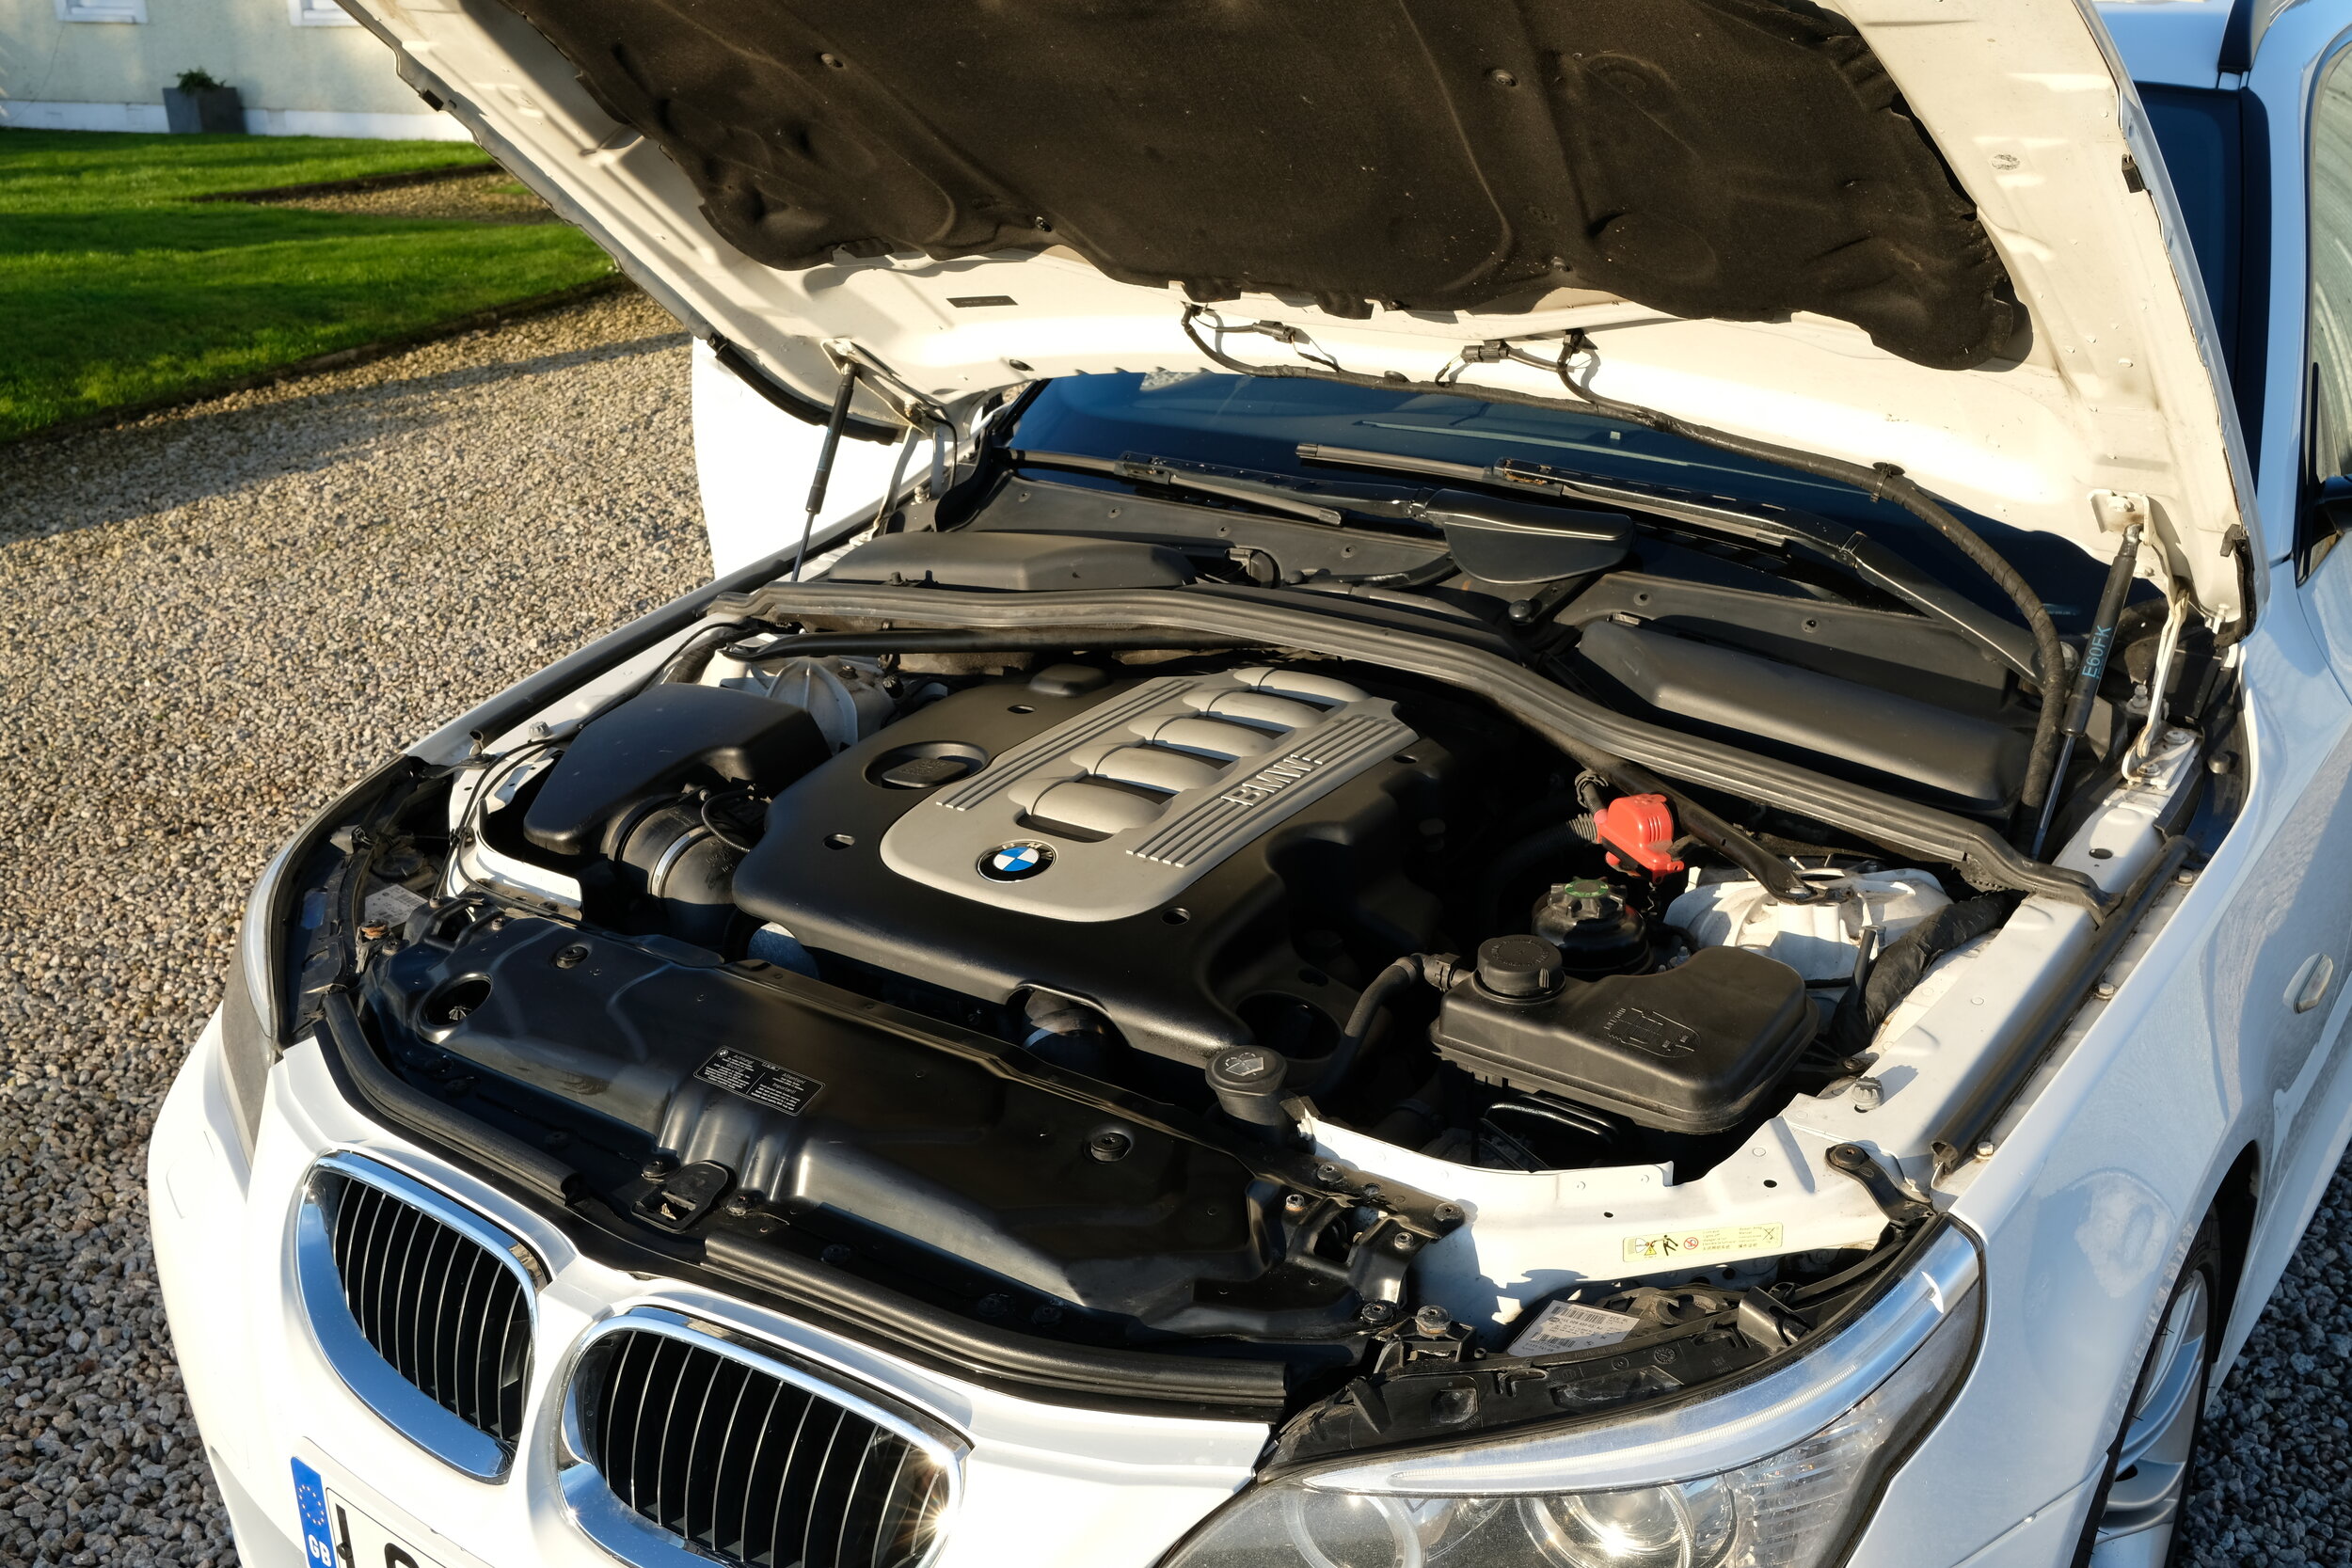
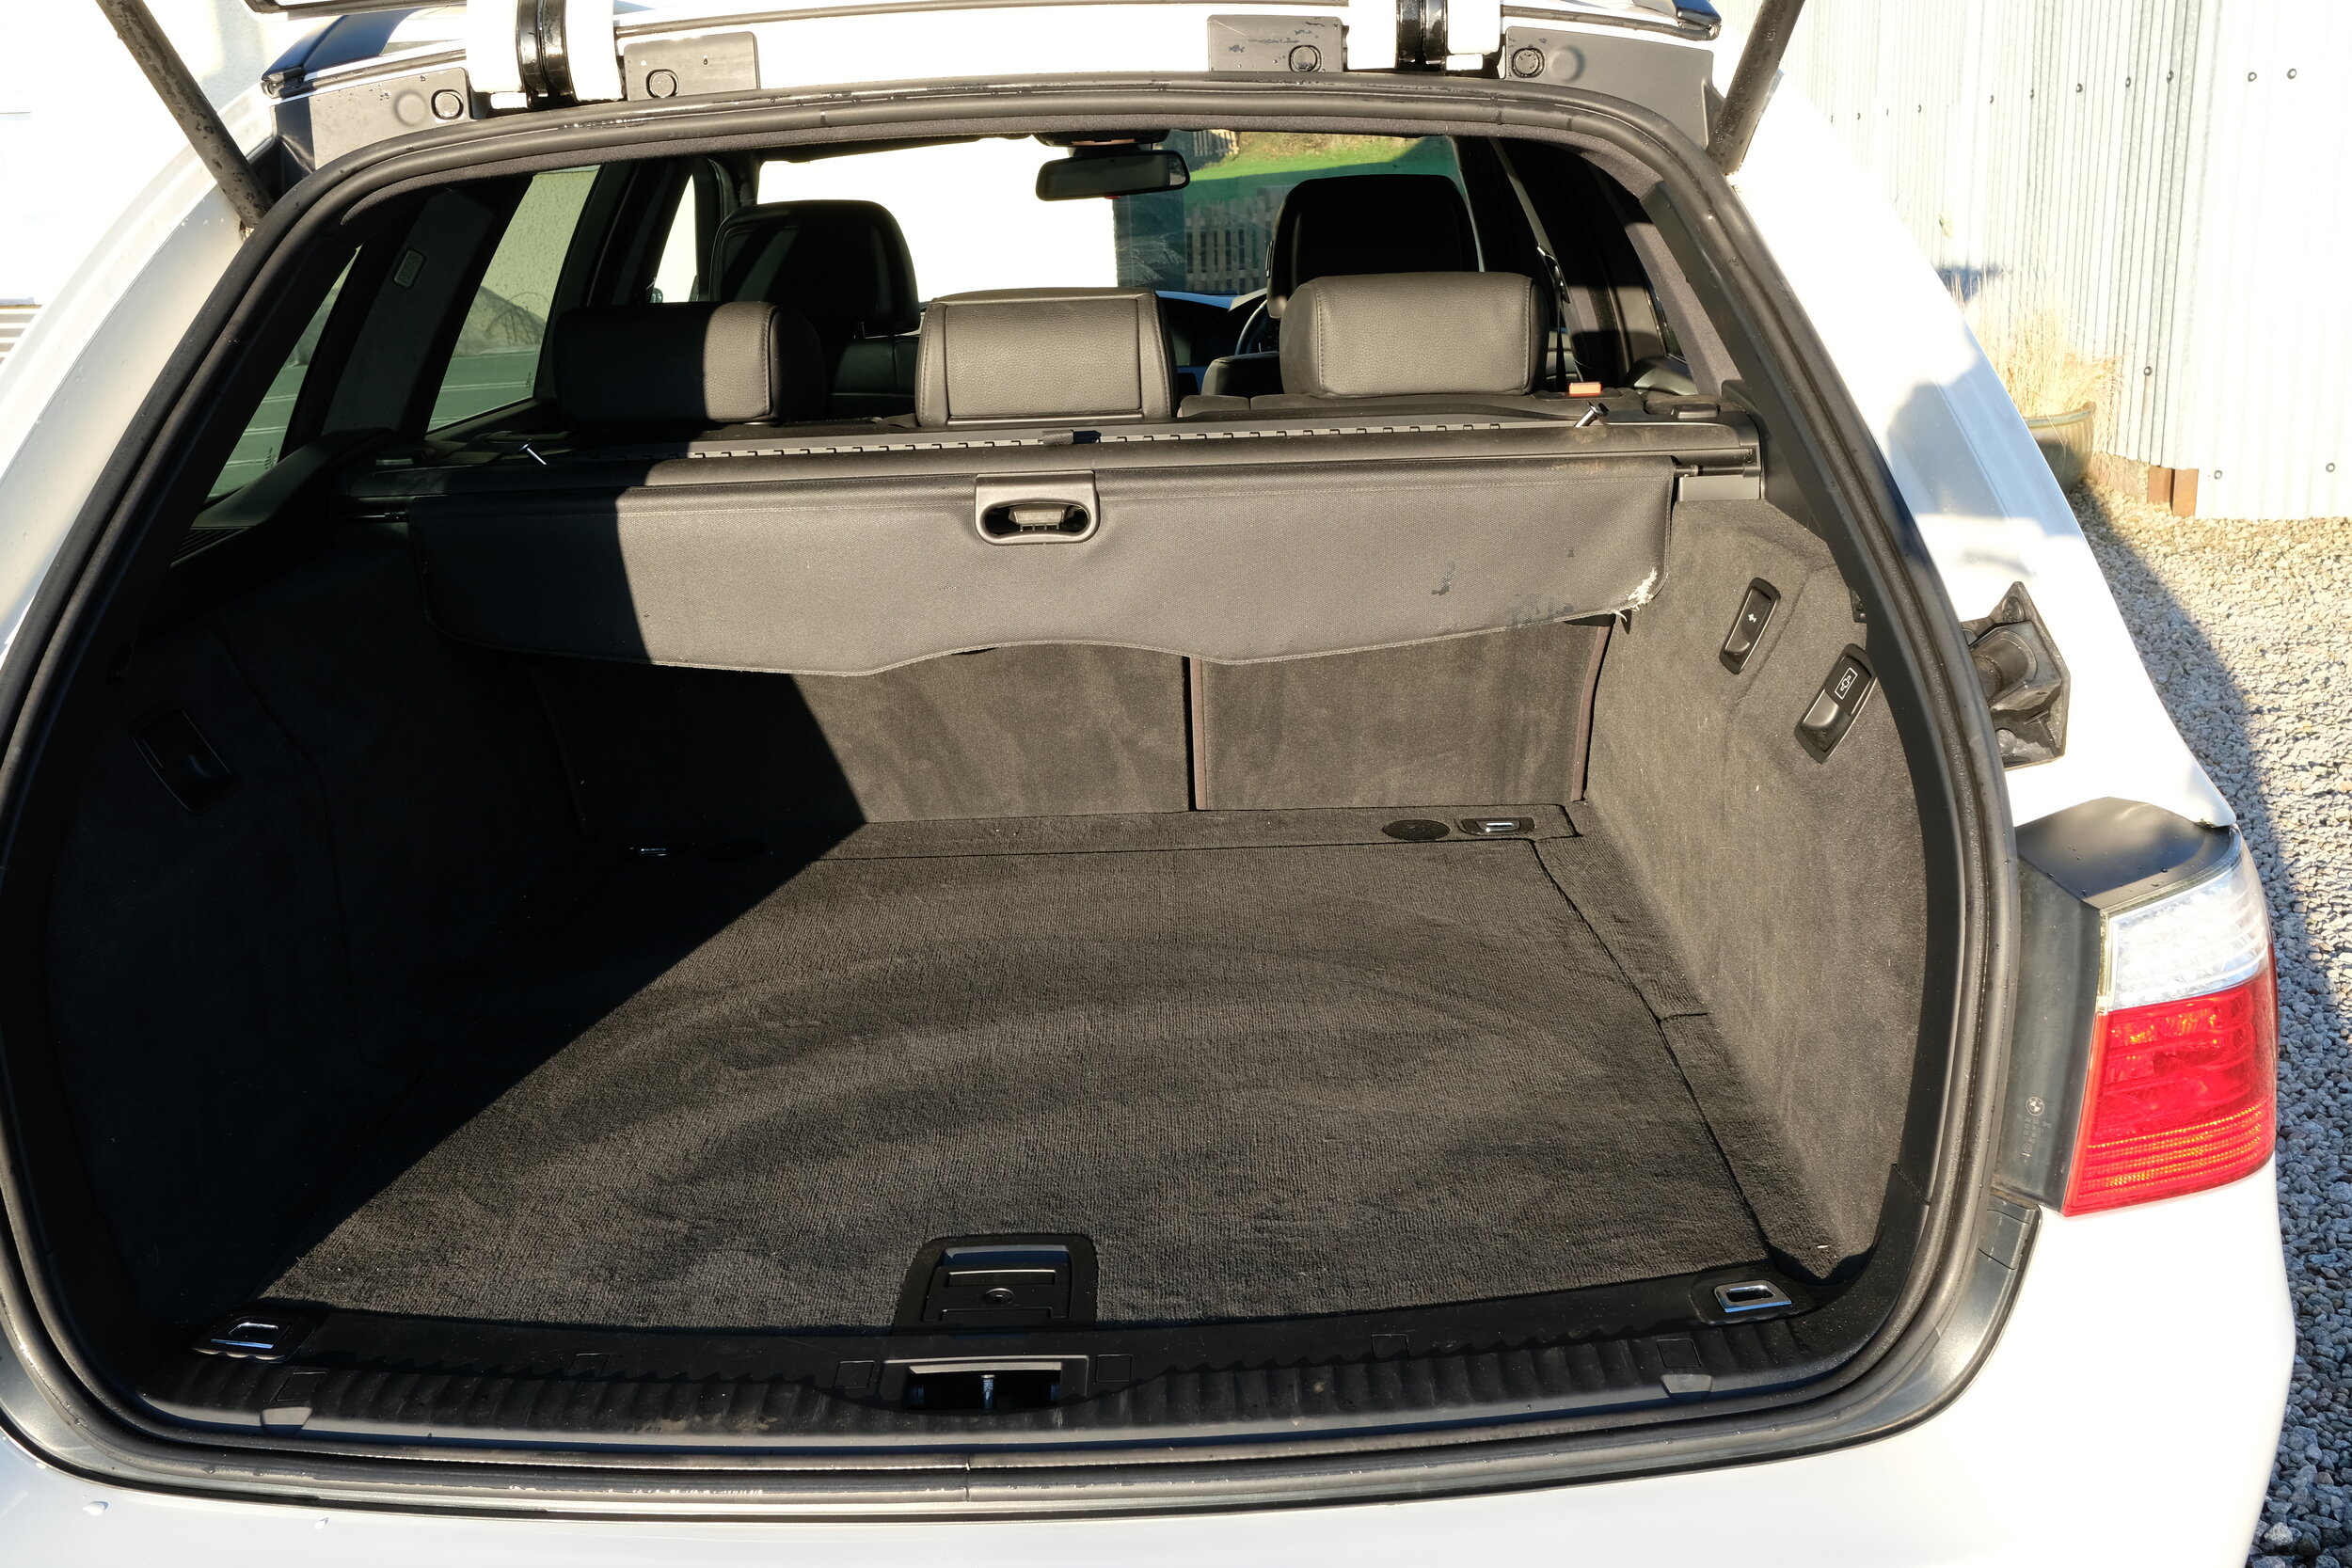
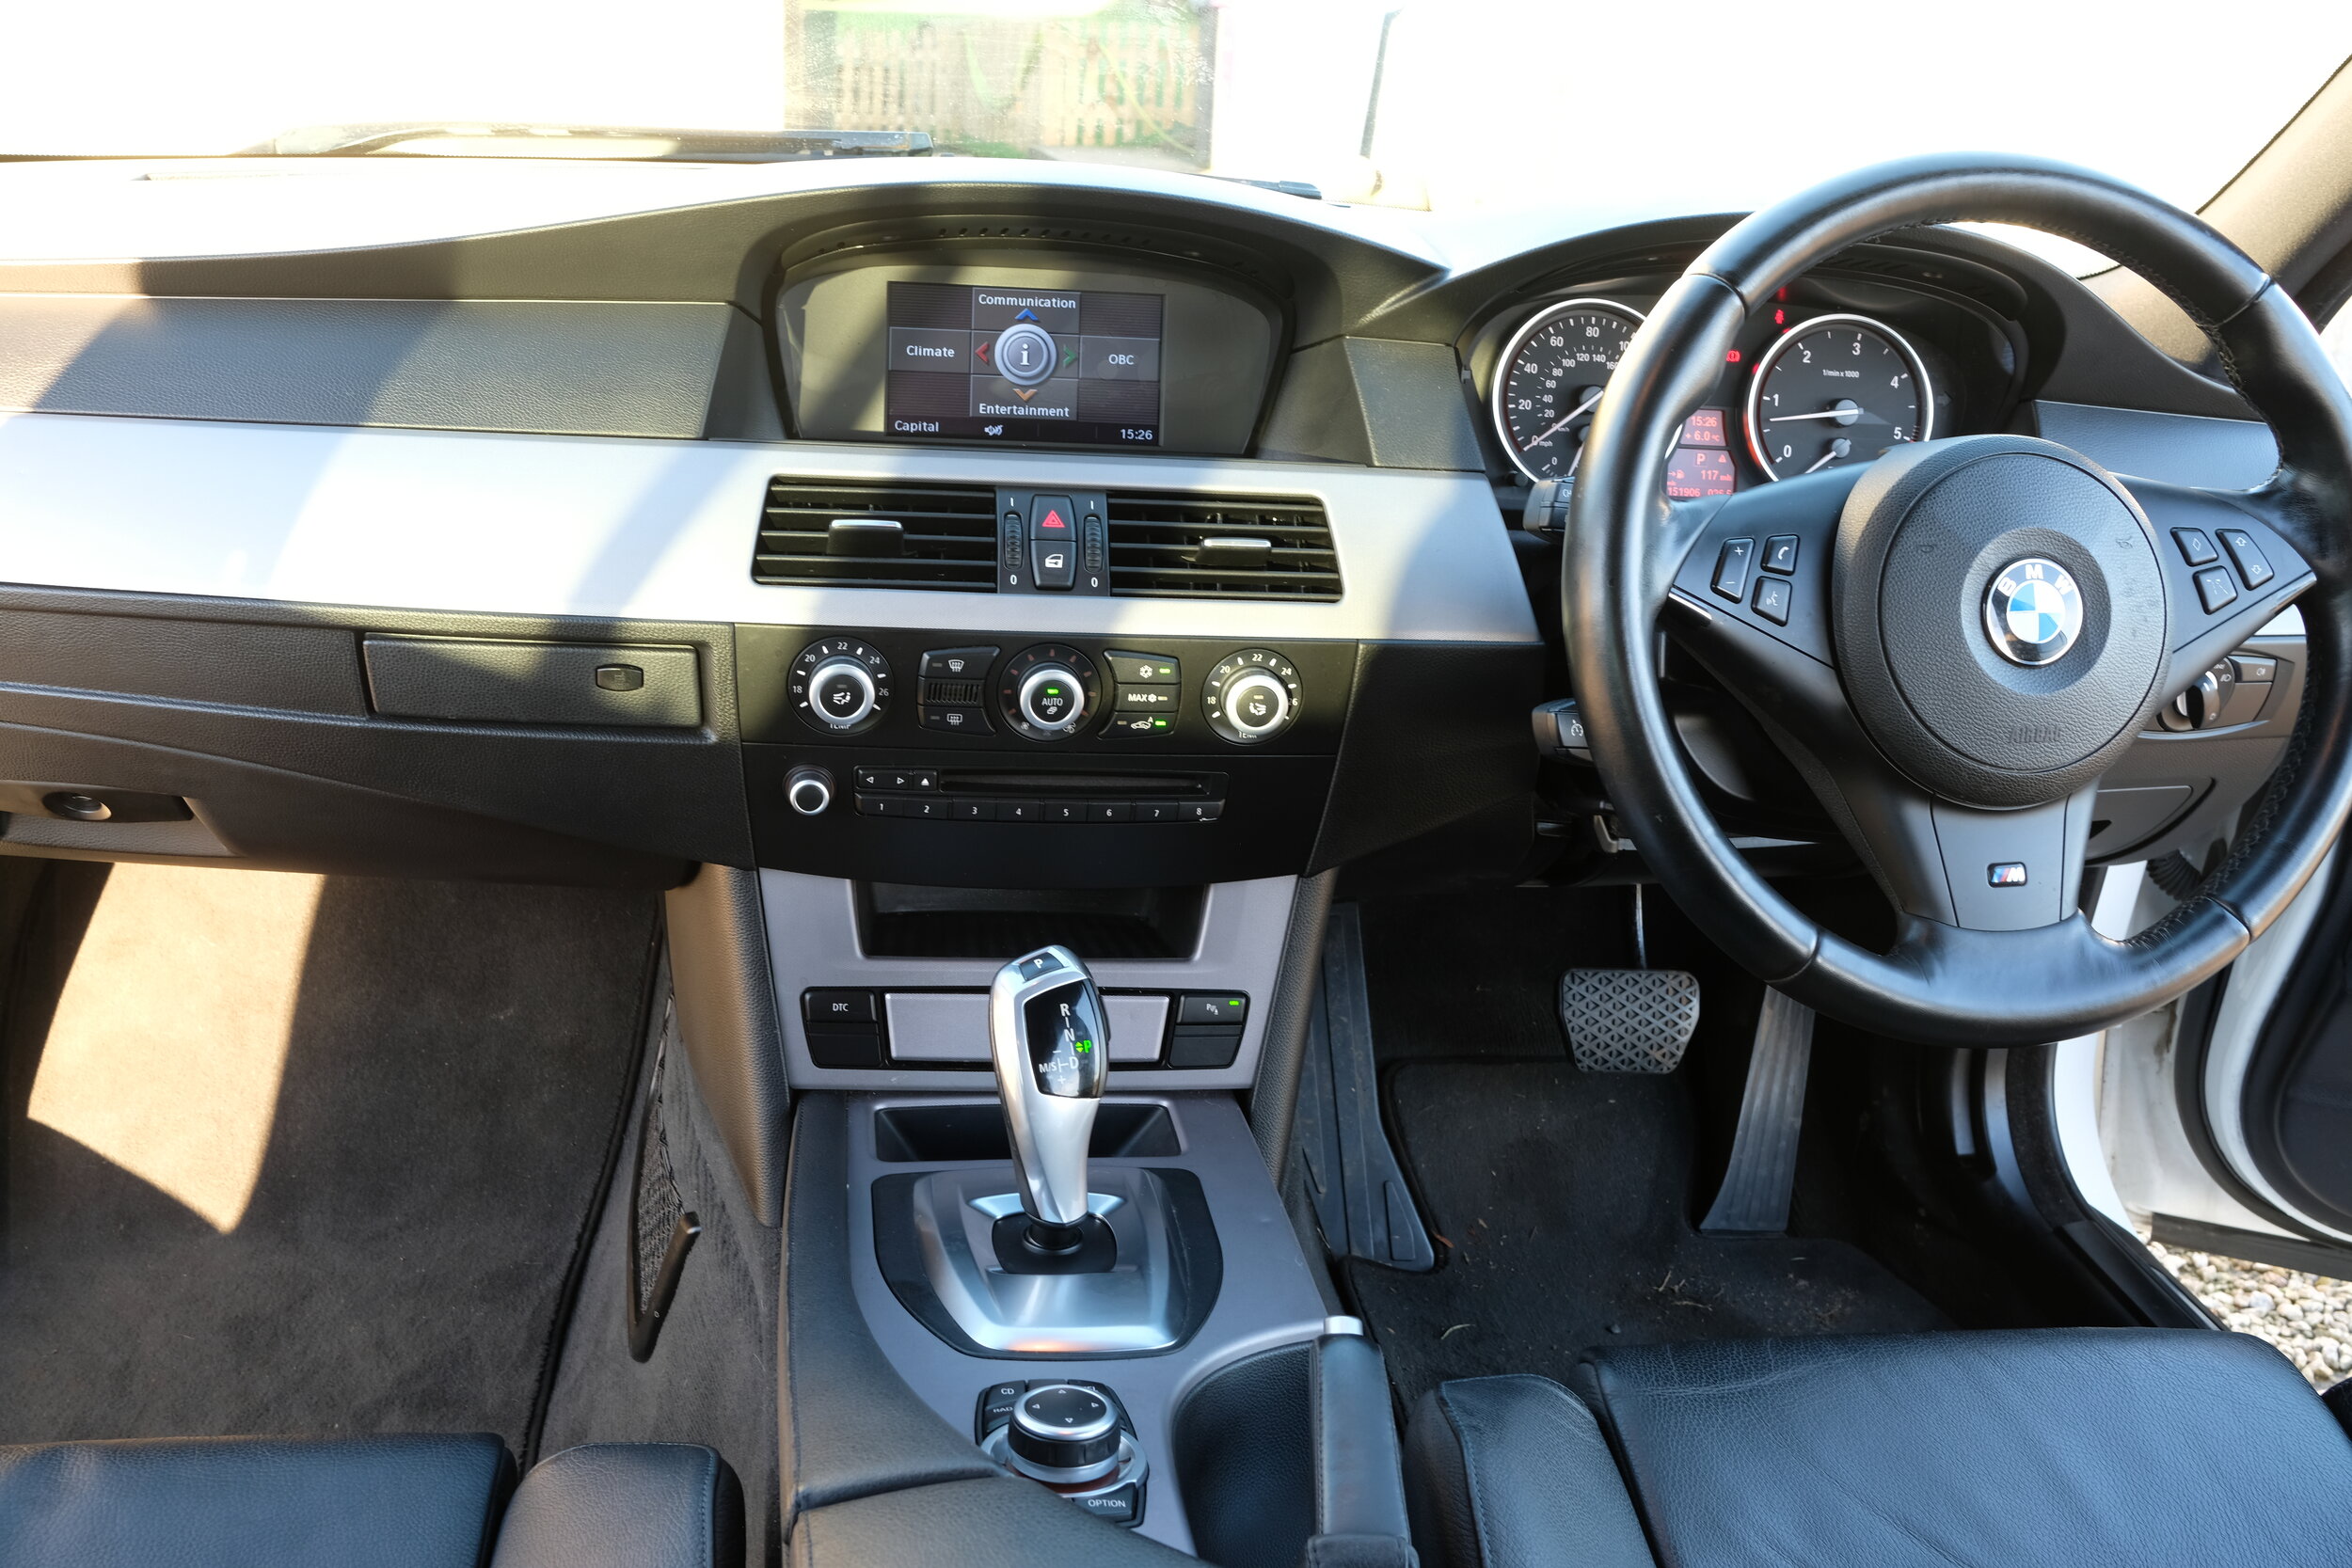
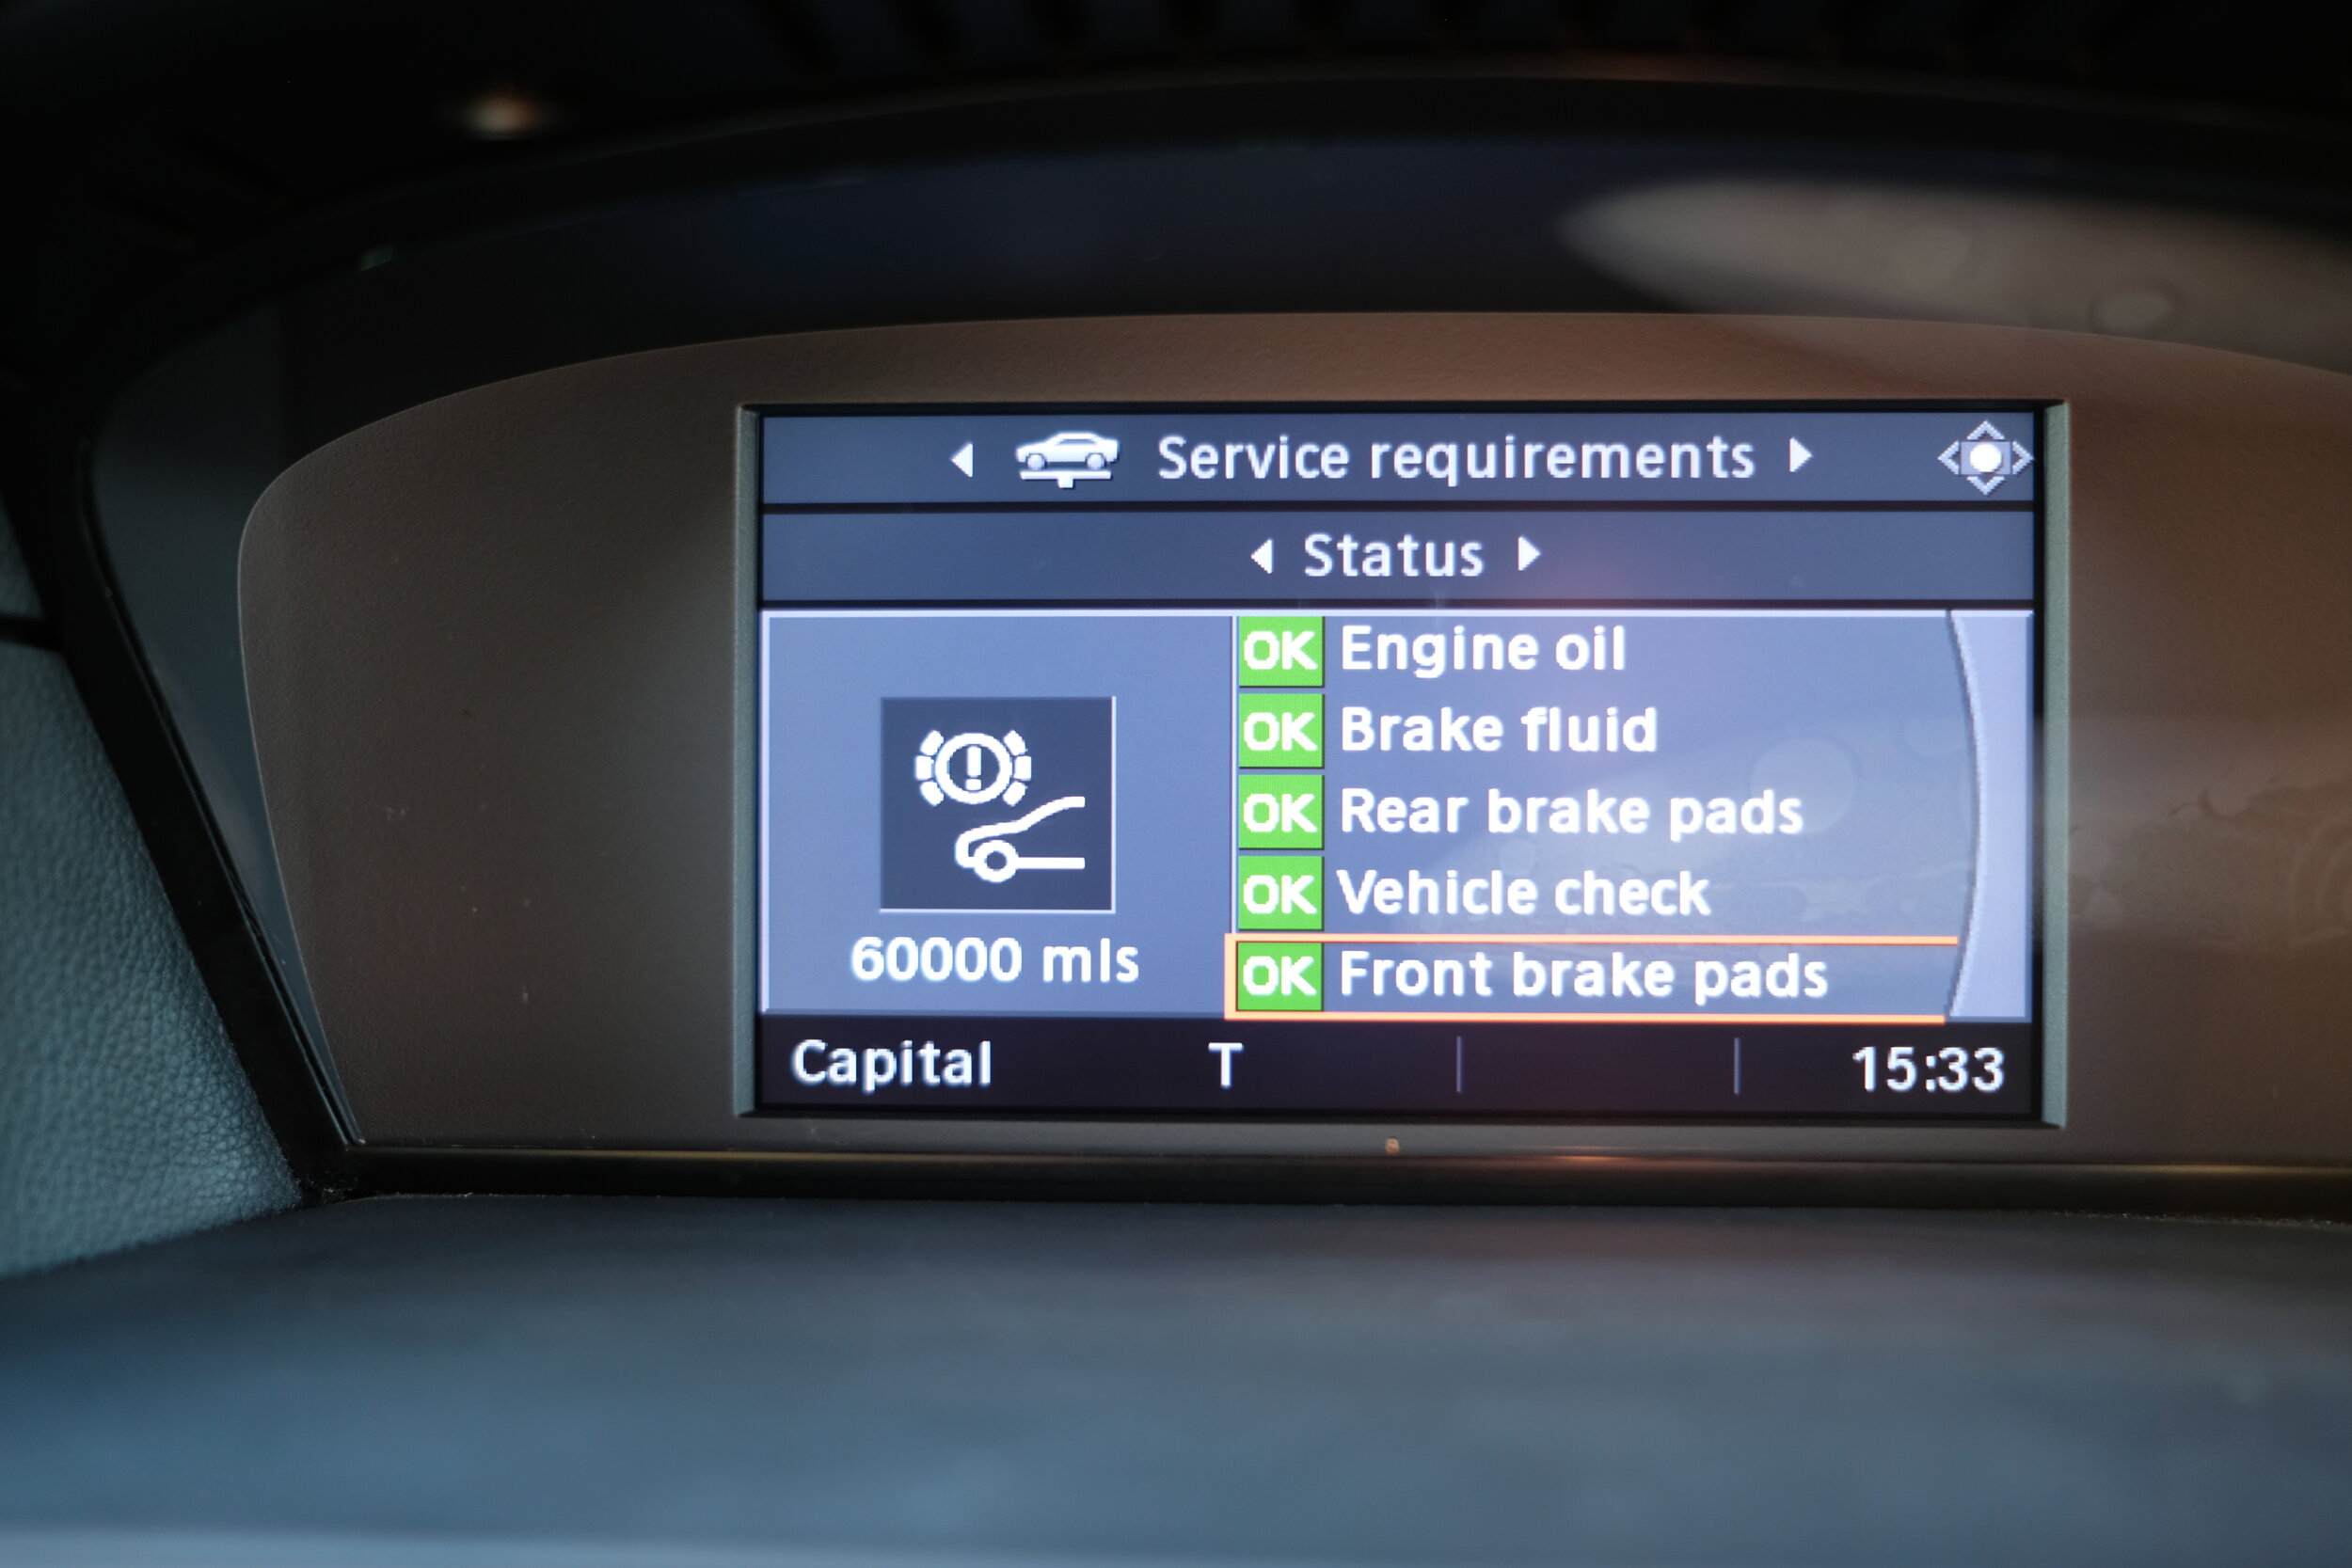
BMW E61 535d
2993cc Twin Turbo Straight 6
286BHP
First reg 06/02/2009
1 former keeper
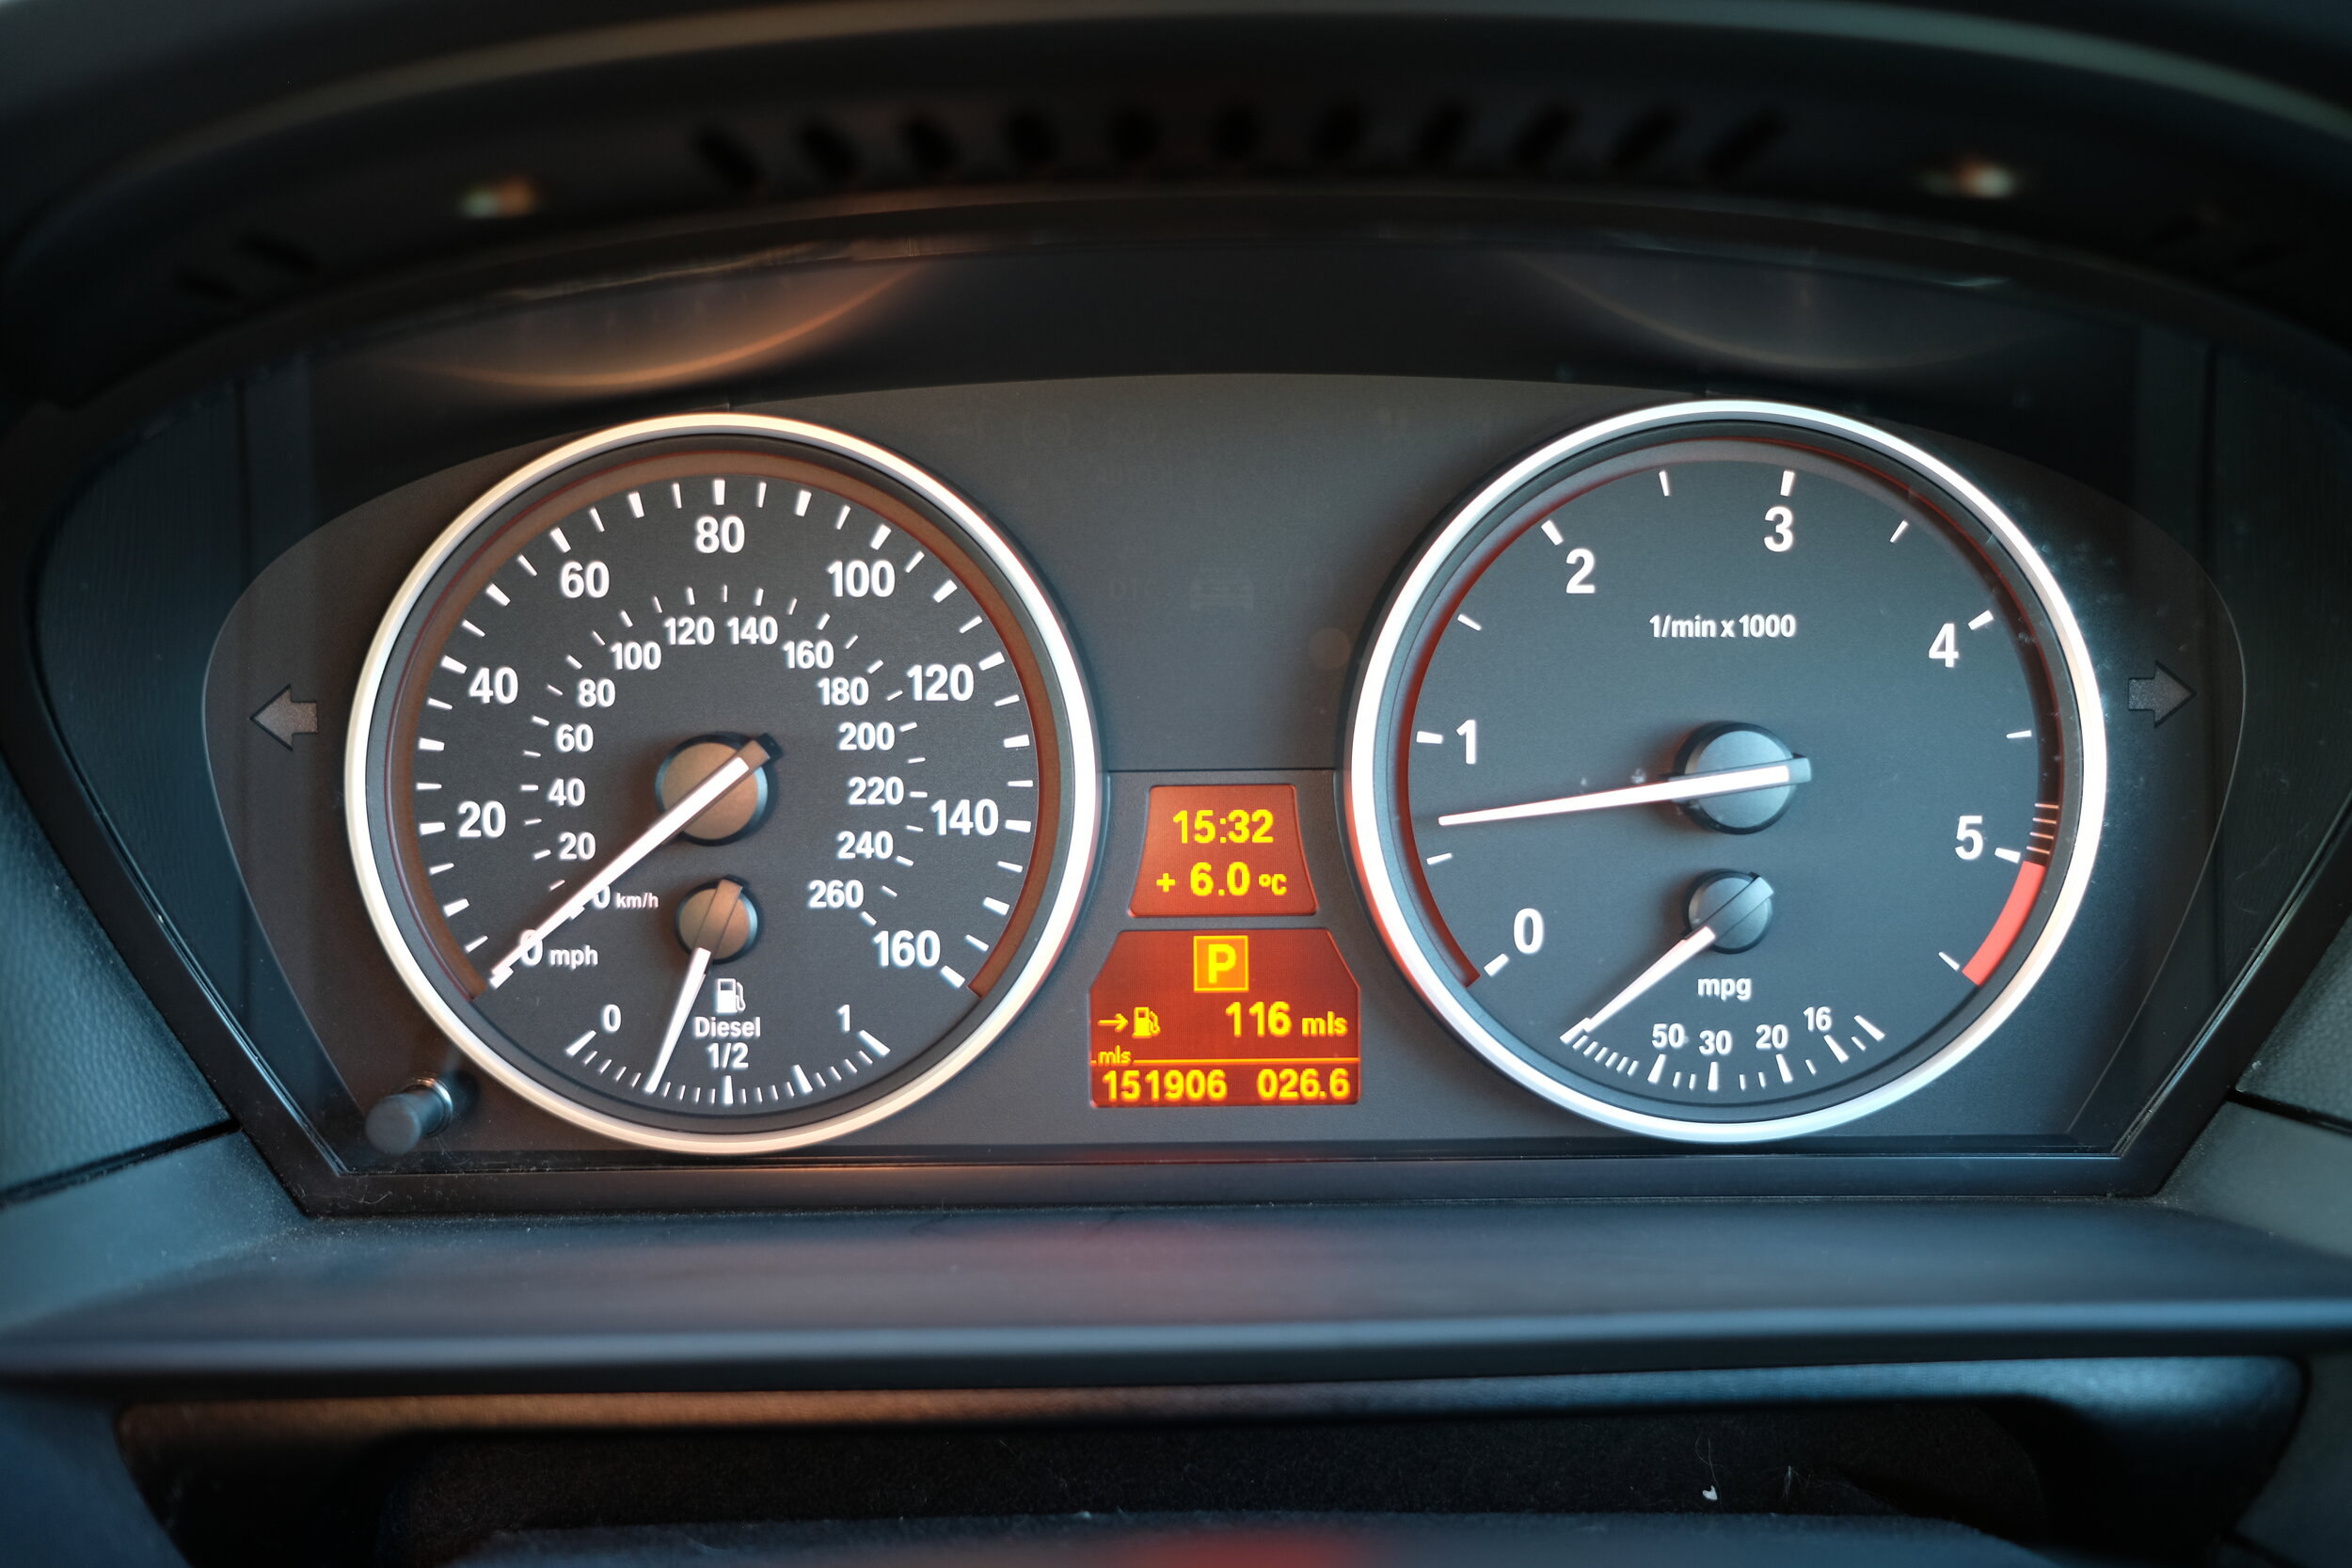
152k miles
MOT’d until November 2021
Category S Insurance Write Off
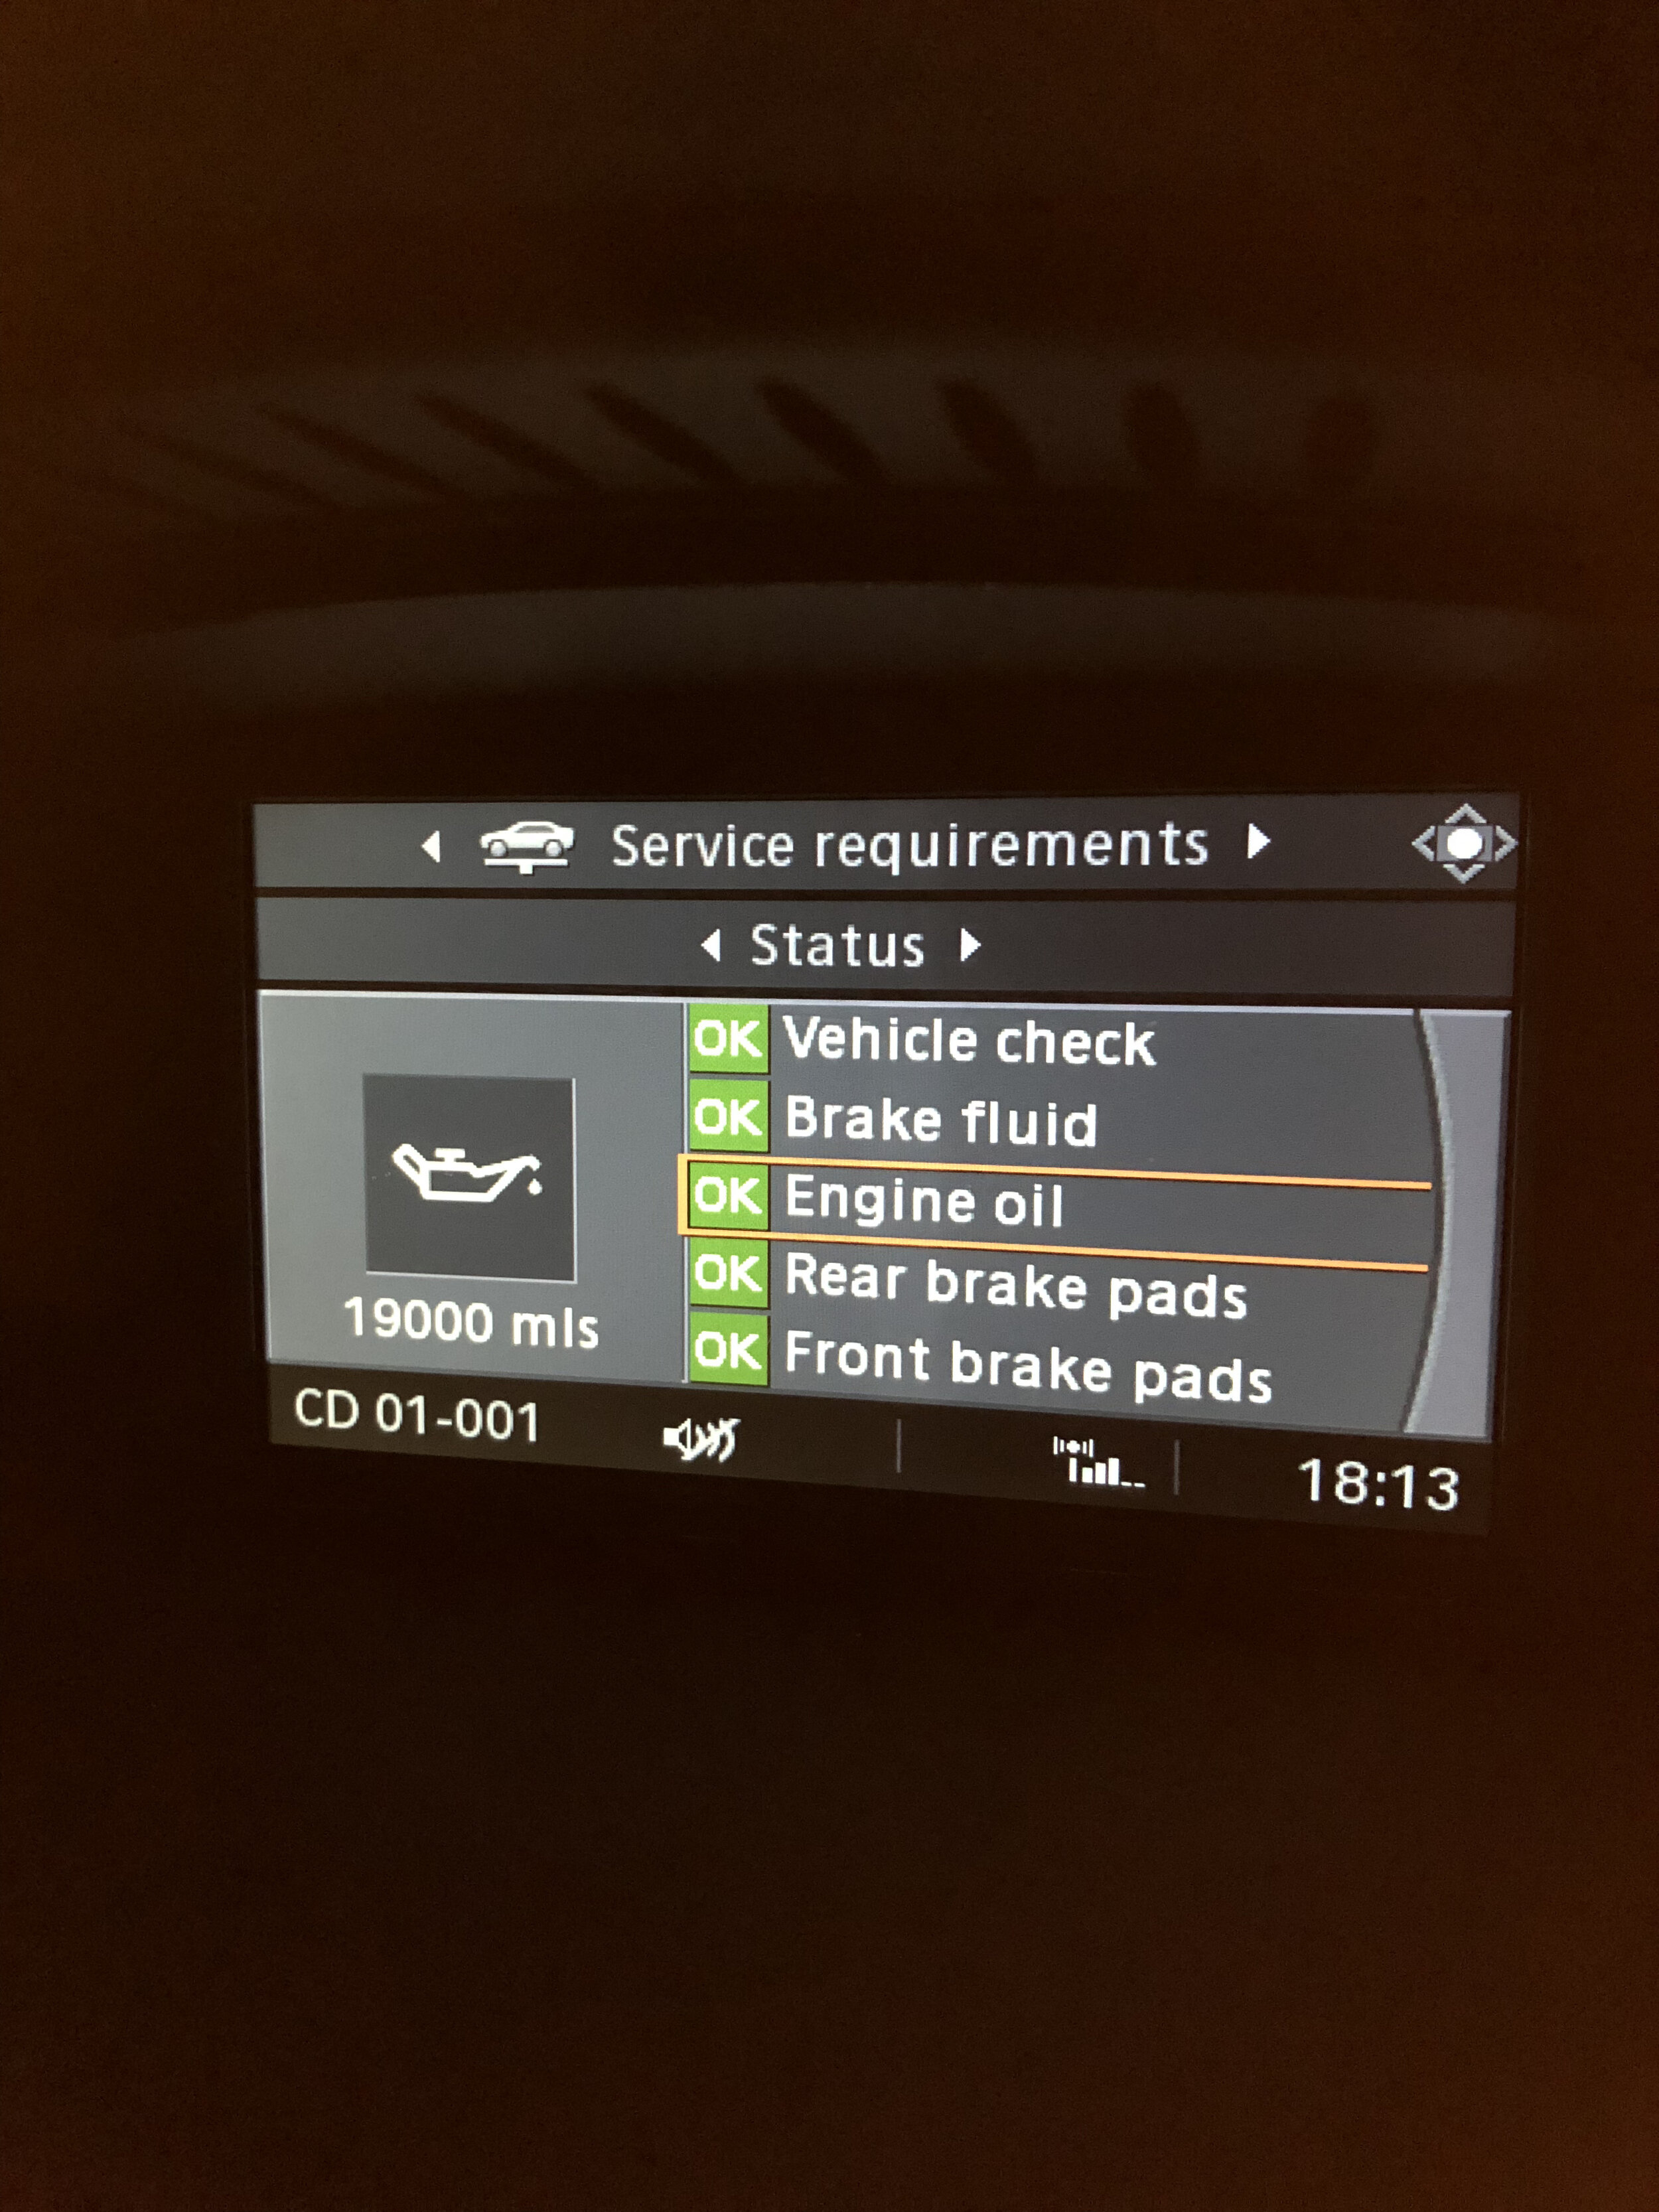
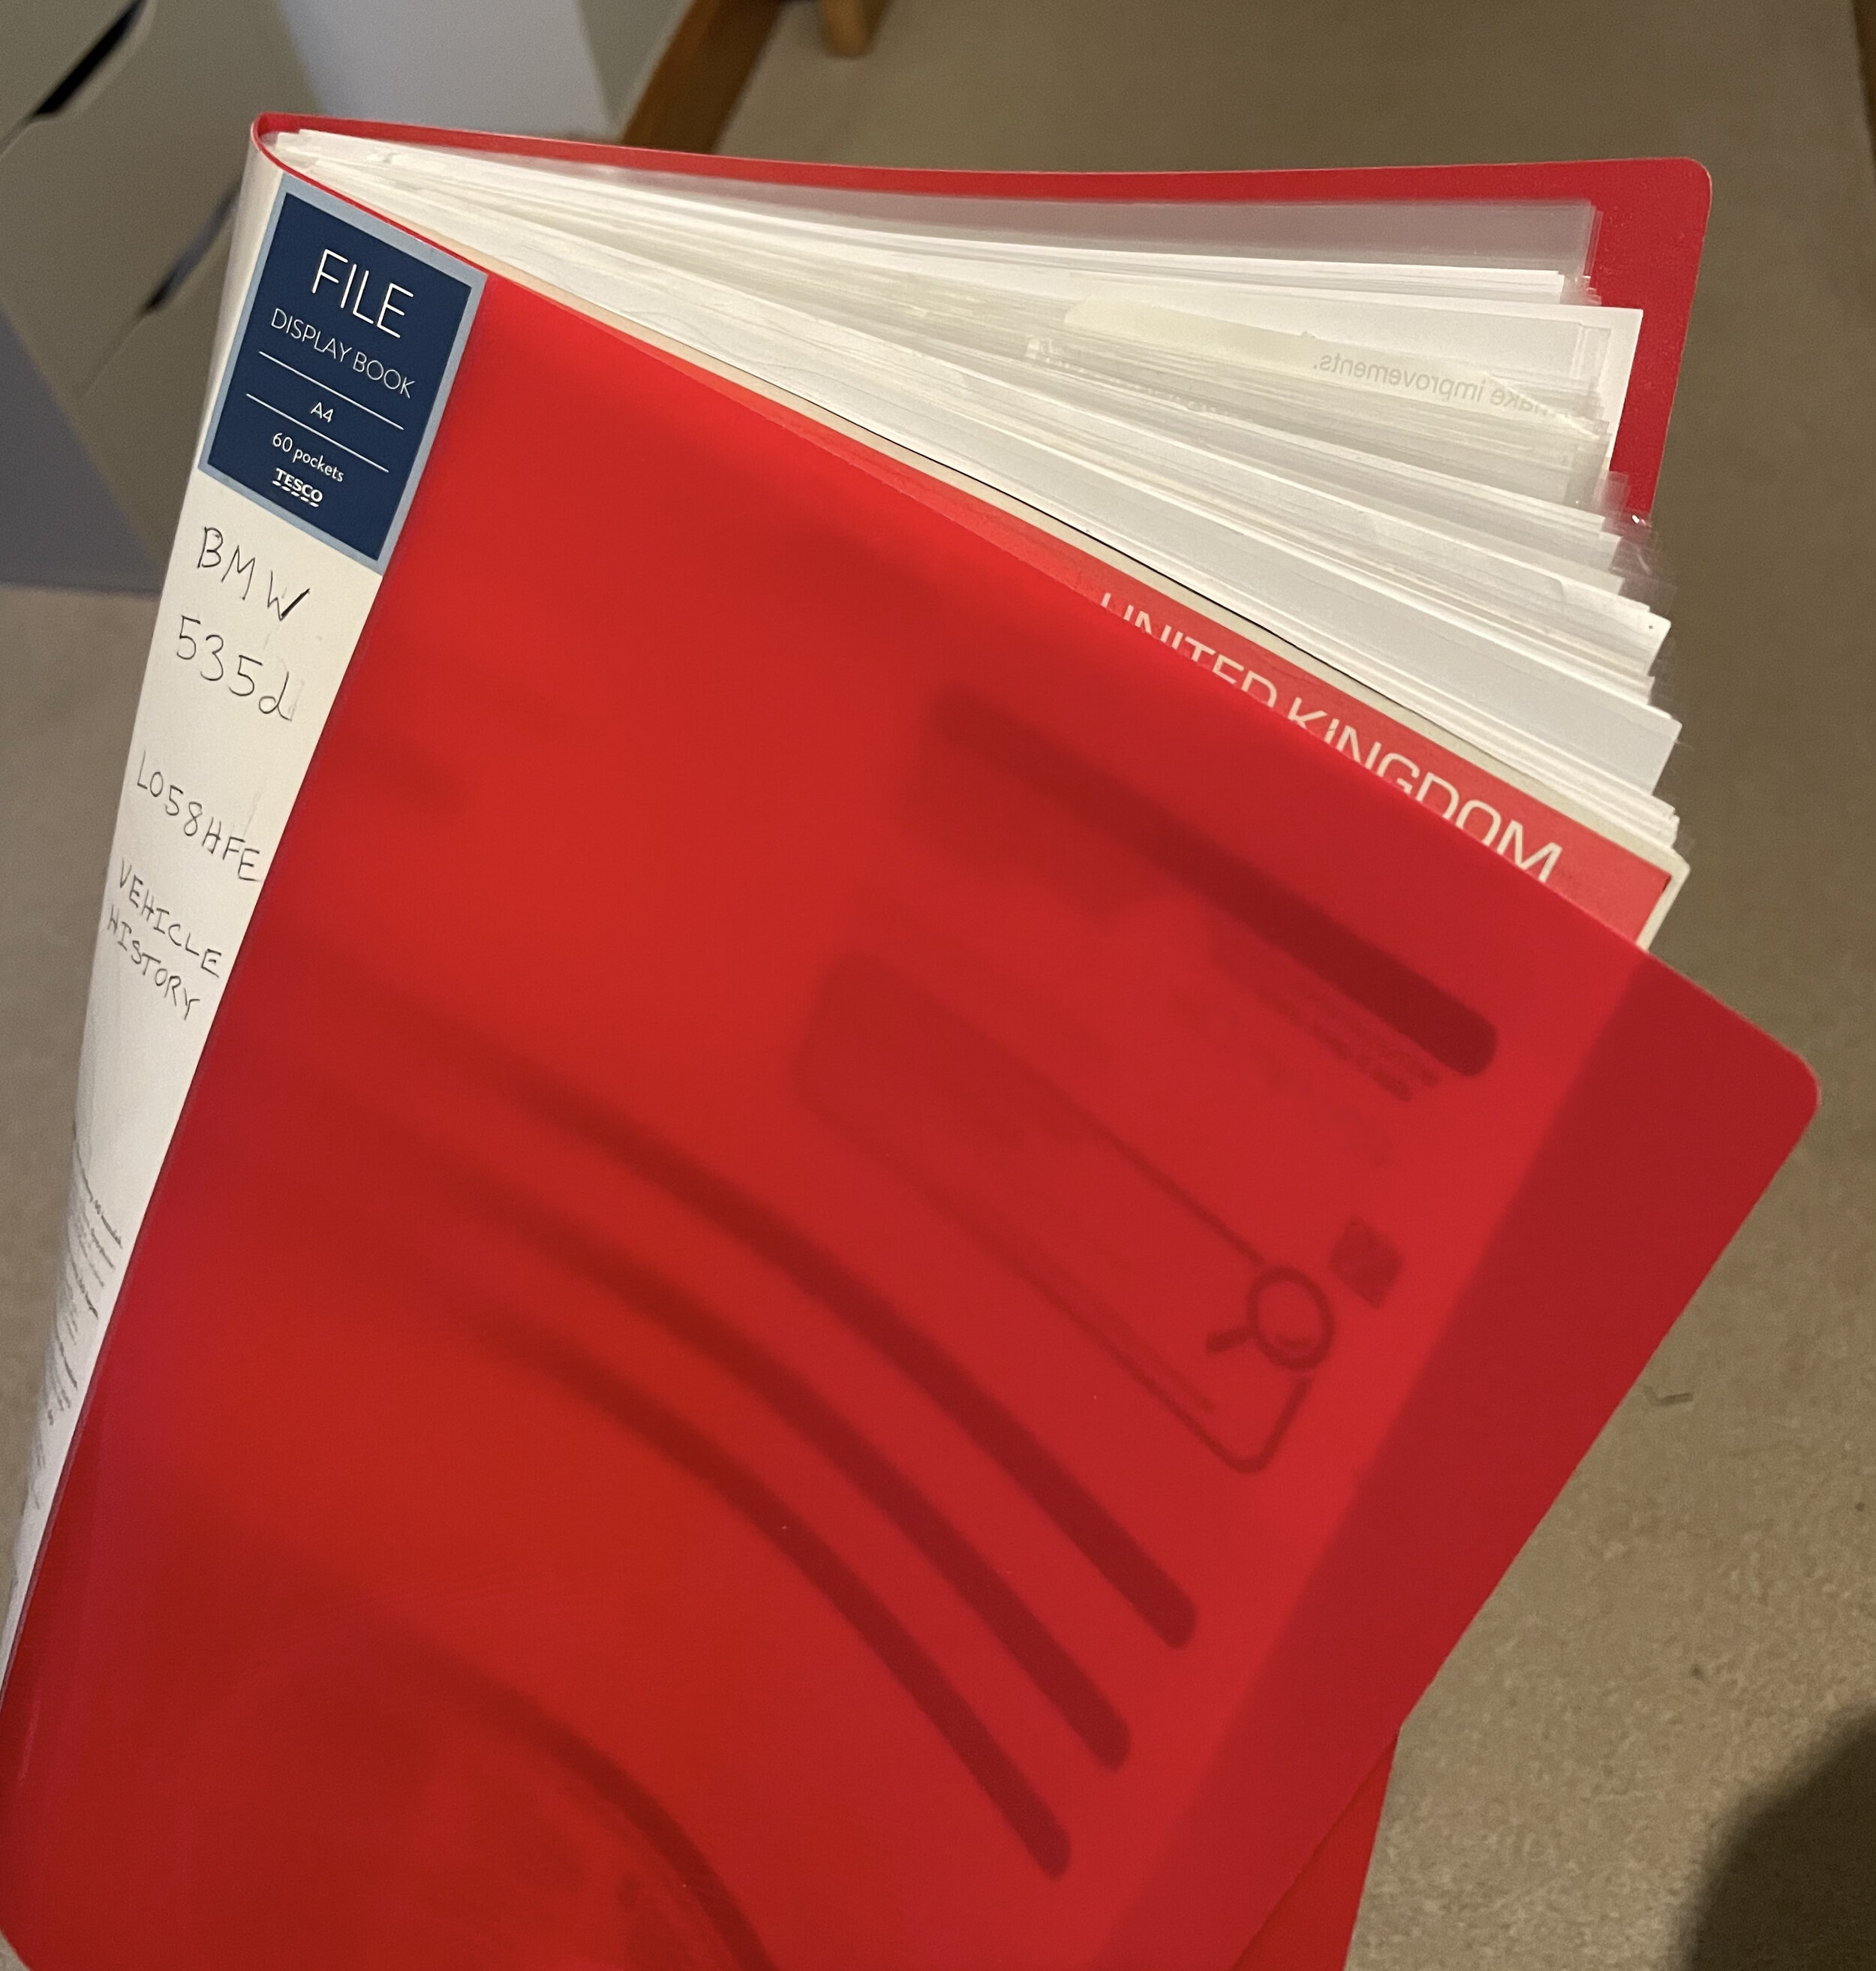
Extensive vehicle and service history available in folder with receipts