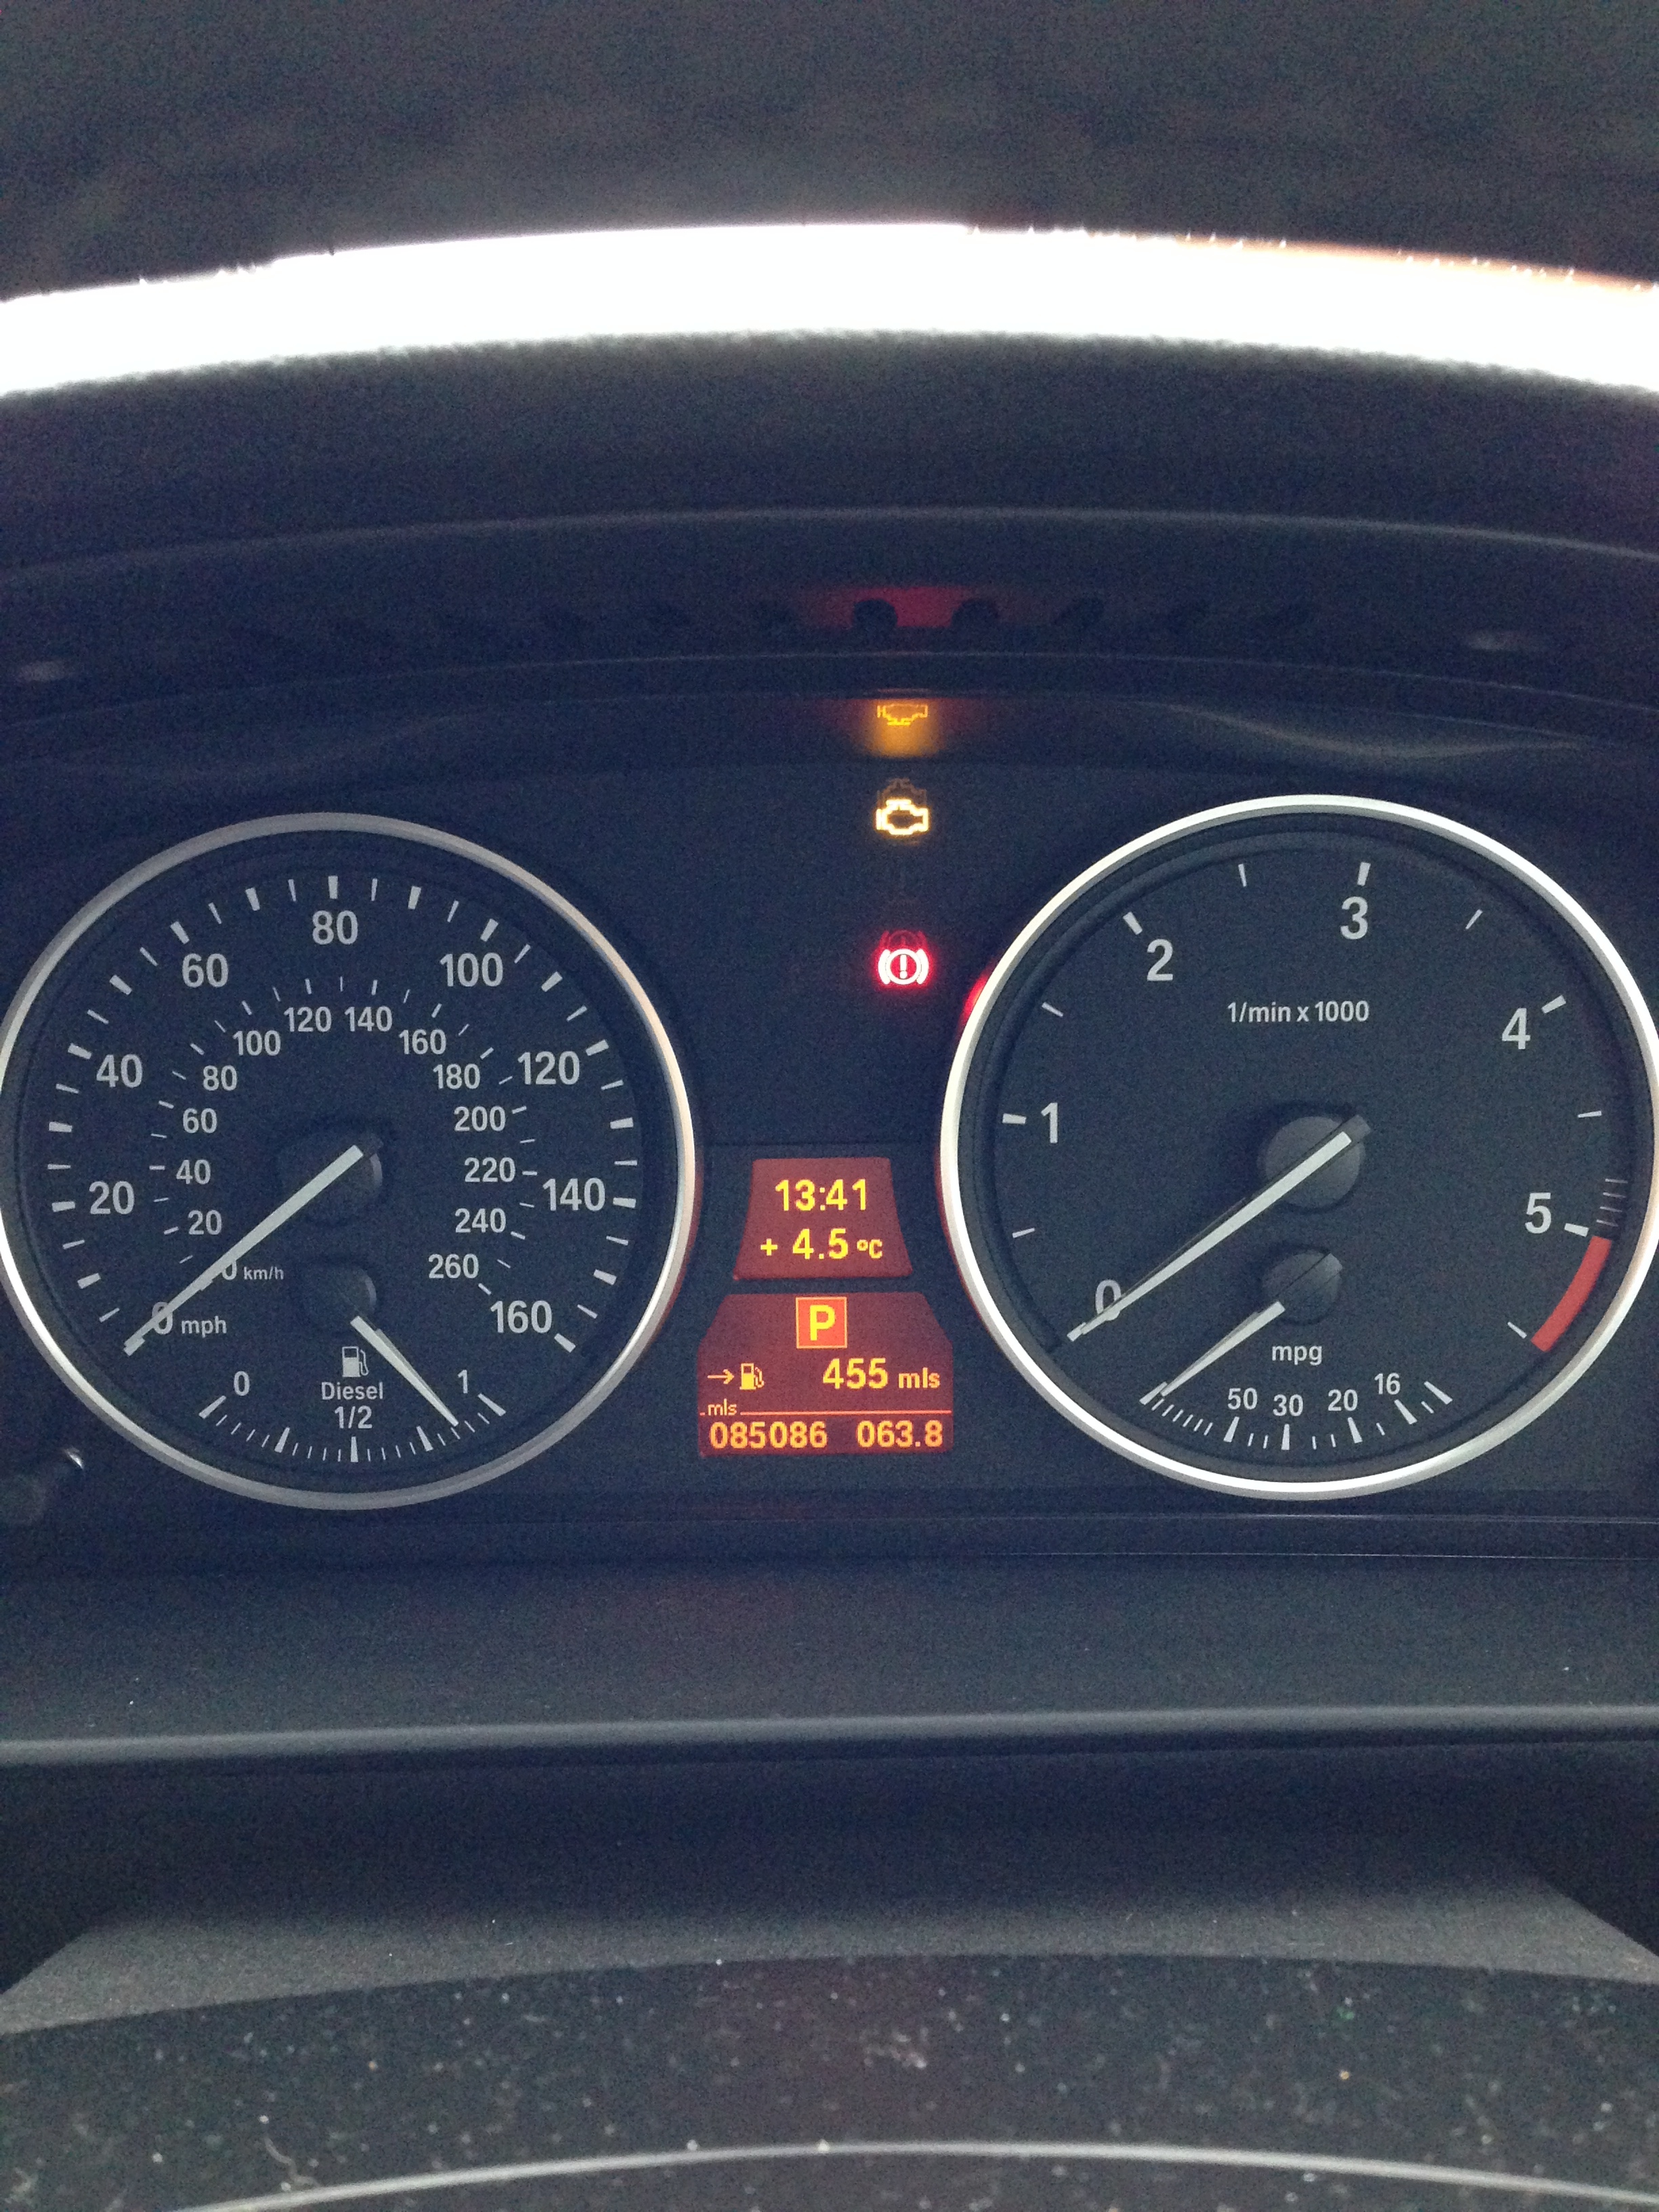
Front Brakes Replaced (85086 miles)
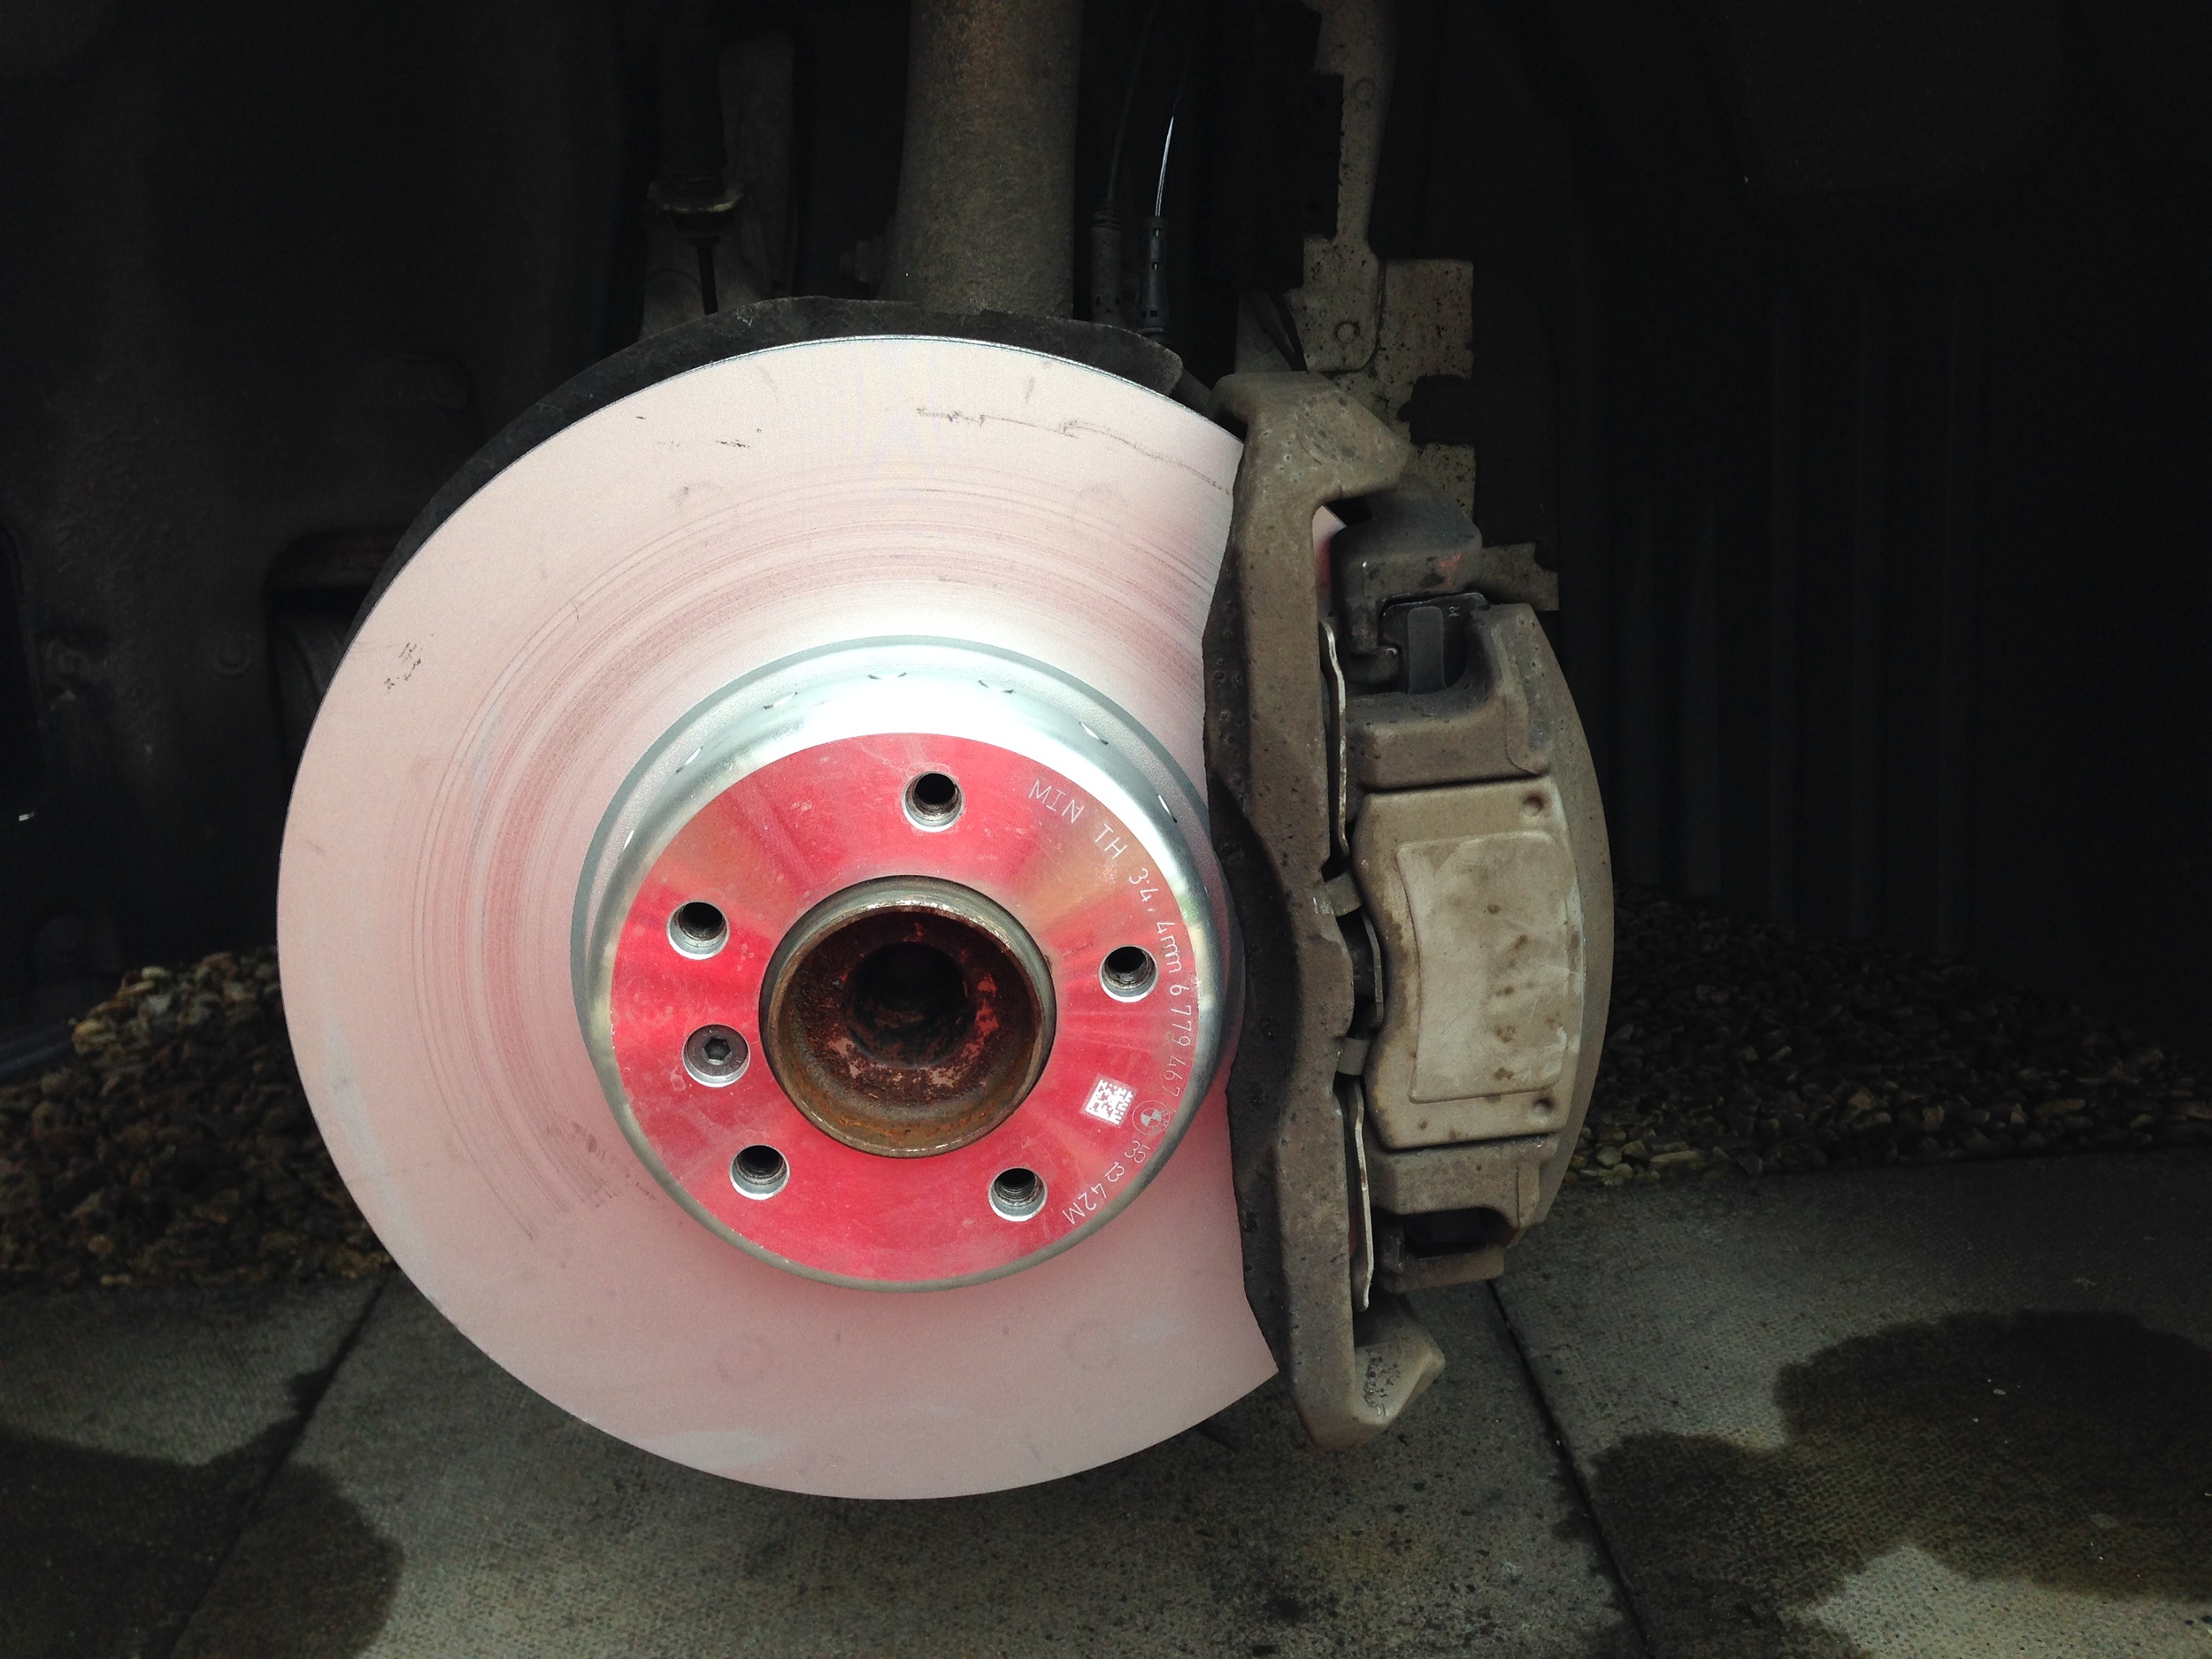
/As noted in a previous post, my front brake pads were nearing minimum thickness but when inspected closely, it was clear that the discs were also in need of renewal as they were close to minimum thickness as well. On a performance car like the 535d, it would be foolish to scrimp on brakes so I ordered a set of genuine BMW discs from Cotswold BMW to fit along with the pads and wear sensor already purchased.
The fitting process was relatively easy and in fact easier than most cars I have seen.
Procedure
- Jack up car and remove wheel ensuring the car is lifted and supported securely at all times.
- Remove the disc retaining bolt using an allen socket. Don't remove all the way yet.
- Carefully lever off the anti-rattle spring assembly from the face of the calliper. This just eases rearward until the tongue disengages from the front edge then comes out towards you. It's not tensioned all that much so all you need is a flat screwdriver.
- Remove plastic covers and remove the allen bolts which secure the callipers to the hanger. These don't need to come all the way out, just fully disengage the threads.
- Use a lever to carefully lever back the calliper pistons. Note you should do this indirectly by levering between the disc and old pad. Note that there is a chance of the brake fluid reservoir overflowing here so you should really check that. Unfortunately it is not easy to reach and requires removal of the micro filter (cabin filter) assembly and bottom tray. I'll maybe cover this process in another post. Note that there should be no need to remove fluid via the bleed nipple to avoid damage to the ABS seals as can be the case with other cars.
- Once the calliper pistons have been retracted far enough to allow the calliper to be removed past the lip in the discs, the calliper can be lifted out of the way and tied to the suspension spring with some cord or a tie wrap. You might need to release the flexible hose from the metal bracket to give you enough slack - just make sure to reattach this later.
- Remove the disc retaining bolt and tap the back of the disc with a soft faced hammer or block of wood to free it. TOP TIP: The calliper hanger does NOT need to be removed in order to remove the disc. Just rotate it forwards from the front edge and it will come out.
- Clean up the calliper hanger, especially the faces which contact the pads/calliper as they need to be able to slide freely. Use a wire brush and/or scraper to remove rust and dust. Use a mask to avoid breathing friction lining dust.
- Remove the old pads from the calliper and wire brush any corrosion from the sliding surfaces on the calliper. Be careful because the calliper has two pistons and if you push on of them in, the other will pop out. Don't let it come out too far. Use a calliper retraction tool or improvised clamps of some sort to retract both pistons. Make sure they smoothly retract and look for any leakage. Be careful not to damage the alloy pistons or rubber covers.
- Note that on the left hand side (right drive car), there is a wear sensor which must be replaced. The wiring is connected inside a little rectangular junction box attached to the inner wing which can be simply popped open via some clips. Once open you can remove the sensor connector and disconnect and reconnect the new sensor easily. The connector has a little press-tab to release it. The sensor engages with the edge of the brake pad and is very easy to fit. Just use the old one as a guide. Note the cable is secured on the bleed nipple and in a metal clip.
- Fit new pads to the calliper (note the inner and outer pads are different) and use copper grease sparingly on any mating/sliding surfaces. Also grease the calliper hanger's sliding surfaces.
- Clean the hub to disc mating surface very carefully with brake cleaner, a scraper and medium to fine wet and dry paper to remove all traces of dust, corrosion and grease. This is crucial to ensuring the disc runs true. Take your time with this step.
- Clean the new disc (including the face which mates with the hub) with brake cleaner and, ideally wearing fresh gloves to avoid contaminating the disc surface, fit the new disc and secure in position with the retaining bolt. Don't over tighten this bolt as it is only a secondary means of retention. Do make sure it is fully engaged though as the shoulder of the bolt will align the disc and hub.
- Refit the calliper ensuring that the calliper retaining bolts don't prevent the calliper from getting in position correctly. If you push the exposed threads of the bolts into the sleeve of the slider before assembling you can avoid this. Once positioned, engage and tighten the two retaining bolts. Again, don't over tighten these but ensure they are secure. Ideally torque them according to the BMW reference manual. Refit the plastic covers.
- Refit the calliper anti-rattle spring by engaging the upper and lower prongs then pushing the middle section rearwards to allow the tongue to re-engage. This is a bit fiddly but probably easier than most cars to be honest.
- Remember to refit the flexible hose rubber mount if removed earlier and just check again that plastic calliper bolt covers are fitted, the wear sensor wiring junction box is closed and the cable secured at the bleed nipple and the metal clip. Check the disc has no contamination on it front and back and you have removed the tie-wrap or cord from the spring. While you are in there, have a look at the condition of the rubber boots, shock absorbers and the various suspension joints.
- Refit the wheel and tighten as far as you can then lower the car and torque up the wheels evenly to the torque stated in the owners manual, typically 120NM. Note that it is very important to tighten the wheel bolts evenly to ensure the new disc is seated properly. Ideally tighten in a sequence where you don't tighten adjacent bolts but instead go in a diagonal sequence. So if bolts were numbered 1,2,3,4,5, you would tighten in sequence 1, 3, 5, 2, 4. Once torqued, check them again to make sure you didn't miss any.
- Repeat for the other side.
The above procedure sounds long but in practice only take around 20 minutes per side if you have tools to hand. It's not a race though so take as long as you need.
Parts & Costs:
- 2 x Brake Discs (p/n 94.11.6.779.467) = £198.72
- 2 x Disc Bolts (p/n 34.21.2.161.806) = £2.02
- 1 x Set Brake Pads & Wear Sensor (p/n 34.11.2.339.272) = £138.85
- Total £339.59
Photos


