Roll Bar Fitting
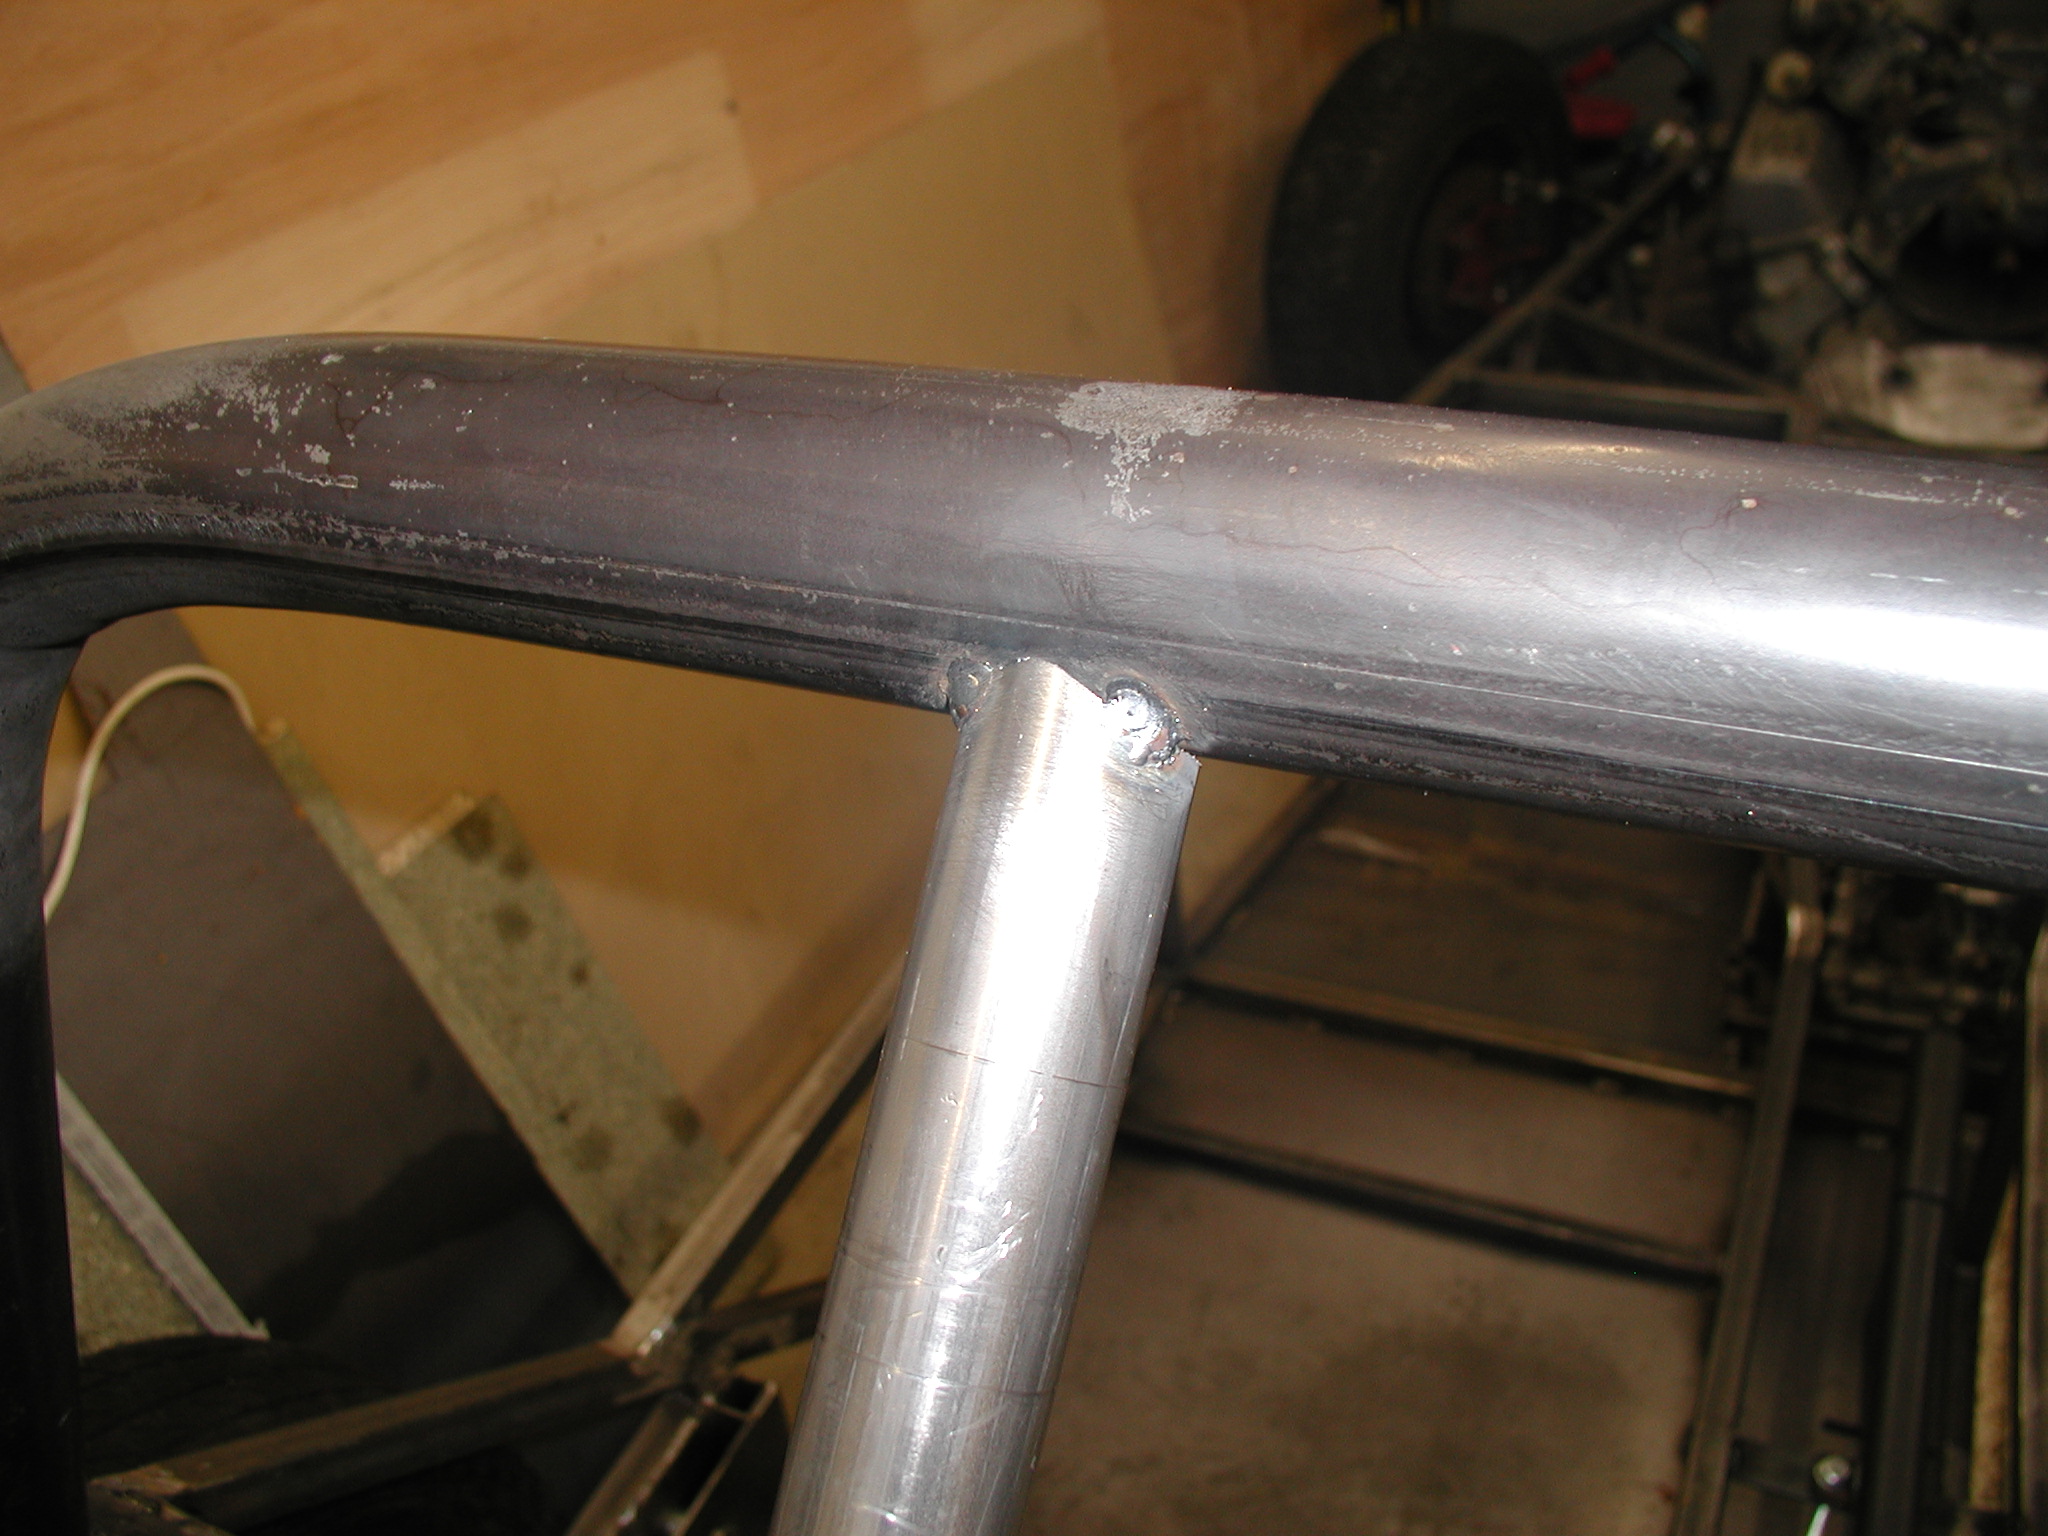
/Carried on with the fitting of the rollbar. I decided to tilt the bar forwards in a similar way to the Caterham Seven as I think this is aesthetically more pleasing and may offer better protection to the occupants in the event of a roll by being more directly overhead. It is a real pain working with round tubing as it is difficult to maintain a reference point on a round object but I got there in the end and managed to achieve a high degree of accuracy.
Fabricated the backstays for the rollbar and cut the fishmouth's to enable these to fit to the rollbar and luggage racks. Added a load spreader to the luggage rack to provide more strength and to make it easier to join the larger diameter backstays to the smaller diameter luggage rack tubing.
Here are a few pictures to illustrate the above.
You can see the rollbar in place (tack welded only at present) and with the backstays aligned with the two luggage rack uprights. As you can see I have angled the vertical sections of the rollbar slightly inboard, again for aesthetic reasons. I might add a diagonal brace later if I feel the need.
You can also see the load spreaders on the rear luggage rack. These were made from a 25mm o/d x 3mm wall tube being split in half with a hacksaw.
I have sourced some steering rack mounting brackets from Speedshack ( £ 12.17 inc vat and p&p) and some steering rack mounting rubbers (polyurethane type) from Rallynuts ( £ 7.65 inc vat and p&p). I have also sourced some 7/16" UNF S-Grade (8.8 Ton) nuts for use in the seatbelt mounts which I hope to tackle soon although I am reluctant to do this until I have bought my seats and harnesses. A fellow locost builder is going to make me up some steering rack extensions to extend the rack from escort track width to Sierra track width. Thanks Paul!
Next job will be to fit the steering rack with the extensions and mounting parts as described above. I also hope to fit the steering column around the engine at the same time which looks like a fun job...not!


